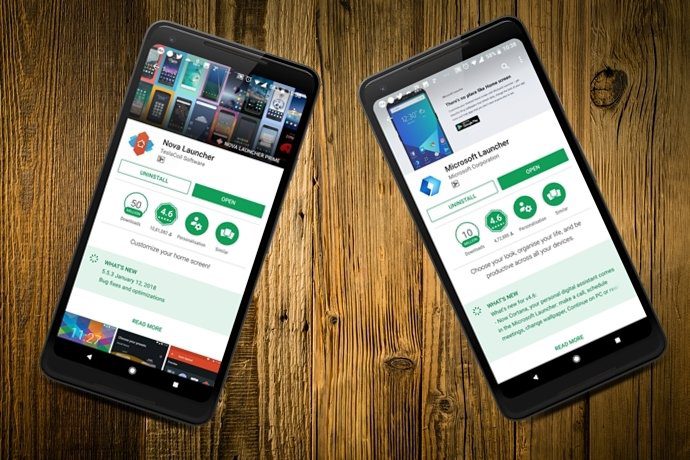
Launchers, for the unaware are the home-screen replacement apps and many such great launchers are available on the Play Store. These come with additional features that are not present in the native launcher. They also offer great customization options. Talking about customization, the Microsoft Launcher also offers cool enhancement features for your home screen. So, without further ado, let’s dive deep into the world of its tips and tricks.
1. Import Home Screen
Worried that you will lose all your home screen arrangement and folders while switching to the Microsoft Launcher? Don’t be. That’s because Microsoft lets you easily import your home screen from old launchers. Thanks to this, you don’t have to do the dirty work of setting up your phone’s launcher again. To import home screen, go to the Microsoft Launcher settings and tap Back up & Restore. Tap Import home screen and choose the launcher from where you want to import.
2. Backup and Restore
Similarly, if you are worried that by switching phones you will lose your Microsoft Launcher’s setup, nothing like that will happen. Because, in the above setting, you will find another option of backing up the launcher. Just tap it and your display settings, icon packs, and app folders will be synced with your Microsoft account.
3. Hide Dock
Dock, for starters, contains the static folders at the bottom of the screen. When you change screens by swiping on the home screen, dock will remain same across all the screens. If you don’t like using a dock, Microsoft Launcher lets you disable it. To do so, go to the launcher settings and tap Personalization. Then tap Dock and turn off the toggle for Enable Dock. You can also change the number of dock columns. Tap the box next to the Dock columns option.
4. Swipe up to Open Dock
But, if you decide to keep the dock, Microsoft offers an expandable dock. Just swipe up on the dock and you will find other app icons and shortcuts for settings like Wi-Fi, Bluetooth etc. You can add or remove app icons from this expandable dock by holding and dragging the icon from and to the home screen. You can also customize the shortcuts. Just hold any shortcut like Wi-Fi and you will get options to customize it.
5. Open Launcher Settings From the Dock
Instead of pinching the screen to open the launcher settings, you can open it directly from the dock too. All you need to do is swipe up on the dock and tap the small gear icon usually used for settings. You will be taken to the Microsoft Launcher settings.
6. Continue on PC
Microsoft Launcher comes with a cool feature that lets you share links directly with your connected Windows 10 PC. The feature goes by the name Continue on PC. It is not available directly in the launcher. It appears when you tap the Share button on your browser. For instance, if you are reading a page on your phone’s browser and you want to continue reading it on your PC, just tap the share button on your browser and choose Continue on PC. You will, however, have to set up this feature first. Here is a simple guide to do so.
7. Change Folder Shape
Besides providing themes (Launcher settings > Personalization >Theme), the Microsoft Launcher also comes with multiple app folders. You can choose from round or square with rounded corner shape. You can also give a transparent or translucent background to the folder. To change folder type, open the Microsoft Launcher settings followed by Personalization. Then tap App Folders.
8. Change Icon Packs
You can directly change icon packs on your Android phone from the Microsoft Launcher. It also lets you download new icon packs from within the app itself. To add or change an icon pack, open the Microsoft Launcher settings and go to Personalization. Then tap Home Screen followed by Customize app icons and layout. Scroll down and tap Icon pack.
9. Show Notification Count
Unlike the popular Nova Launcher, which displays the notification count only in the Prime variant, the Microsoft Launcher offers this feature for free. Well, the prime variant for Microsoft Launcher doesn’t exist as of now. In case you are wondering what else is different between the two launchers, read our detailed comparison here. To enable notification count for app icons, open the launcher settings and go to Personalization. Then tap Home Screen and enable Notification badges.
10. Hide the Search Bar
If you don’t use the Microsoft Launcher search bar and you think it’s taking up space on your home screen, you can hide it. To do so, go to the launcher settings and tap Search. Then hit the Always show the search bar option and choose Don’t show. By the way, here is another way to search anything quickly on your Android phone.
11. Add Folders in the App Drawer
At a first glance, you will never find the folder feature in the app drawer. It’s kind of hidden and buried down. To create folders, open the app drawer of the Microsoft Launcher and hold the icon of the app that you want to add to a folder. From the menu, tap on the Select Multiple Items option. You will see that a check mark will appear next to the app icons. Tap on the app icons to select them. As soon as you select more than one item, a small folder icon will appear in the top bar. Once you have selected all the apps, tap the folder icon. A new folder will be created. To rename the folder, just tap the folder name and enter the new name.
12. Reorder Search Results
In the Microsoft Launcher, you can also change the order in which the search results will appear. Since this launcher lets you search many things such as apps, people, messages, settings etc., it makes sense to reorder them as per your preference. To do so, open the Microsoft Launcher settings and go to Search. Tap Search result filters. The first filter will be on the top followed by their decreasing order or priority. Hold the filter and drag it to change its priority. And, if you don’t want to show an item, you can do that too. To disable search for a filter, just turn its toggle off.
Explore the Launcher
Despite being free, Microsoft Launcher is full of great features. You can customize and personalize it according to your need. While doing so, do let us know if you stumble upon a nice hidden trick. The above article may contain affiliate links which help support Guiding Tech. However, it does not affect our editorial integrity. The content remains unbiased and authentic.


