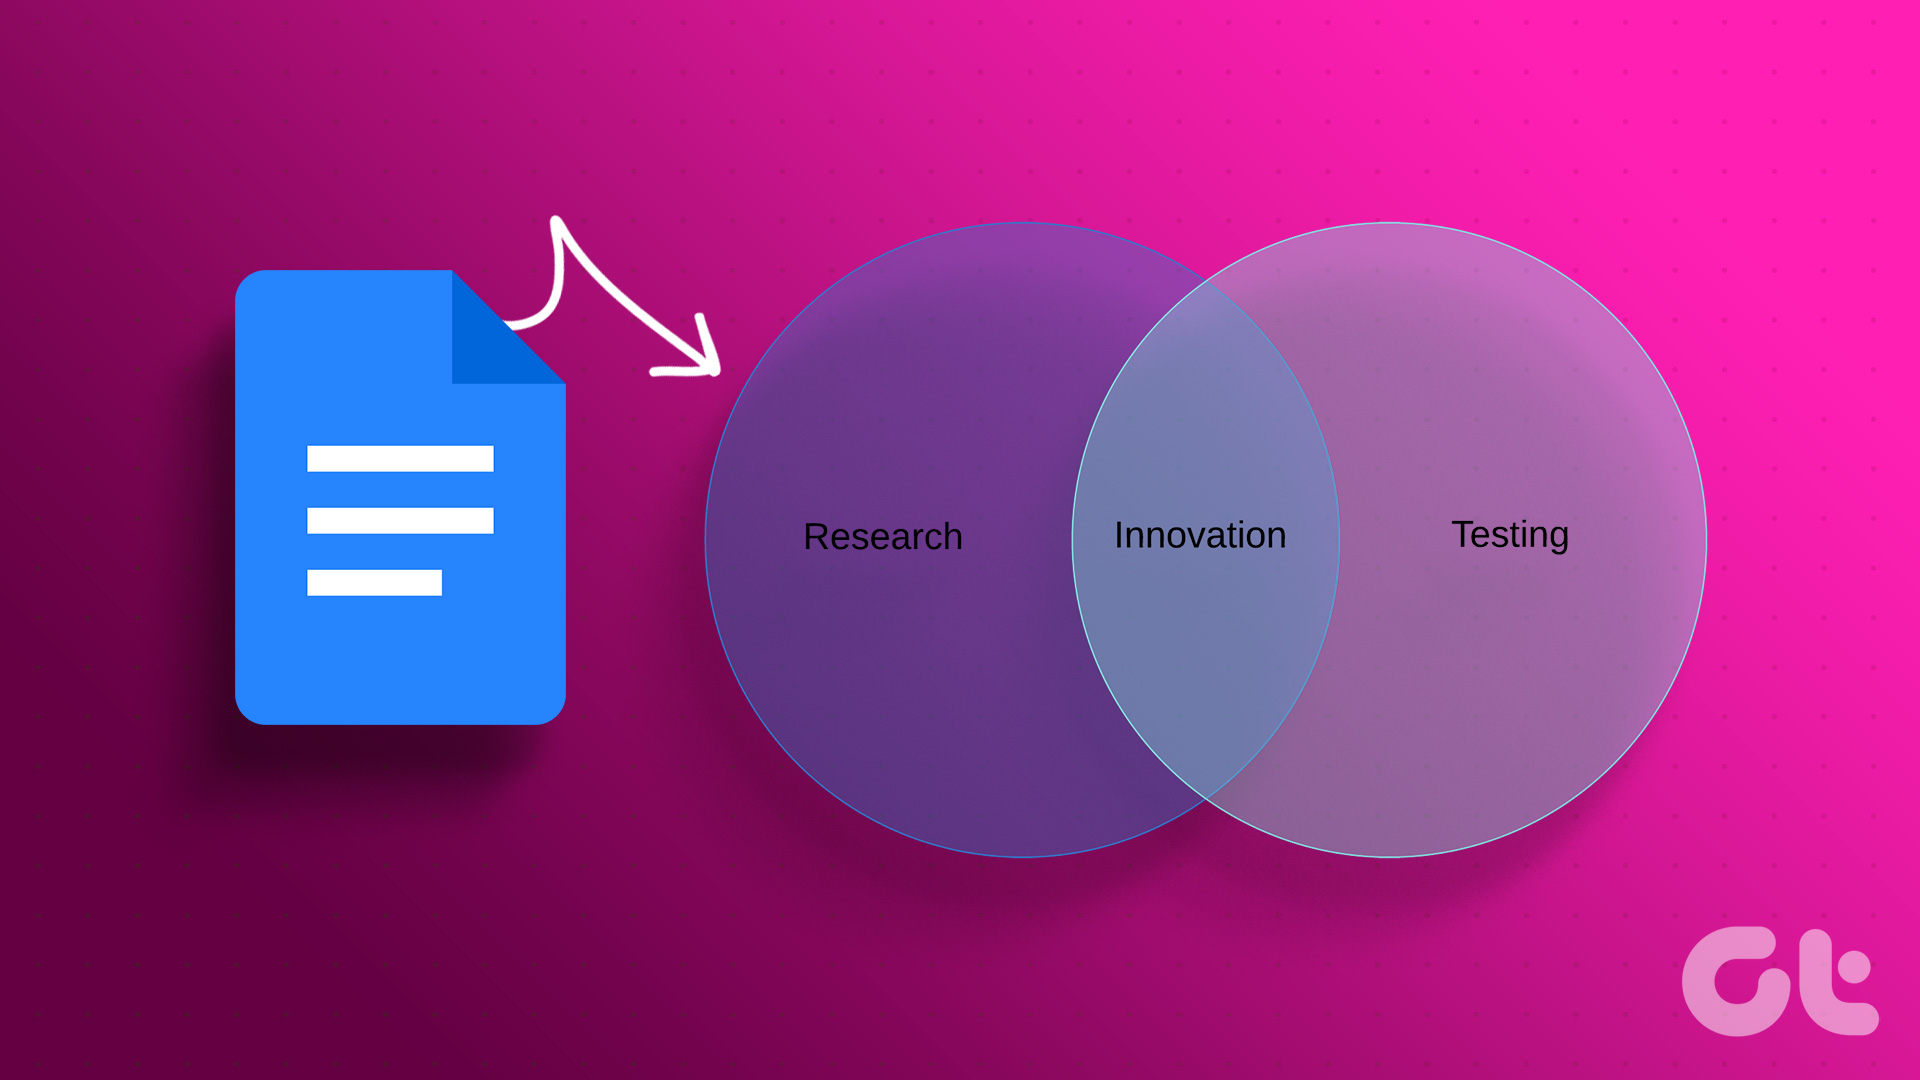
Like always, the trusty Drawing tool comes in handy when creating any shape-related diagram. Using this, you can easily create, flip, and even rotate images in Google Docs. But there is an easier way to make Venn diagrams using extensions. Let’s show you both the ways. Note: Make sure you’re signed into your Google account before getting started.
1. Create a Venn Diagram in Google Docs Using the Drawing Tool
The Drawing tool is a simple yet effective feature of Google Docs. Using this, you can easily make a Venn diagram in Google Docs. You can even add text to the diagram. Follow the below steps. Step 1: Open Google Docs. Open Google Docs Desktop Step 2: From the menu bar, click on Insert > Drawing > select New. This will open the Drawing window. Step 3: Here, click on Shape. Then, go to Shapes and click on Oval. Step 4: Now, use your cursor to create an oval shape according to your preference. Step 5: Shapes in Google Docs come prefilled with a background color. To remove that, select the shape and click on the paint bucket icon. Step 6: Then, click on Transparent. Step 7: Now, copy and paste the existing shape:
On Windows: Press Control + C to copy and Control + V to paste. On Mac: Press Command + C to copy and Command + V to paste.
Step 8: Now, use your cursor to arrange the shape as required. You can also use the red gridlines to arrange your shape. Step 9: Now, click on the Text box icon to insert text into your Venn diagram. Step 10: Use your mouse cursor to create a text box within the diagram shapes. Step 11: Click on the text box. Once it is selected, start typing. Repeat this process for all the shapes. Tip: Check our guide to know more about adding a text box in Google Docs. Step 12: Once done, click on ‘Save and Close’. This will insert the Venn diagram into the document. If you want to make any further changes, click anywhere on the Venn diagram and once the Edit option appears, click on it. This will reopen the Drawing window.
2. Insert a Venn Diagram in Google Docs Using Add-Ons
Apart from manually creating Venn diagrams, you can also use templates and customize them according to your requirements. While there are no Venn diagram templates available in Google Docs, you can use add-ons like Lucidchart and Cacoo to access them. We have divided the steps into three sections. First will talk about how to get the Lucidchart or Cacoo add-on followed by the steps to using Lucidchart and Cacoo. If you already know how to get the add-on, you can skip to the second section.
1. Download Add-Ons in Google Docs
Step 1: Open the relevant file in Google Docs and click on Extensions. Step 2: Then, go to Add-ons and click on ‘Get add-ons’. Step 3: Here, you can either click on the search bar to look for the Lucidchart add-on or, if it’s visible on the main page, click on it. Step 4: Then, click on Install. Step 5: Click on Continue and follow the on-screen instructions to install the add-on. Now, follow the above steps to install the Cacoo add-on as well. Once the add-on is installed, it’s time to give it a spin. Follow the below steps to do it.
2. Use Lucidchart Add-On to Create a Venn Diagram
Once the add-on has been added, it will automatically appear in the docs side panel menu. Here’s how to go about it. Note: Ensure you’re signed in to your Lucidchart account before proceeding. Step 1: To access the Lucidchart add-on, click on the arrow to expand the side panel. Step 2: Then, click on the Lucidchart icon. Step 3: This will open Lucidchart in the side panel. You can use these tools to create a Venn diagram. Step 4: You can also click on the three-dot icon to access additional menu icons. Using the available templates, you can easily insert a Venn diagram in Google Docs. If you are on the free plan, then some restrictions might apply. For full access, you can also subscribe to their plans.
3. Use Cacoo Diagrams
Step 1: Once you have finished adding the Cacoo Diagrams add-on using the abovementioned steps, click on Extensions. Step 2: Then, go to Cacoo Diagrams and click on Insert Diagram. This will open the Cacoo Diagrams side panel. Step 3: Here, click on Get Started. This will open a separate window. Step 4: Sign in to your Cacoo Diagrams and then, click on Authorize to connect your add-on to Docs. Step 5: If you currently don’t have any documents in Cacoo Diagrams, click on ‘Create a diagram’. This will open Cacoo Diagrams in a separate window. Step 6: Here, you can use the different templates available to create a Venn diagram and save the document. Step 7: Then, go back to Google Docs and click on Refresh. Your recently saved diagram document will appear here. You can then insert this diagram to create a Venn Diagram in Google Docs.
Insert Venn Diagram in Docs
While Google Docs is certainly a game changer, the lack of native tools for some features is still a source of frustration. We hope that our article helped you make a Venn diagram in Google Docs easily. You can also look at how to rotate an image in Google Docs. The above article may contain affiliate links which help support Guiding Tech. However, it does not affect our editorial integrity. The content remains unbiased and authentic.


