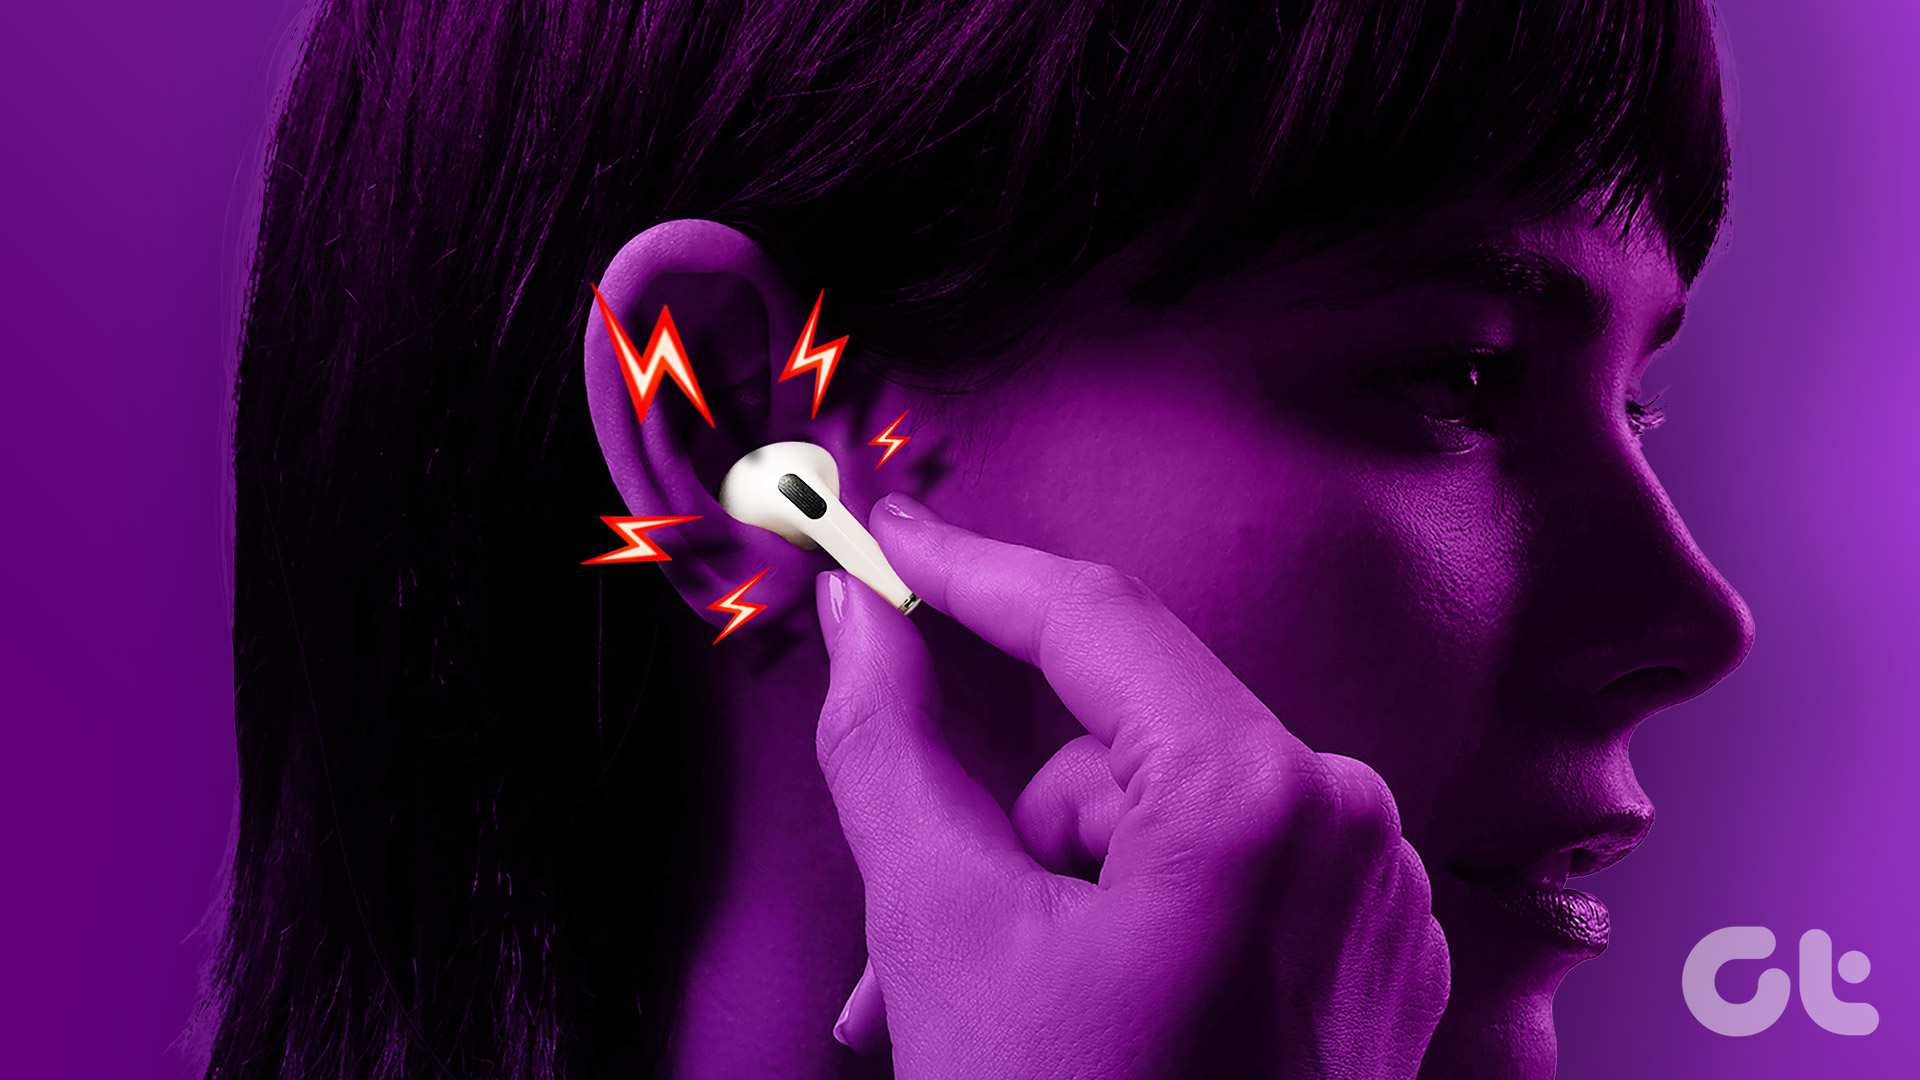
While the problem mostly plagues the AirPods Pro, you might be facing crackling issues on any generation of AirPods. If you hear some sort of rattling sounds or static when listening to music on your AirPods, don’t worry. We’ll run through some quick fixes. Here’s what you need to do if your AirPods, specifically the AirPods Pro sound glitchy.
1. Ensure You’re Within the Bluetooth Range
The AirPods pair and work with your iPhone via Bluetooth. So, it’s important to always stay in the Bluetooth range when using the AirPods. What this means is that you need to be close to your iPhone. If you walk away from the Bluetooth range, after a certain point, the audio may start to fall apart and you can hear some crackling sounds. You may also experience AirPods Pro crackling sounds when you’re moving away from your iPhone and there are a lot of walls or other obstacles in between. To avoid this, it’s best to stay as close to your iPhone as possible when using the AirPods. This will ensure you’re always within the Bluetooth range and hence, don’t experience any static noise.
2. Charge Your AirPods Completely
AirPods are wireless earbuds that run on batteries. If your AirPods Pro run out of charge, you will not be able to use them, or they may not perform in an intended manner. This includes crackling audio or music breaking in between since there’s less power. So, try charging your AirPods by putting them inside the case and connecting it to a lightning cable. Wait for a few hours and then try using the AirPods. You can take a look at our guide on how to fix AirPods not charging if your earbuds are not accepting a charge.
3. Try Using a Different Music Track or App
It’s possible that the song you’re playing or the app you’re using to play audio has a glitch. This may cause the distorted audio on your AirPods Pro. Try playing a different audio track, or switch to a different app. If you’re using Apple Music, try playing a video on YouTube to see if the issue persists.
4. Re-Pair The AirPods
A lot of times, simple steps like unpairing the AirPods and pairing them back to your iPhone or Mac can solve such issues. Try it out to see if your AirPods Pro sound output gets better. Here’s how to do it. Step 1: Open the Settings app on your iPhone and select the Bluetooth option. Step 2: Tap on the ‘i’ button next to your AirPods. Step 3: This will bring up your AirPods settings. Select ‘Forget This Device’. Confirm the selection, and your AirPods will be unpaired from your iPhone. Close the AirPods case, bring it closer to your iPhone, and open the case again. You will see a pop-up on your screen to pair the AirPods. Follow the instructions and your AirPods should be connected again.
5. Clean the Ear Tips of the AirPods
If you’ve been using your pair of AirPods for a long time, dirt might have accumulated on the ear tips and the speaker grille. This is especially true if you have the AirPods Pro with silicone ear tips. That can block the sound output or make it sound distorted. Clean the ear tips on your AirPods by rubbing a soft microfiber cloth using Isopropyl alcohol. You can also use some Q-tips to remove any grime that may have settled there. Try using the earbuds to see if cleaning helps clear up the sounds.
6. Update Your AirPods to the Latest Firmware
Just like your iPhone, the AirPods run on firmware developed by Apple. The firmware on the AirPods is responsible for all the features and proper functioning of the earbuds. There is a possibility that the firmware on your AirPods is buggy, causing the AirPods Pro static noise issue. If you hear some clicking noise in your AirPods, try updating your firmware to see if it goes away. If there is a newer version of firmware available for your AirPods, all you have to do is put your AirPods inside the case while they’re connected to your phone. Now, connect a lightning cable to your AirPods to start charging them, and the firmware update should take place in the background.
7. Factory Reset the AirPods
If none of the above solutions worked, you could try factory resetting your AirPods to see if it makes a difference. Here’s how to do it. Step 1: Put your AirPods into the case and charge it. Step 2: Open the lid of the AirPods case. Step 3: Press and hold the button at the back of the AirPods case for 15 seconds. The LED on the front of the AirPods case will start blinking white. Release the button when this happens. Step 4: Close the AirPods case and open it again. You will get a prompt on your iPhone to connect your AirPods to it. Pair it and you should now have a fresh start.
8. Check if Your AirPods Are Eligible for Apple’s Replacement Program
All the fixes mentioned above can work if there’s an issue with the firmware on your AirPods. However, if there’s a hardware defect, it cannot be resolved using simple methods like these. In case there is a widespread hardware issue with a certain AirPods model, Apple will acknowledge it with a replacement program. Head over to Apple’s Replacement Program page and check if your AirPods are eligible for a replacement. If they are, take them to a nearby Apple Store, and you should be able to get a new pair free of cost.
Keep the Static Noise Away
It’s surely not a pleasant experience if you can hear crackling sounds on your AirPods Pro. Follow these steps and you should be able to fix the issue. In case the problem persists, you can always take it to Apple if it’s under warranty or eligible for a replacement. The above article may contain affiliate links which help support Guiding Tech. However, it does not affect our editorial integrity. The content remains unbiased and authentic.


