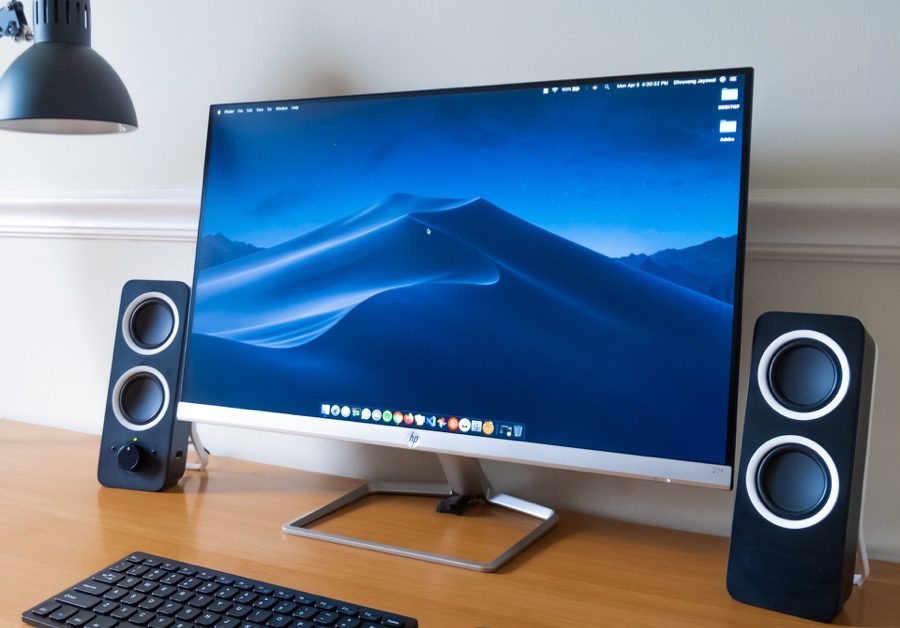
So whether you want to add a trove of monitors to your high-end desktop or just an external monitor to your laptop, I’ve got you covered. Best of all, you don’t need to install any extra piece of software to do any of this. Let’s get started.
Adding An External Monitor To Your Laptop
If you have a modern laptop you can use an HDMI cable to connect to an external monitor. You can get full HD 21–23 inch monitors well around the $150 range. And there’s always an option to go for a 27 inch IPS display. These are especially helpful for multi tasking/monitoring. Also, movies and games will look much better on these full HD screens than your small, reflective laptop’s screen. And before you ask, your laptop can handle it. Even the 2–3 year old laptops with Intel’s integrated graphics are more than capable of firing pixels onto an external monitor (gaming not included).
Using Your Laptop In Clamshell Mode
If you’re attaching one or two external displays to your laptop and don’t want to look at the laptop’s screen, there’s a way to essentially turn the laptop into a desktop PC. To do this, go to Control Panel -> Hardware and Sound -> Change What the Power Buttons Do. Here you’ll seen an option called “When I close the lid”. From either the On Battery or Plugged In section, change the option to Do Nothing. Now when you close the lid, the computer won’t go to sleep. I’d suggest you choose the Plugged In option because driving external displays on your laptop’s battery isn’t the best idea.
Span Taskbar And Single Start Page
Windows 8 and 8.1 span the taskbar to all the displays by default so no matter where you are, you’ll be able to quickly switch between applications. If you don’t want this feature, you can turn it off by right-clicking on the taskbar and selecting Properties. There’s no missing the Start page. Sure you can directly boot into Desktop now but if you put in some time, you can learn to love it or live with it. Either way, having a multiple monitor setup gives you a bit of both old and new. The Start page will show up on your default screen while the secondary monitor will show the good ol’ desktop.
Individual Or Panoramic Wallpapers
Let’s say you’ve got three 27 inch monitors arranged on your desktop, which is starting to look something like an airplane cockpit. It’s a shame if all of them show different pictures. Thanks to a built-in mode, you can apply panoramic wallpapers to your displays and stretch that skyline to the edges of the horizon. You don’t need to download a special program to apply panoramic wallpapers. Right-click on the Desktop and go to Personalize. From the Wallpapers tab select your downloaded panoramic wallpaper. In the bottom you’ll see a Picture position option. From here select Span and now your wallpaper is stretching across your displays. Want to set different wallpapers for each screen? That’s cool. In the same window, right-click on the image and select either of the displays.
Where To Get The Wallpapers From
Wallpaperfusion is the best place to get dual, triple or quad screen panoramic wallpapers. Dualmonitorbackgrounds.com also has a great collection. If you don’t want to download panoramic wallpapers, both websites offer cut-out wallpapers for individual screens as well.
Window Management Between Screens
I’m sure you know about Windows Aero Snap feature that allows you to split two windows to take up exactly 50% of your screen, like seen below. All you need to do is either drag the window to the left or the right edge of the screen and it just docks there. I know what you’re thinking, This won’t work with your dual monitor set up. Dragging it to the left edge from the monitor on the right will just take the window over to another display. You’re smart but then so is Windows. This is when keyboard shortcuts come into play.
Use Win + right arrow/left arrow to dock a window in the respective direction on the current screen. If you want to move the window over to the display on the left, tap Win + Shift + Left Arrow. Win + Shift + Right Arrow key will bring the window to the display on the right. It’s that easy.
Happy Productivity
You’re now ready to supercharge your productivity with the help of multiple monitors. If you have any tips or tricks related to the topic, feel free to share in the comments below. The above article may contain affiliate links which help support Guiding Tech. However, it does not affect our editorial integrity. The content remains unbiased and authentic.


![]()
