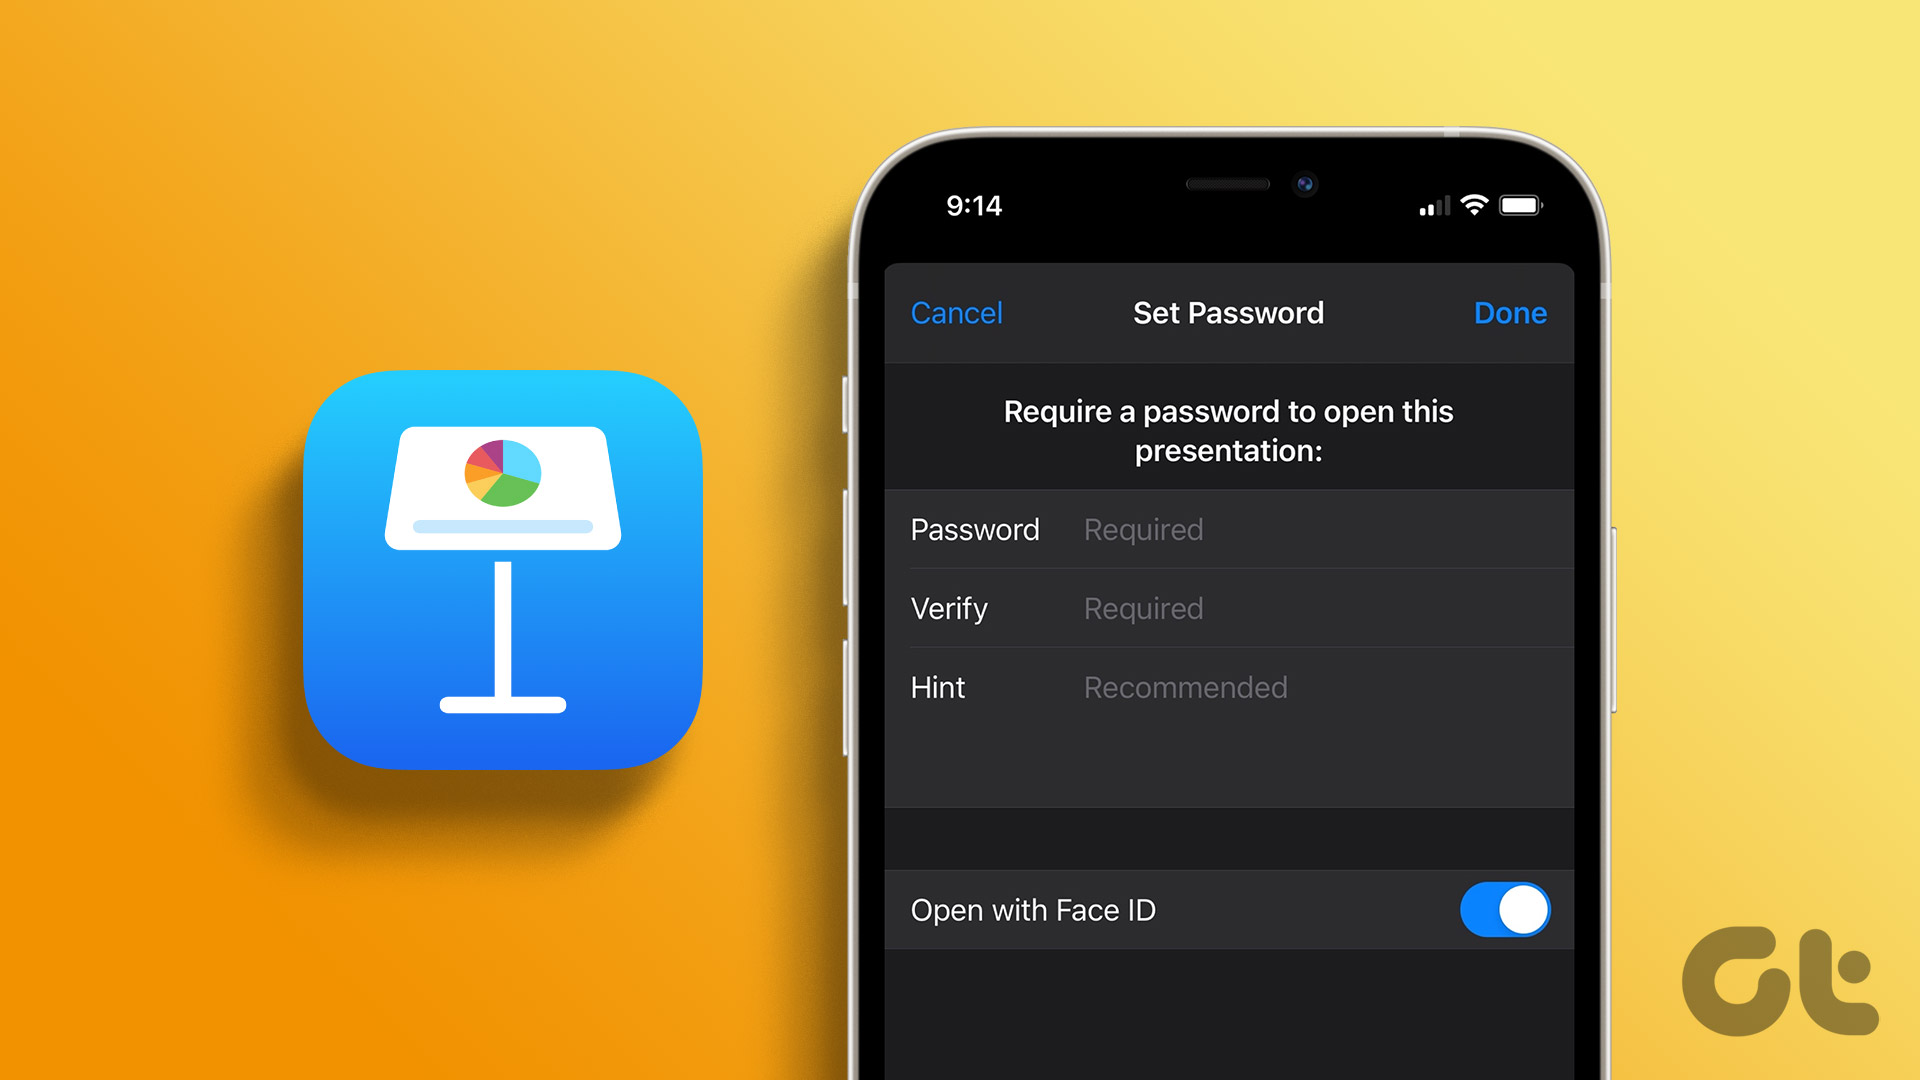
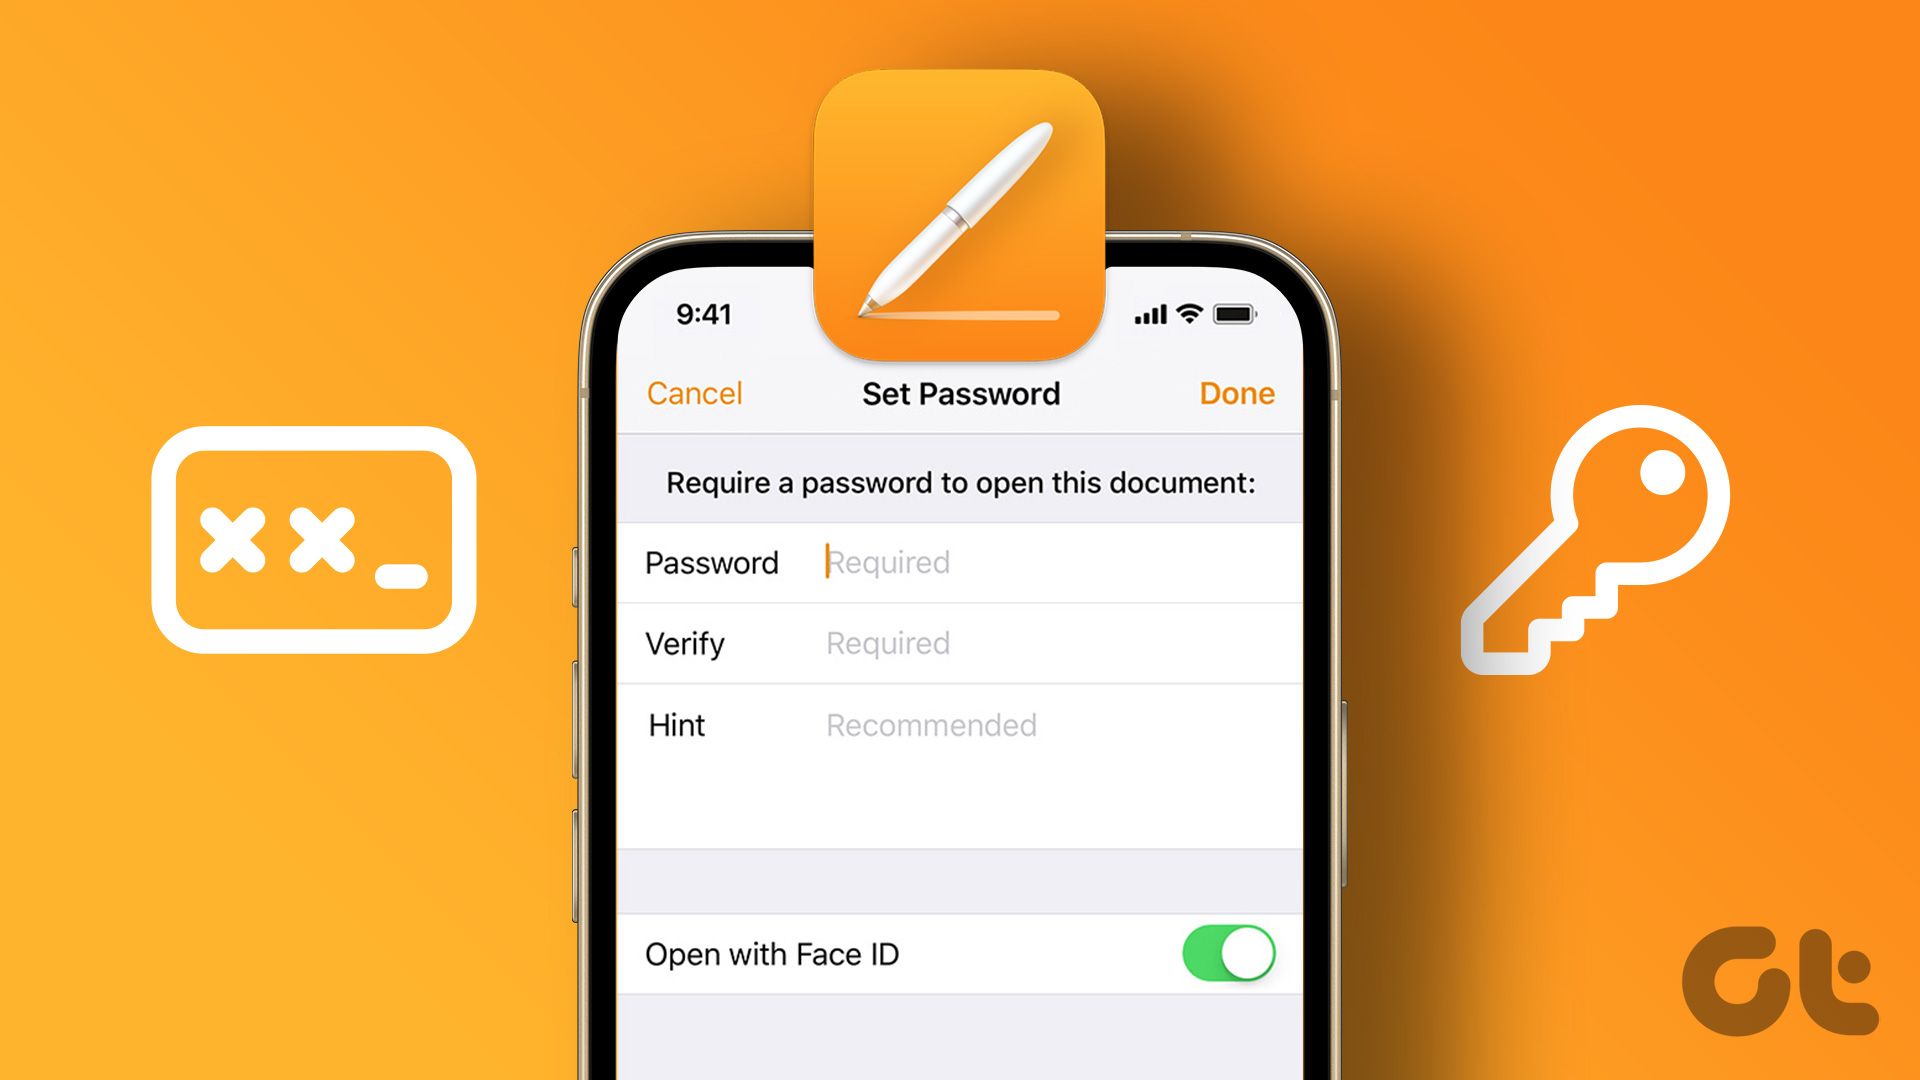
That’s why it is recommended to secure your PDF with a password. We will show you the steps to add a password to your PDF file(s) on your iPhone. We will share both ways of adding a password with and without needing a third-party tool.
How to Add Password to PDF on iPhone and iPad
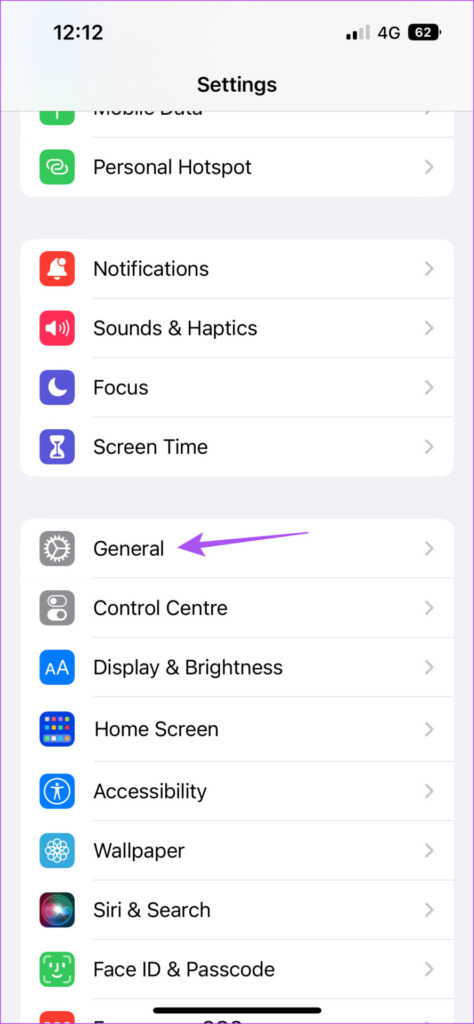
The iOS 16 and iPadOS 16 updates brought the option to lock a PDF file using the Files app. Adding a password, you can secure the PDF files stored locally on your iPhone. Do note that files stored in iCloud can’t be password protected. First, we suggest you update the software version on your respective device. Note the steps will be the same on iPhone and iPad. Step 1: Open the Settings app on your iPhone or iPad.
Step 2: Tap on General.
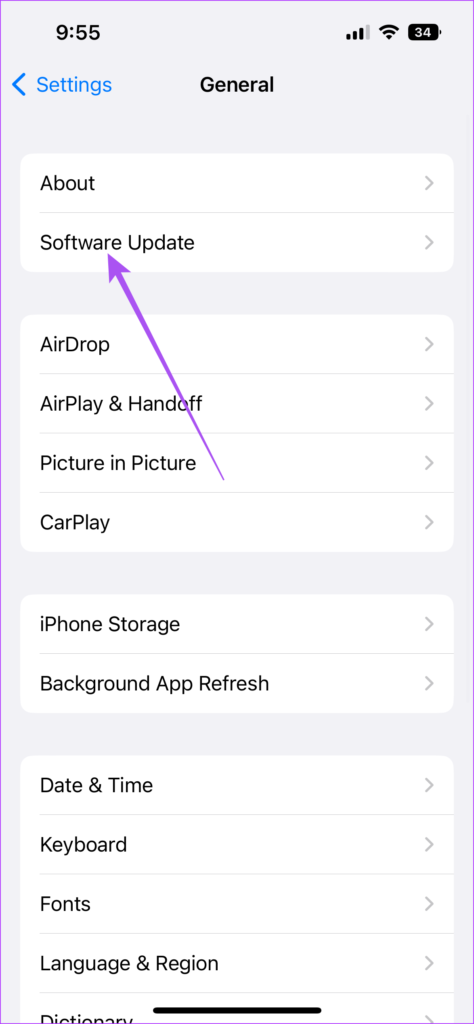
Step 3: Tap on Software Update.
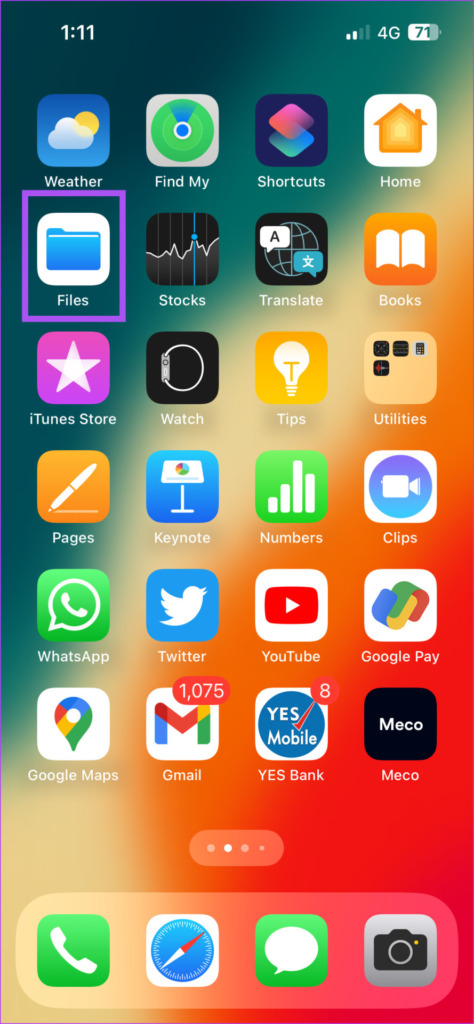
Step 4: If an update is available, download and install it. After the installation completes, here’s how you can password-protect a PDF file on your iPhone and iPad. Step 1: Open the Files app on your iPhone or iPad.
Step 2: Open the PDF you want to secure with a password. Step 3: Tap the drop-down menu at the top.
Step 4: Select Lock PDF.
Step 5: Add the password for your PDF and enter it again to verify.
Step 6: Tap on Done at the top-right corner to save the password.
Step 7: Tap on Done at the top-right corner again to confirm.
Your PDF file is now password protected on your iPhone.
You can tap on it and enter the password to access the file. Share this file and the password with your contacts to prevent unwanted access.
Please note that you can’t remove the password from your PDF file. Alternatively, if your iPhone or iPad runs on an older software version and it doesn’t support iOS 16 or iPadOS 16, here’s how you can lock your PDF file. Step 1: Open the Files app on your iPhone.
Step 2: Open the PDF you want to secure with a password. Step 3: Tap the Share icon in the bottom-left corner.
Step 4: Select Lock PDF from the list of options. Step 5: Add the password for your PDF and enter it again to verify.
Step 6: Tap on Done at the top-right corner to confirm.
Step 7: Tap on Done at the top-right corner again to save the password.
Add Password to PDF Using Adobe Acrobat on iPhone and iPad
The official website of Adobe Acrobat also provides the Lock PDF feature. You can use this feature to secure files stored on your iCloud. This free online tool works like a charm and lets you download your password-protected PDF files straight to your iPhone or iPad. Here’s how to use it. Step 1: Open the browser on your iPhone or iPad. Step 2: Visit the official website of Adobe Acrobat PDF tool. Visit Adobe Acrobat Step 3: Tap on Select a File.
Step 4: Select the PDF file which you want to protect with a password. Step 5: Enter your password twice to verify.
You can also use the strong password generated automatically on your iPhone. Step 6: Click on Set Password.
Step 7: After that, you can download your PDF file containing the preferred password. You can open your file using Preview or any third-party software like Adobe Acrobat Reader on Mac. You can also read our post on how to sign PDFs using Adobe Acrobat Reader on iPhone and Mac.
Secure Your PDF
If you are sharing agreements, certificates, or personal details in a PDF file, securing your PDF with a password is always recommended. Using your iPhone, you can easily add a password to your PDF file(s) on the go. Other than documents, you might be required to convert images into PDF files. For example, when sharing photos to get them printed, sometimes you are asked to share them as PDF files. If you have any such photos on your iPhone or iPad, you can easily convert those pictures into PDFs without any third-party app. Then, you can share those PDFs using Airdrop, email, or iMessage with your contacts straight from your iPhone or iPad. The above article may contain affiliate links which help support Guiding Tech. However, it does not affect our editorial integrity. The content remains unbiased and authentic.


