The first step to changing the ringtone on Android is by changing the ringtone for incoming calls. Now this could be anything from the ringtones already available on your device to a custom song that you like. Next, you can change the ringtone for specific contacts to make sure they stand out. Let’s have a detailed look at how to do them both.
Change the Ringtone for Incoming Calls on Android
Changing the ringtone is usually as easy as going onto your device’s settings and selecting a new one. Most devices come with a decent selection of ringtones that can be used interchangeably so that you have a new ringtone every few weeks. Follow the below steps to do it. Note: We’re using an ASUS device for demonstration. The process of changing the ringtone might be slightly different on your Android device. Step 1: Open Settings and tap on Sound. Step 2: Here, tap on Phone ringtone. Step 3: From the list, select the desired ringtone. Step 4: Then, tap on OK. This will change the default ringtone on your Android device. Additionally, you also have the option of changing your device’s ringtone to any of your favorite songs. Here’s how to do it.
Customize Your Ringtone on Android Devices
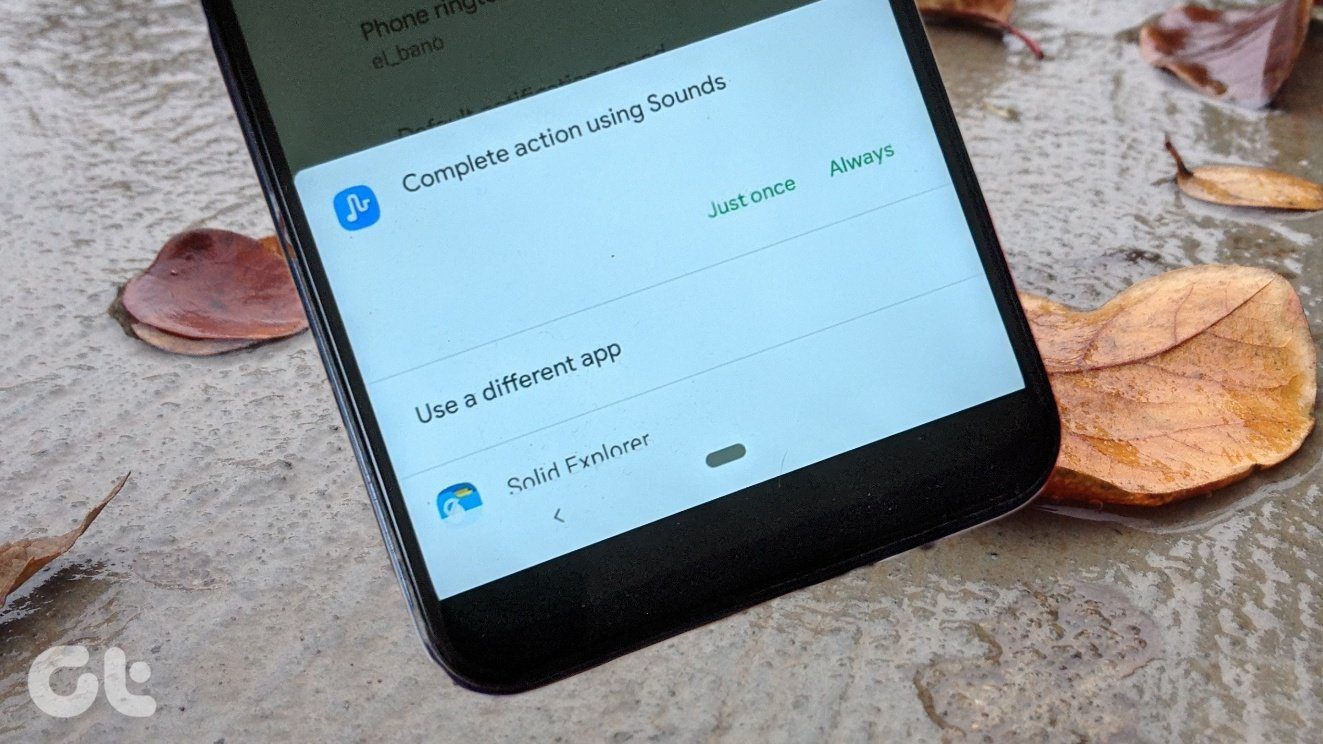
Step 1: Open the Settings app and tap on Sound. Step 2: Tap on Phone ringtone. Step 3: Scroll to the bottom and tap on Add ringtone. Step 4: This will open your device’s file manager. Here, select the song you wish to set as your ringtone. Step 5: Now, tap on the song from the list. Step 6: Then, tap on OK. This will customize your ringtone to the selected song. Tip: You can also use the Settings menu to set custom notification sounds for different Android apps.
Change Ringtone on a Samsung Galaxy Device
Just like on any other Android device, you can also set a custom ringtone on your Samsung Galaxy device. Although, the process to do this is a little different. Follow the below steps to do it. Step 1: Go to Settings. Step 2: Tap on ‘Sounds and vibration’. Step 3: Here, tap on Ringtone. Step 4: Scroll through the page and tap on your desired ringtone. Tip: You can also use the Ringtone volume section to increase or decrease ringtone volume. Once done, your ringtone will be changed. Apart from this, you can also change your ringtone to a song or any other music. Here’s how.
Set a Custom Ringtone
Step 1: Go to Settings and tap on ‘Sounds and vibration’. Step 2: Here, tap on Ringtone and tap the + icon in the top right corner. Step 3: Tap on Allow, if asked. This will open a list of your device’s current music. Step 4: Here, you can either tap on Search or scroll through the option to look for any specific song. Then, tap on the selected song. Step 5: Turn on the ‘Play selected highlights only’ toggle if you wish to set the ringtone from the automatically highlighted point in the song. Step 6: Once the song is selected, tap on Done. This will make the selected song your ringtone. However, if you wish to remove the song and also clear it from the ringtone list, then tap on the – icon in front of it. This will remove the custom song from your Ringtone page.
Set a Custom Ringtone for a Specific Contact
If you have certain contacts that you’re frequently in touch with or are of high importance, you can set custom ringtones for them. This will allow you to differentiate those contacts from the rest. Here’s how to do it on an Android and Samsung Galaxy device.
On Android
Note: The steps for changing the ringtone for a specific contact might differ depending on your Android device. Step 1: Open Contacts. Step 2: Either tap on the desired contact from the list or use the Search bar to look for it. Step 3: Then, tap on the three-dot icon. Step 4: Here, tap on Set ringtone. Step 5: From the list, select a ringtone. Step 6: Tap on OK. This will change the ringtone for the selected contact. Repeat the above steps to change the ringtone for other contacts on your Android device.
On a Samsung Galaxy Device
Step 1: Open the Contacts app. Step 2: Here, tap on the contact you wish to change the ringtone for. Step 3: Tap on Edit. Step 4: Scroll down and tap on View more. Step 5: Once the menu option appears, tap on Ringtone. Step 6: Tap on Allow to grant permission to access requested device media. Step 7: From this list, choose the ringtone you wish to set or tap on the + icon in the top right corner to set a custom ringtone. Step 8: Once your selection is done, tap on the back icon. Step 9: Here, tap on Save. This will set a custom ringtone for that specific contact. You can repeat the process if you wish to change the ringtone for other contacts on your Samsung Galaxy device as well. Additionally, you can also change notification sounds for apps on your Galaxy phone to make them stand out.
Bonus: Change Ringtone on WhatsApp
You can also set a custom ringtone for WhatsApp so that you know whether your call is a cellular call or a WhatsApp call right from the tone. Here’s how to do it. Step 1: Open WhatsApp. Open WhatsApp Step 2: Here, tap on the three-dot menu. Step 3: Tap on Settings. Step 4: Then, tap on Notifications. Step 5: Scroll down and go to the Calls section. Here, tap on Ringtone. Step 6: Select the desired ringtone from this page. Tip: Use the Ringtone volume slider to set the loudness of your ringtone. Once this is done, your WhatsApp ringtone will be changed. Additionally, you can also customize the notification sounds for specific WhatsApp contacts.
Customize Your Ringtone
Just like notification sounds, ringtones are a great way to notify you of any incoming call. So we hope that our article helped you in customizing it by changing the ringtone on Android. You can also check out our other article if you’re having issues with Android ringtone not working and never miss a call. The above article may contain affiliate links which help support Guiding Tech. However, it does not affect our editorial integrity. The content remains unbiased and authentic.