But before that, let’s understand if it’s safe to delete cache files. Well, the short answer is yes. Deleting cache from the places mentioned in the article shouldn’t run your Mac into any issues. However, note that some apps store essential files in the cache folders. So, making a copy before deleting the apps will help. Quick Tip: If you don’t want to go through the tedious step-by-step process of clearing the cache from your Mac, we recommend you jump directly to the last method and complete the process using a third-party app.
How to Remove All System Cache on Mac
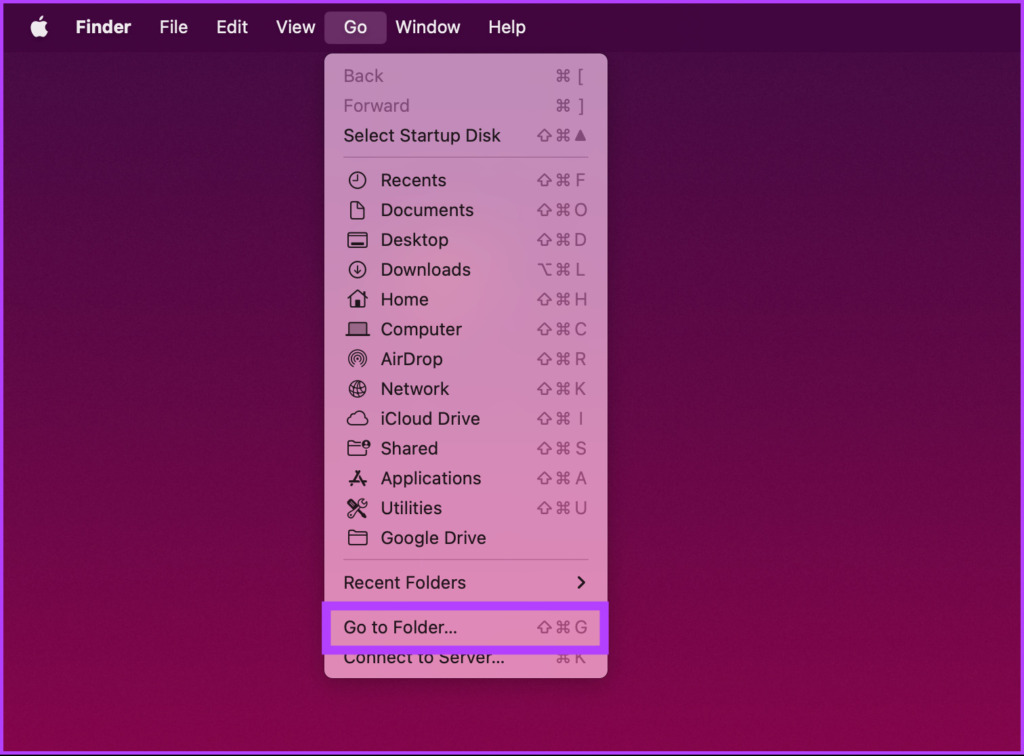
Deleting the system cache is easy and pretty straightforward. Although the steps may look complicated, they are not. Step 1: Minimize all windows and click on Go from the toolbar. Alternatively, open Finder and click on Go from the toolbar.
Step 2: Select ‘Go to Folder.’ Note: Alternatively, you can use the ‘Shift+Command+G’ shortcut to open ‘Go to Folder.’
Step 3: Type the below command in the textbox and click Go.
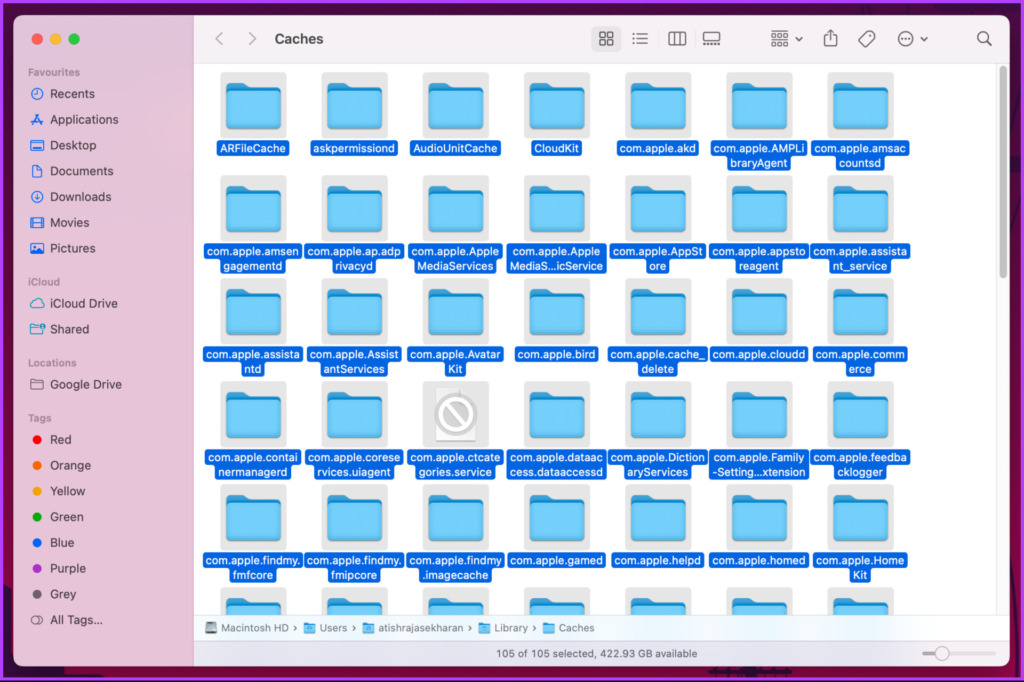
This will take you to the folder containing your Mac’s cached files. Step 4: Now, press ‘Command+A’ on your keyboard to select all the cache files. Note: All the caches of all your Mac’s installed apps will be cleared.
Step 5: Once there, right-click and select ‘Move to Trash/Bin.’ Note: Enter your Mac’s password if the pop-up appears to complete the action.
Step 6: Go to the Bin from the dock, right-click, and select Empty Bin.
There you go. You have successfully cleared your system cache without any difficulties. However, that’s not it. On Mac, your browser also accumulates a significant amount of cache. Continue reading to understand how to delete it.
How to Clear Browser Cache on Mac
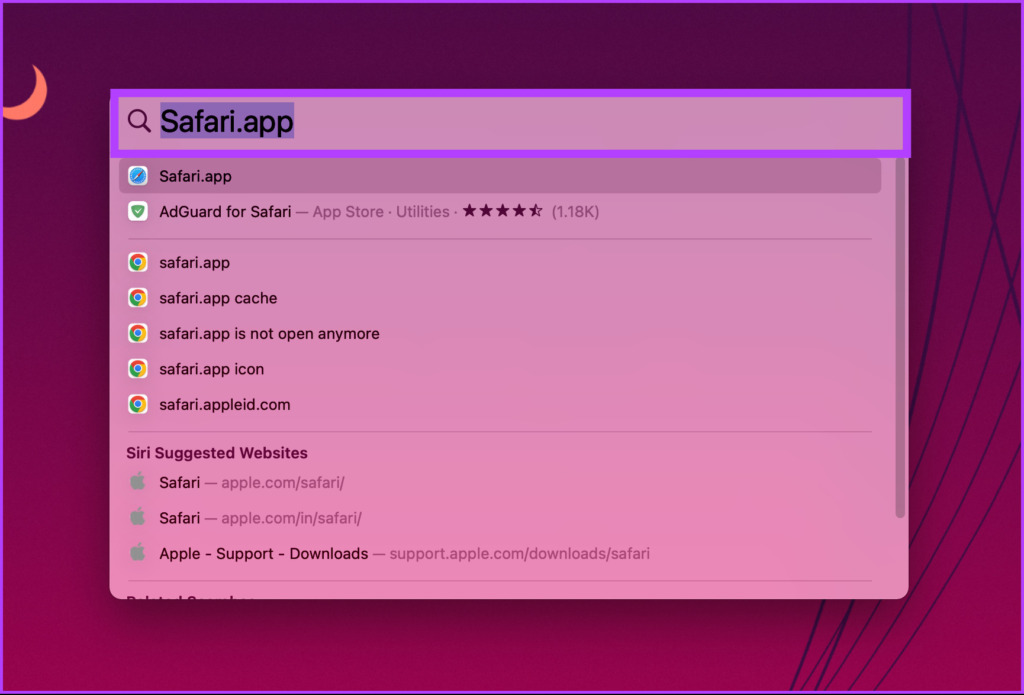
Caching files speeds up your browsing experience, but on the flip side, it also unnecessarily uses a lot of disk space. This method varies based on the browser you are using. You could use Safari, Chrome, Firefox, Opera, or another browser. Note: Keeping Mac users in mind, we will demonstrate this method using Safari. Nevertheless, clearing the cache in Google Chrome or Firefox is relatively easy. Step 1: Open Safari using the Launchpad or Spotlight Search. Tip: To open Spotlight Search, press the ‘Command + Spacebar’ on your keyboard.
Step 2: Click on Safari from the menu bar.
Step 3: Select Settings.
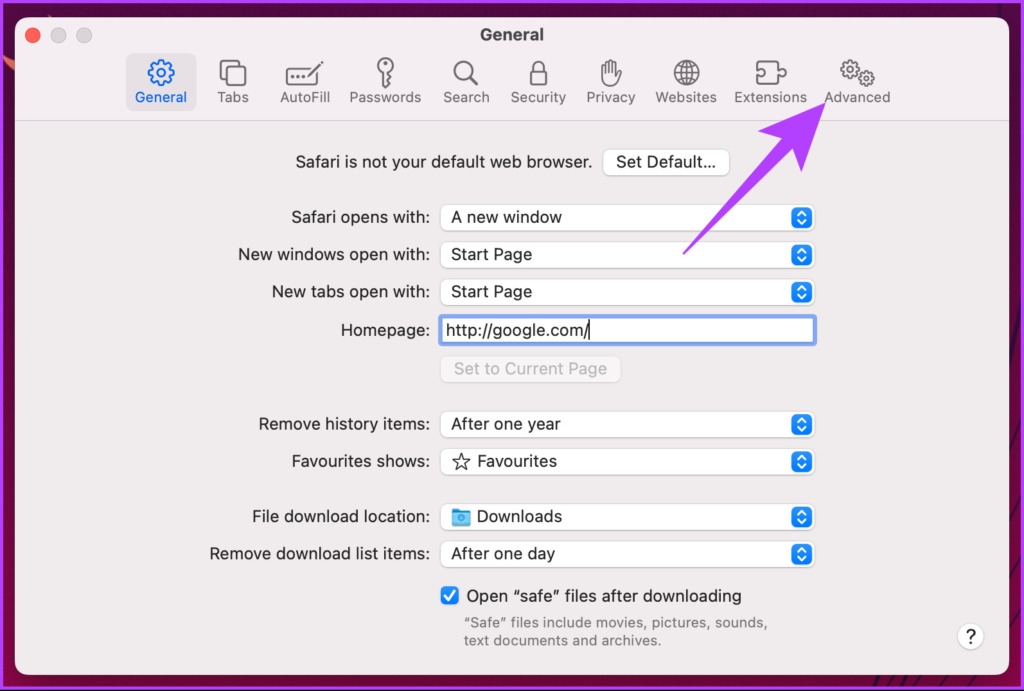
Step 4: Go to the Advanced tab.
Step 5: Check the box for ‘Show Develop menu in menu bar,’ and close Safari’s preference window.
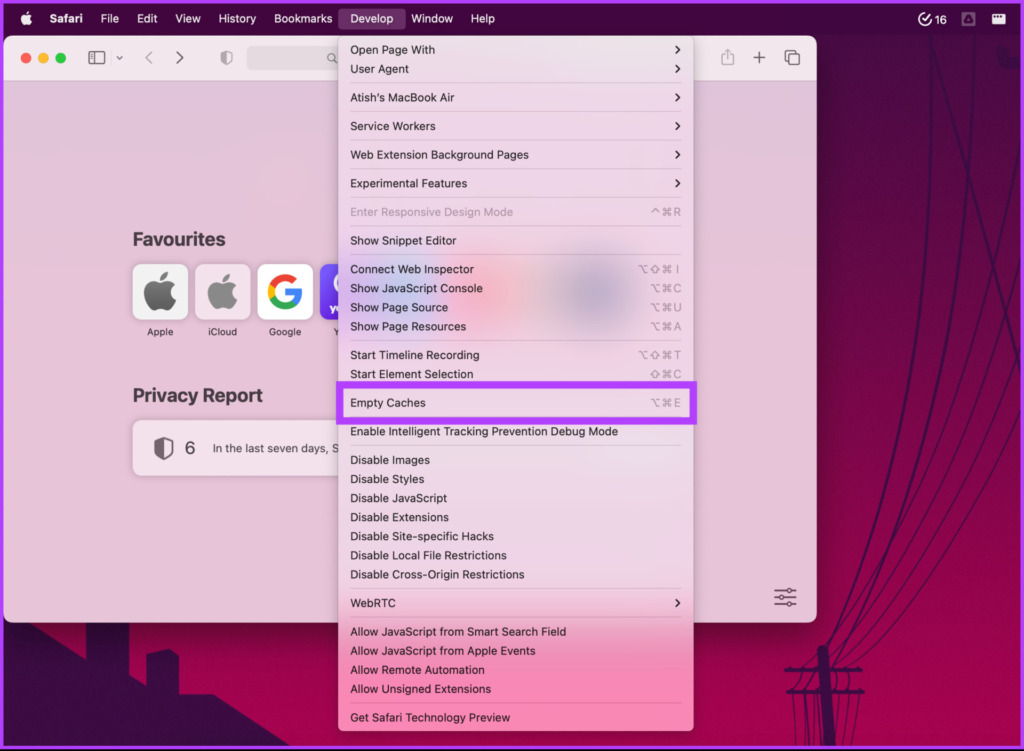
Step 6: Now, go to Develop and select Empty Caches. Note: Alternatively, you can press ‘Option + Command + E’ to purge the cache.
That’s it. You have successfully cleared the cache in your Mac browser. If you want to delete the cache from a specific app that you think is consuming disk space, keep reading.
How to Empty Application Cache on Mac
Sometimes, apps cache up so much that loading them gets slow, which burdens the overall performance of your Mac. So, cleaning the cache from time to time is always recommended. Follow the step-by-step instructions below to do so. Step 1: Minimize all windows and click on Go from the toolbar up top. Alternatively, open Finder and click on Go from the toolbar.
Step 2: Select ‘Go to Folder’ from the drop-down menu. Note: Alternatively, you can press ‘Shift+Command+G’ on your keyboard to open ‘Go to Folder.’
Step 3: Type the below command in the textbox and click Go.
This will take you to the folder containing your Mac’s cached files. Step 4: Now, select the app folder you want to delete.
Step 5: Right-click and select ‘Move to Bin.’
Step 6: Go to the Bin from the dock, right-click, and select Empty Bin.
There you have it. Simple. If you don’t want to go through the steps to clear the cache but instead want to clear the cache on Mac quickly and efficiently, move on to the following method.
How to Remove Cache From Mac Using Third-Party Tools
Many cleaner apps for Mac are available in the market to help you quickly clear your cache. For the demonstration, we will be using CleanMyMac X, but you can also try CCleaner. Note: CleanMyMac X and CCleaner are both freemium applications, meaning they have a free tier with limited features and a premium tier with more features that require a subscription. For most users, a free version would suffice. Step 1: Download and install CleanMyMac X from the App Store. Download CleanMyMac X for Mac
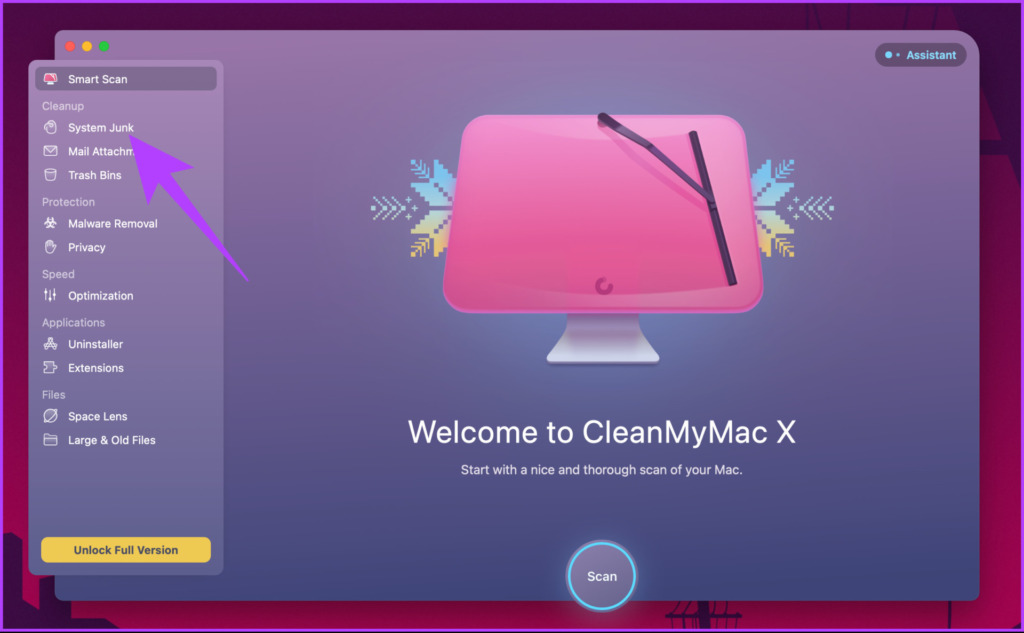
Step 2: Once done, open CleanMyMac X and go to System Junk.
Step 3: Click the Scan button to analyze your system for cache files.
Step 4: Once the scan completes, the app will show you how much space can be freed up. Finally, click Clean. Note: You can click on Review Details to see the details of cache files, based on which you can select or deselect any cache file that you would rather not delete.
That’s it. You have successfully removed all the cache from your Mac. But mind you, there’s a limitation with CleanMyMac X. You can only clear 500 MB of junk files. If you want to clean more, you will need a paid subscription. Alternatively, you can try Ccleaner.
Free Up Your Mac
It is recommended that you clear the cache once a month to remove junk and free up disk space. Any of the methods described in this article can be used to clear cache on a Mac. Just as an add-on, if you are not using an app for a while, it is better to uninstall it from your Mac and save up disk space. And now that you know, what are you waiting for? Go ahead and clean up your Mac. The above article may contain affiliate links which help support Guiding Tech. However, it does not affect our editorial integrity. The content remains unbiased and authentic.