It is essential to delete old files and maintain only recent backups for preventing the backup files from consuming memory space. However, if you would like to free up memory space on your PC, here’s what you can do to delete them: Note: On Windows 10 backup files are stored in the C: drive.
Delete Old Backup Files in Backup and Restore
Backup and Restore was an inbuilt-in feature on Windows 7. The feature would automatically back up files into a storage location. On Windows 10, Backup and Restore has been replaced with File History. Here’s how to delete the old backup files: Step 1: In the Windows Search box type Backup Settings and select Open. Step 2: When the Backup Settings window opens, click Go to Backup and Restore (Windows 7). Step 3: You should see the existing backup drive in the next window that opens. Click on Manage Space. Note: If you see the message, “Windows Backup has not been set up,” skip the other steps in this section. It implies that there is no old Windows 7 backup file cluttering your drive. Step 4: On the new window that opens, click on View Backups to view the time stamp on the different backup files. Decide on which Backup period you are comfortable with deleting and select it. Step 5: Click on Delete to get rid of the contents of that Backup period.
Delete Old Backup Files in File History
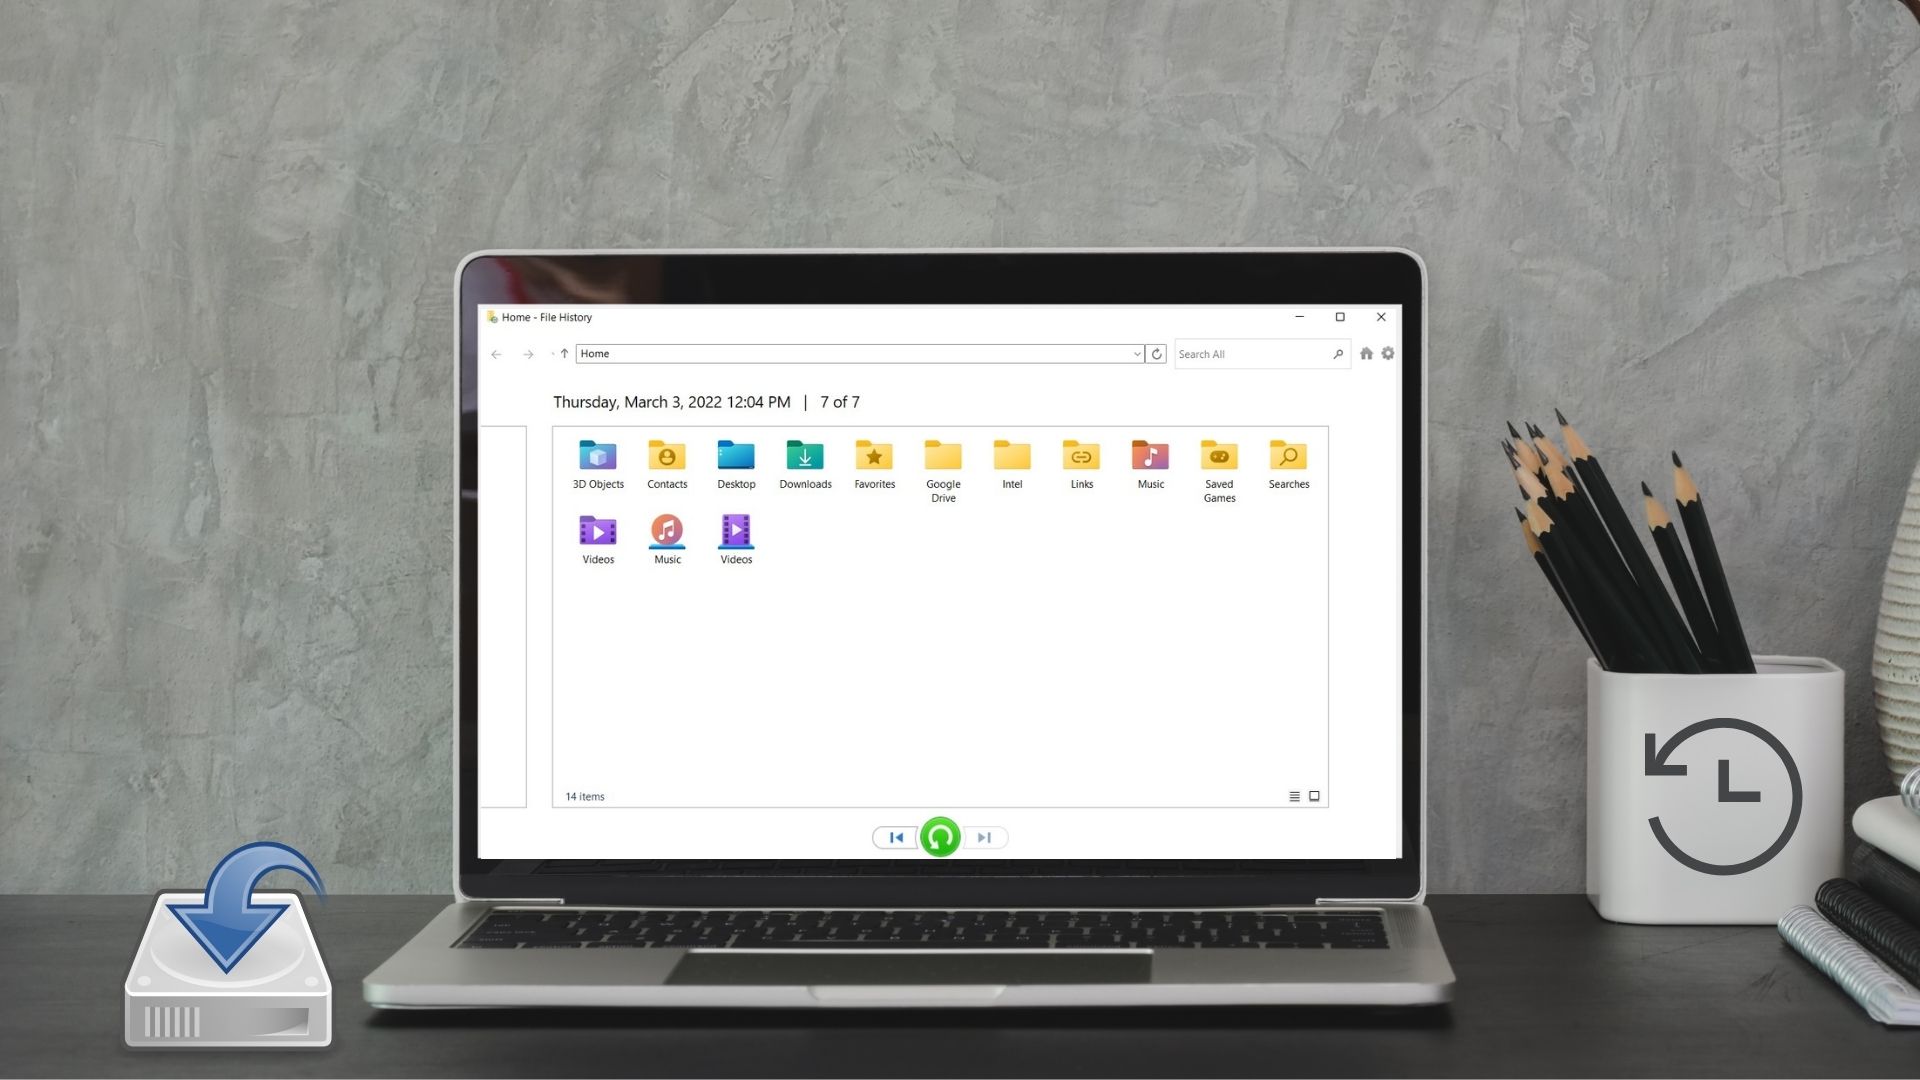
With Windows 10, users have Windows File History, which depending on user settings, might back up files in critical folders every 10 minutes or once daily. The frequency of the backup action might lead to the consumption of the PC storage space. Here’s how to delete old backup files from File History in Windows 10: Step 1: Right-click the Windows Start button and select Settings. Step 2: In the Settings window, scroll to Update & Security then click on it. Step 3: Click Backup from the options on the left tray. Step 4: If you already use Windows File History, click on More options to check the size of the Backup file and the timestamp of the last backup. Note: If you notice that Back up using File History is disabled, skip the other steps in this section. It implies that no backup files are cluttering your drives. Step 5: To remove the saved backup files in File History, search for Windows PowerShell in the Start menu. Step 6: Type the syntax below in the Powershell window and press Enter on your keyboard to run the command: Note: Doing this removes all the file backups except the recent ones.
Delete Old System Restore Points
One of the first backup features on Windows was System Restore. This feature saves a snapshot of Windows files and installation at specific times. This feature sets up multiple restore points, which might take up space on your drive when enabled. To remove these restore points, here’s what you need to do: Step 1: Launch the Run dialog box by pressing Windows + R on your keyboard. Step 2: In the dialog box, type systempropertiesprotection in the search box and select OK. Step 3: On the System Properties window, click on Configure. Step 4: On the System Protection window, click Delete to eliminate all existing restore points. Step 5: Click Ok to save changes. Note: You can configure the amount of space your restore points take upon the System Protection window by moving the slider.
Delete Old Backup Files Using Windows Cleanup Tool
Windows also backups temporary and system files. These backup files consume storage space on your drive. You can get rid of these files with the Windows Cleanup Tool using the steps below: Step 1: In the Windows search bar, type Disk Cleanup and select Open. Step 2: Allow Windows to run a quick scan for the files that it needs to delete. Step 3: On the Disk Cleanup window, tick the checkbox for the temporary backup file and click on Cleanup system files to begin the cleanup process.
Backing Up Files on Windows 10 Properly
Using any of the methods above, you should delete the old Windows 10 backup files on your PC, thereby freeing up space on your drive. To prevent your old backup files from constantly taking up space on your PC, learn how to backup files on Windows 10 the right way. The above article may contain affiliate links which help support Guiding Tech. However, it does not affect our editorial integrity. The content remains unbiased and authentic.


