Well, there is more to it than just the recording screen on iPhone. You get to edit the clip, add sound, and share it on other social media apps. In our experience, the iPhone has far more refined screen recording facilities than any other device. So let’s begin with locating the screen recording option.
How to Add Screen Recording to iPhone Control Center
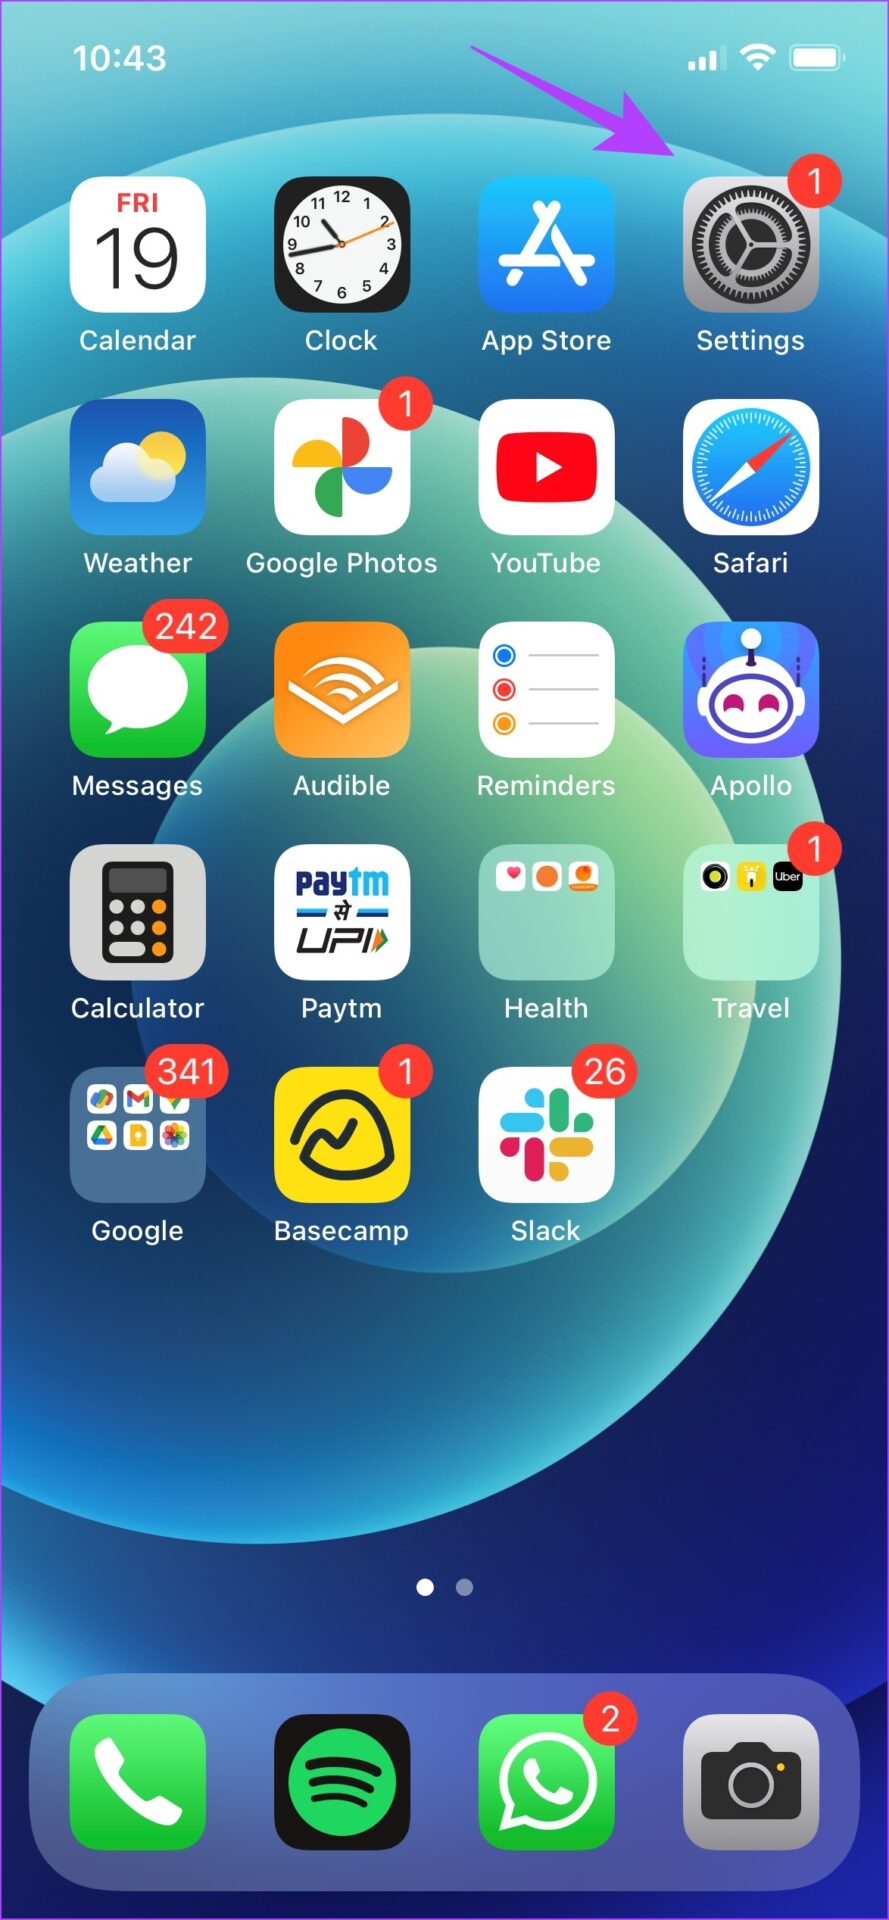
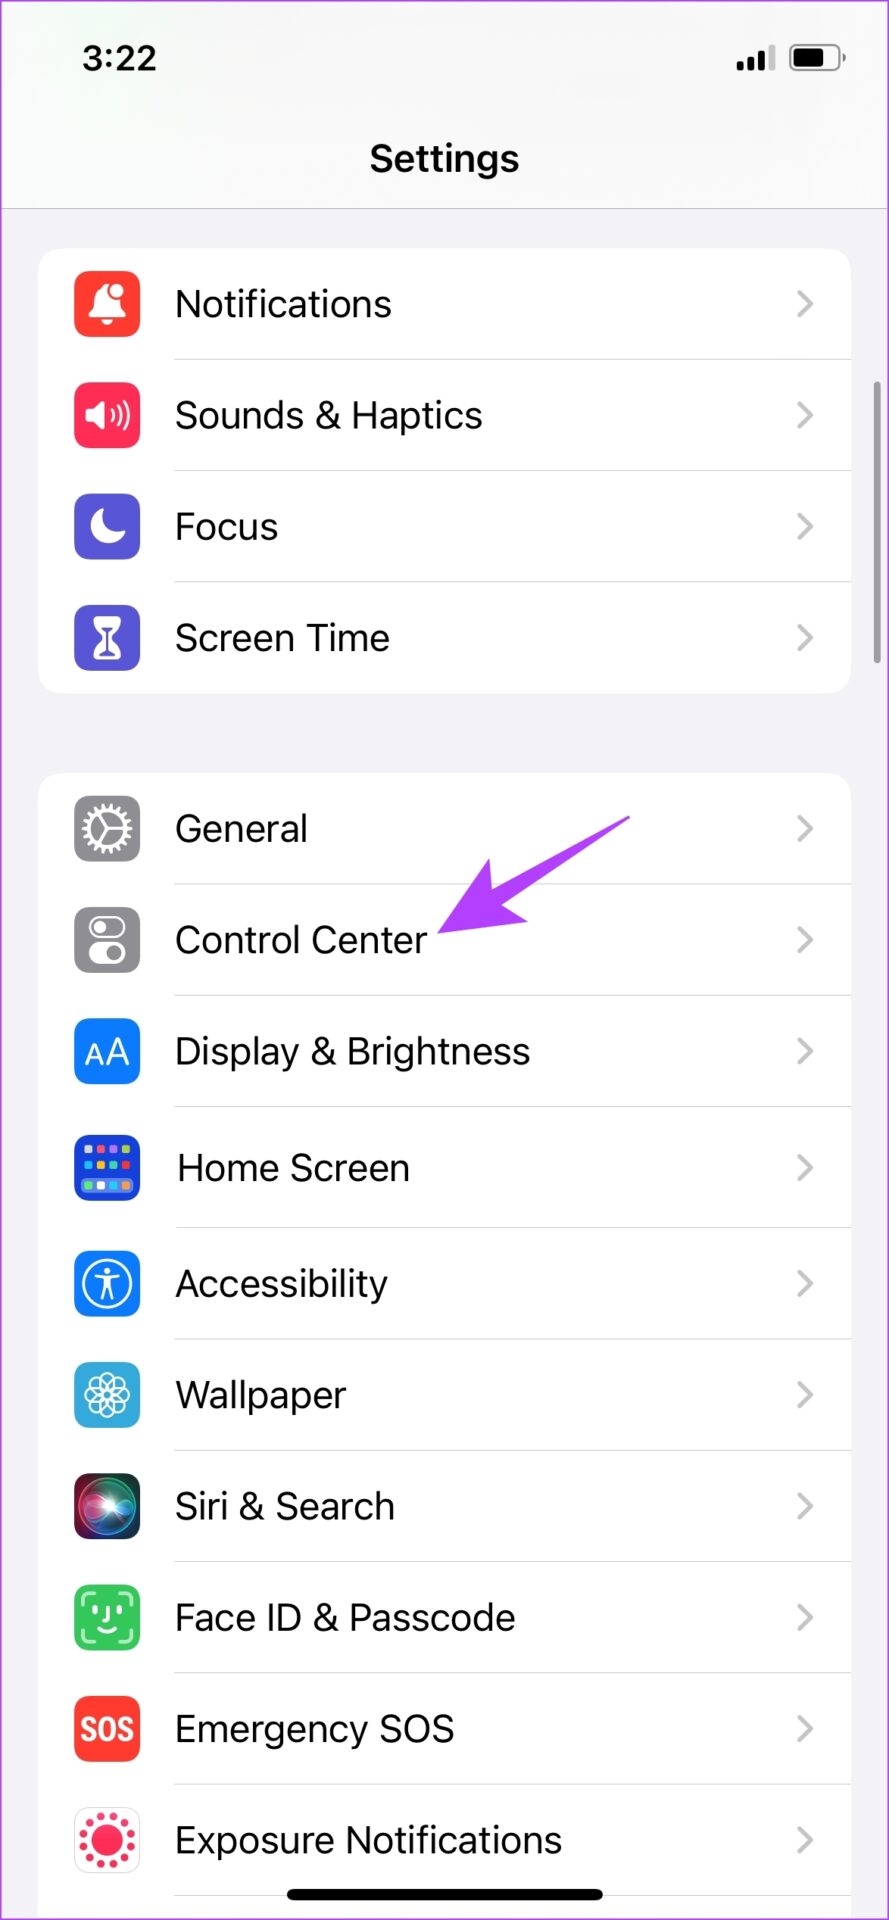
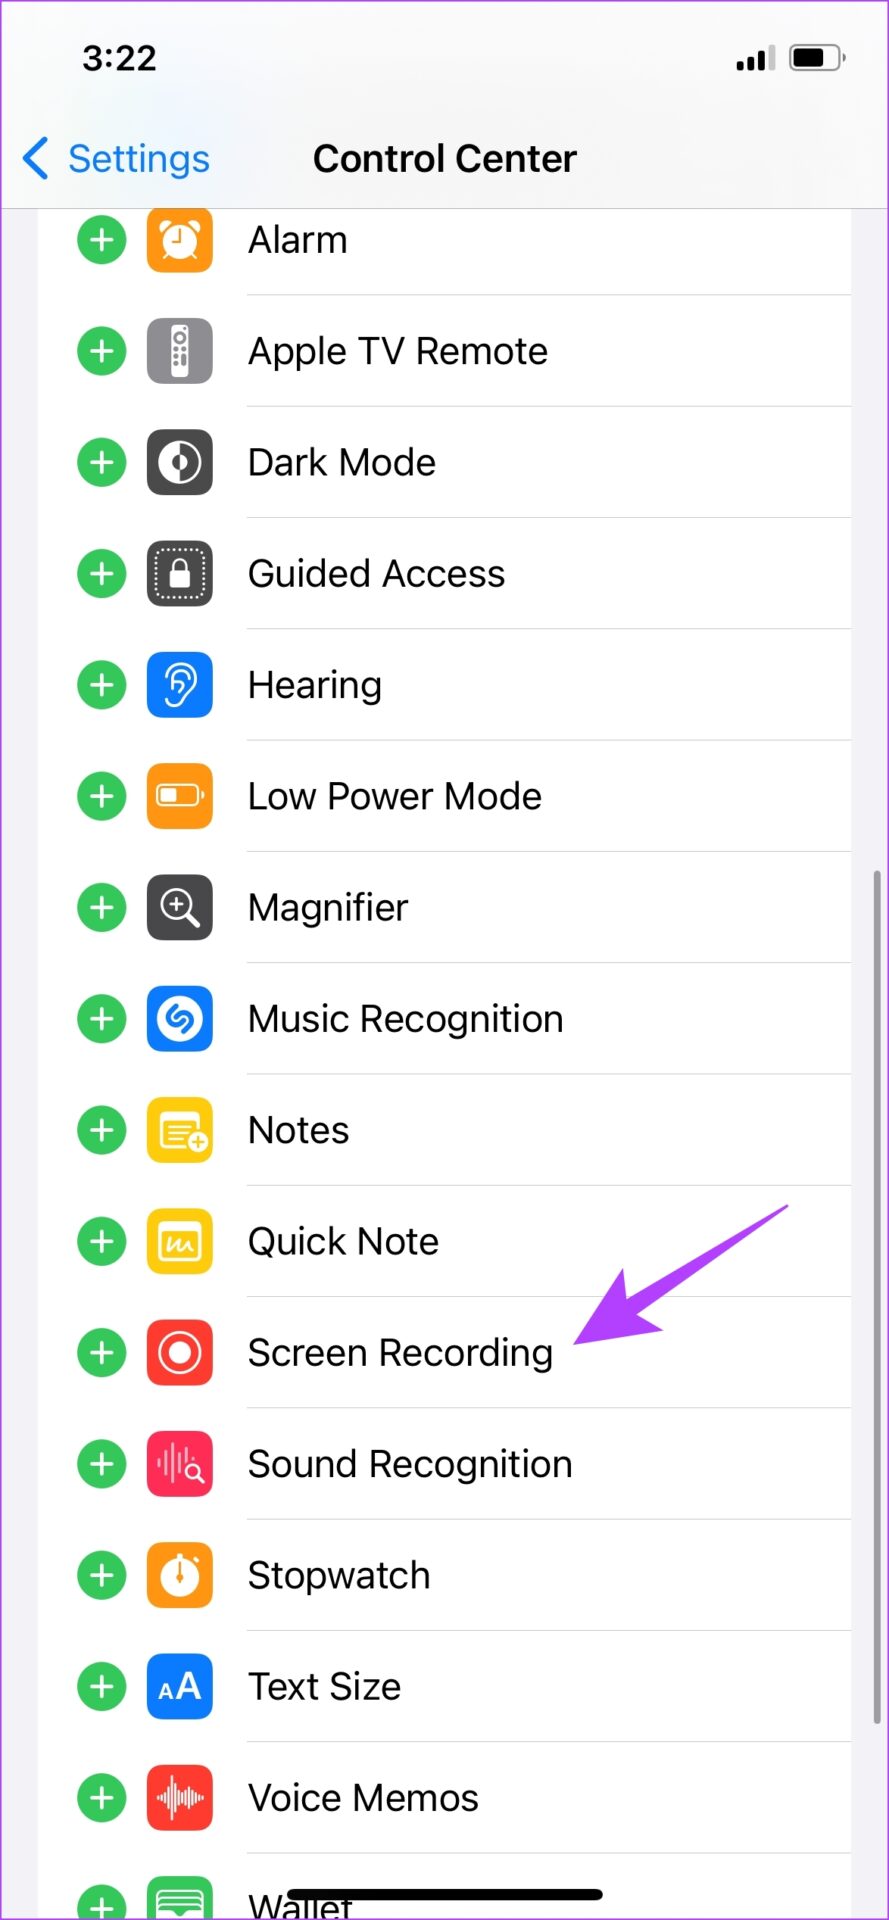
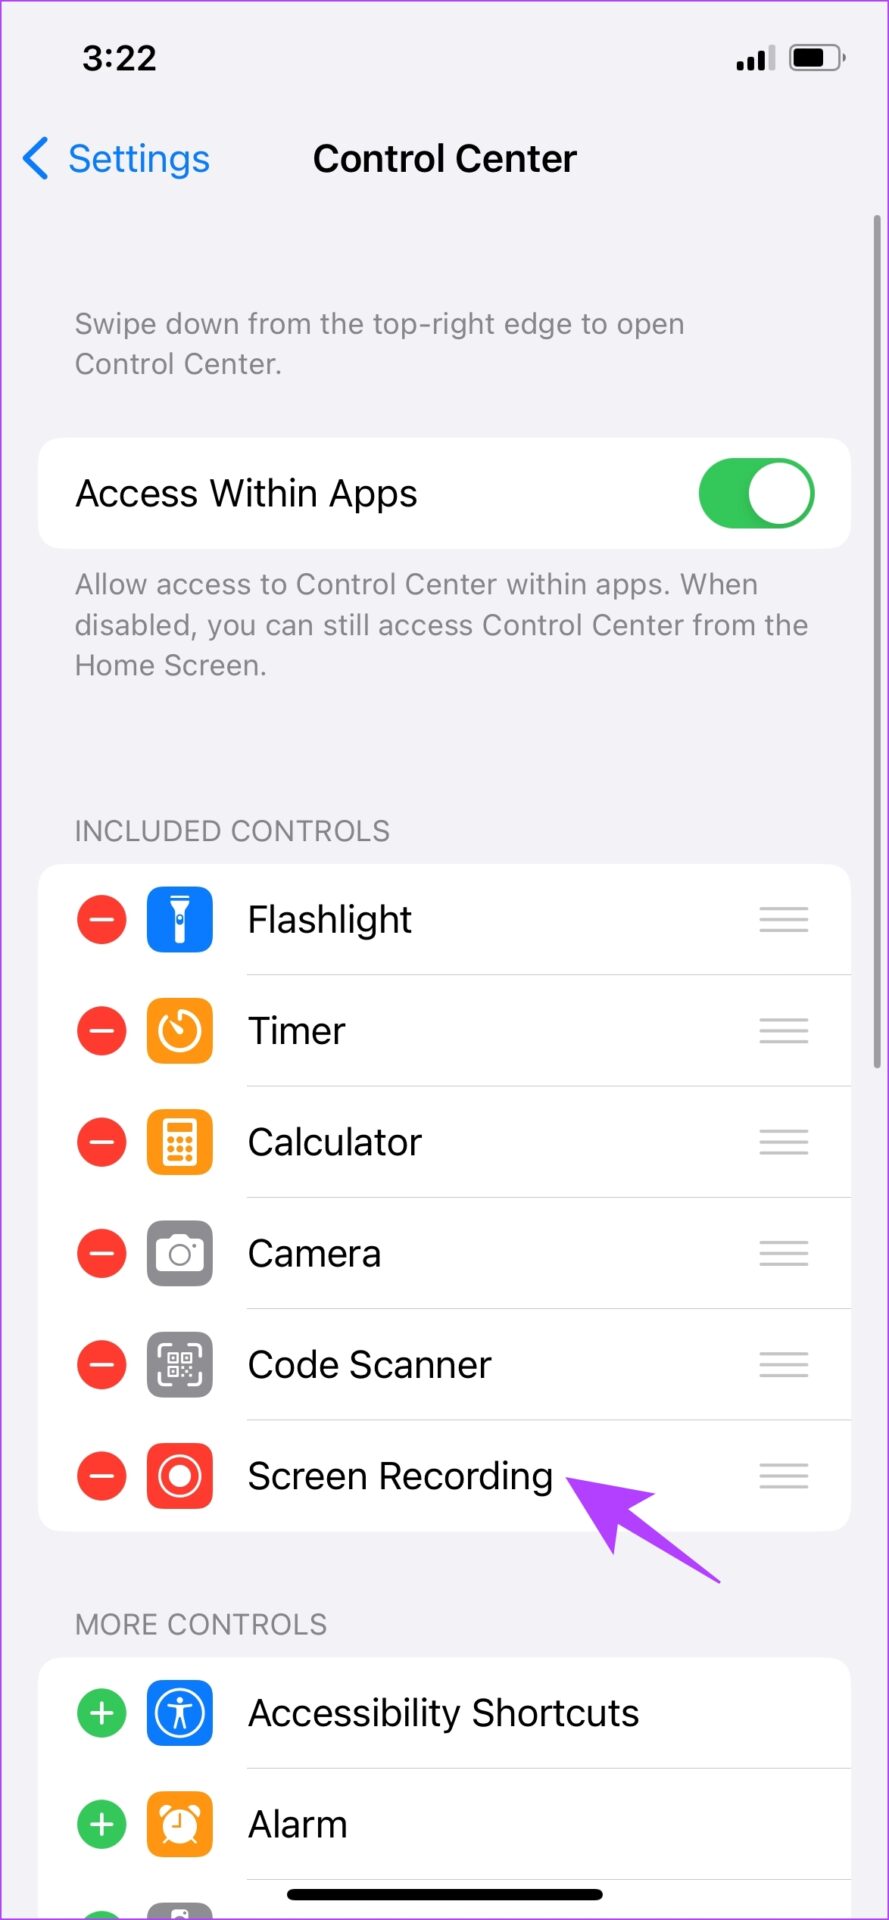
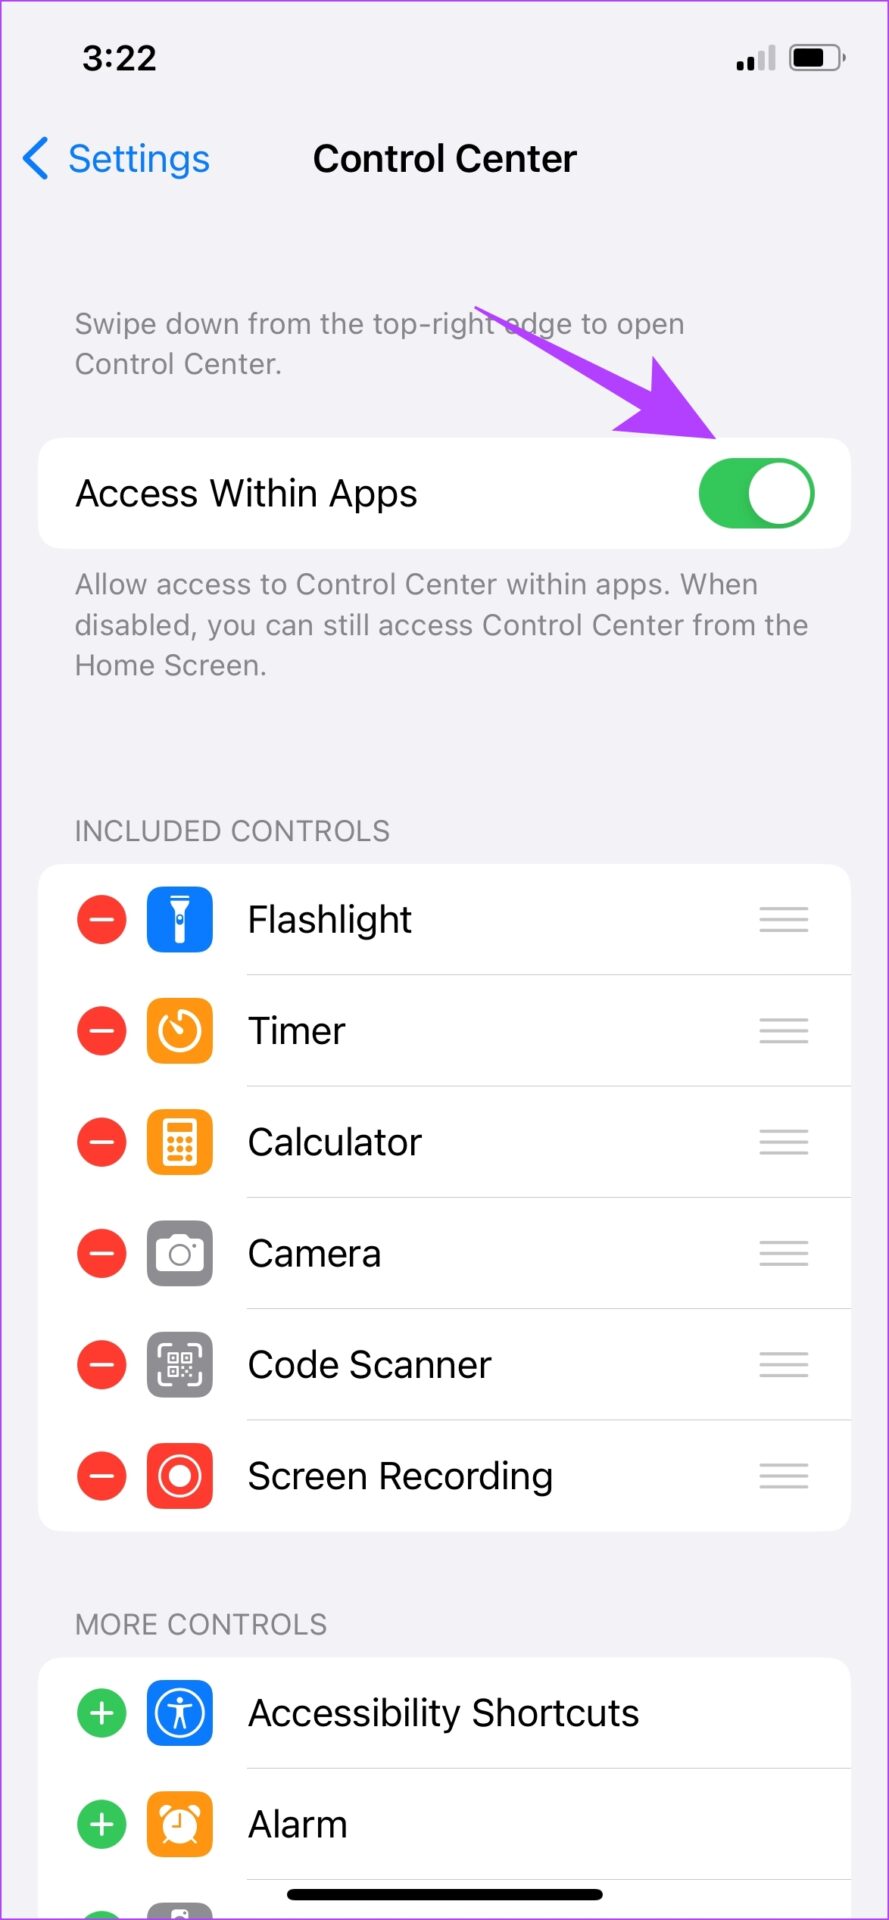
Here’s how you can add the screen recorder button to the Control Center to quickly activate recording with a single swipe. Step 1: Open the Settings app, and open Control Center. Step 2: Scroll down to find the Screen Recording option, and select the ‘+’ icon next to it. You can now see that Screen Recording is added to Included Controls. Step 3: On the same screen, toggle on ‘Access Within Apps’ to ensure that you can access the Control Center in apps as well. That’s it. You’ve now added the screen recording button in the control center. Now, let us understand how to use this option to record screen on iPhone or iPad.
How to Record Screen on iPhone or iPad
Here’s how you can quickly start, stop, and save a screen recording on your iPhone or iPad.
Start Recording Screen on iPhone
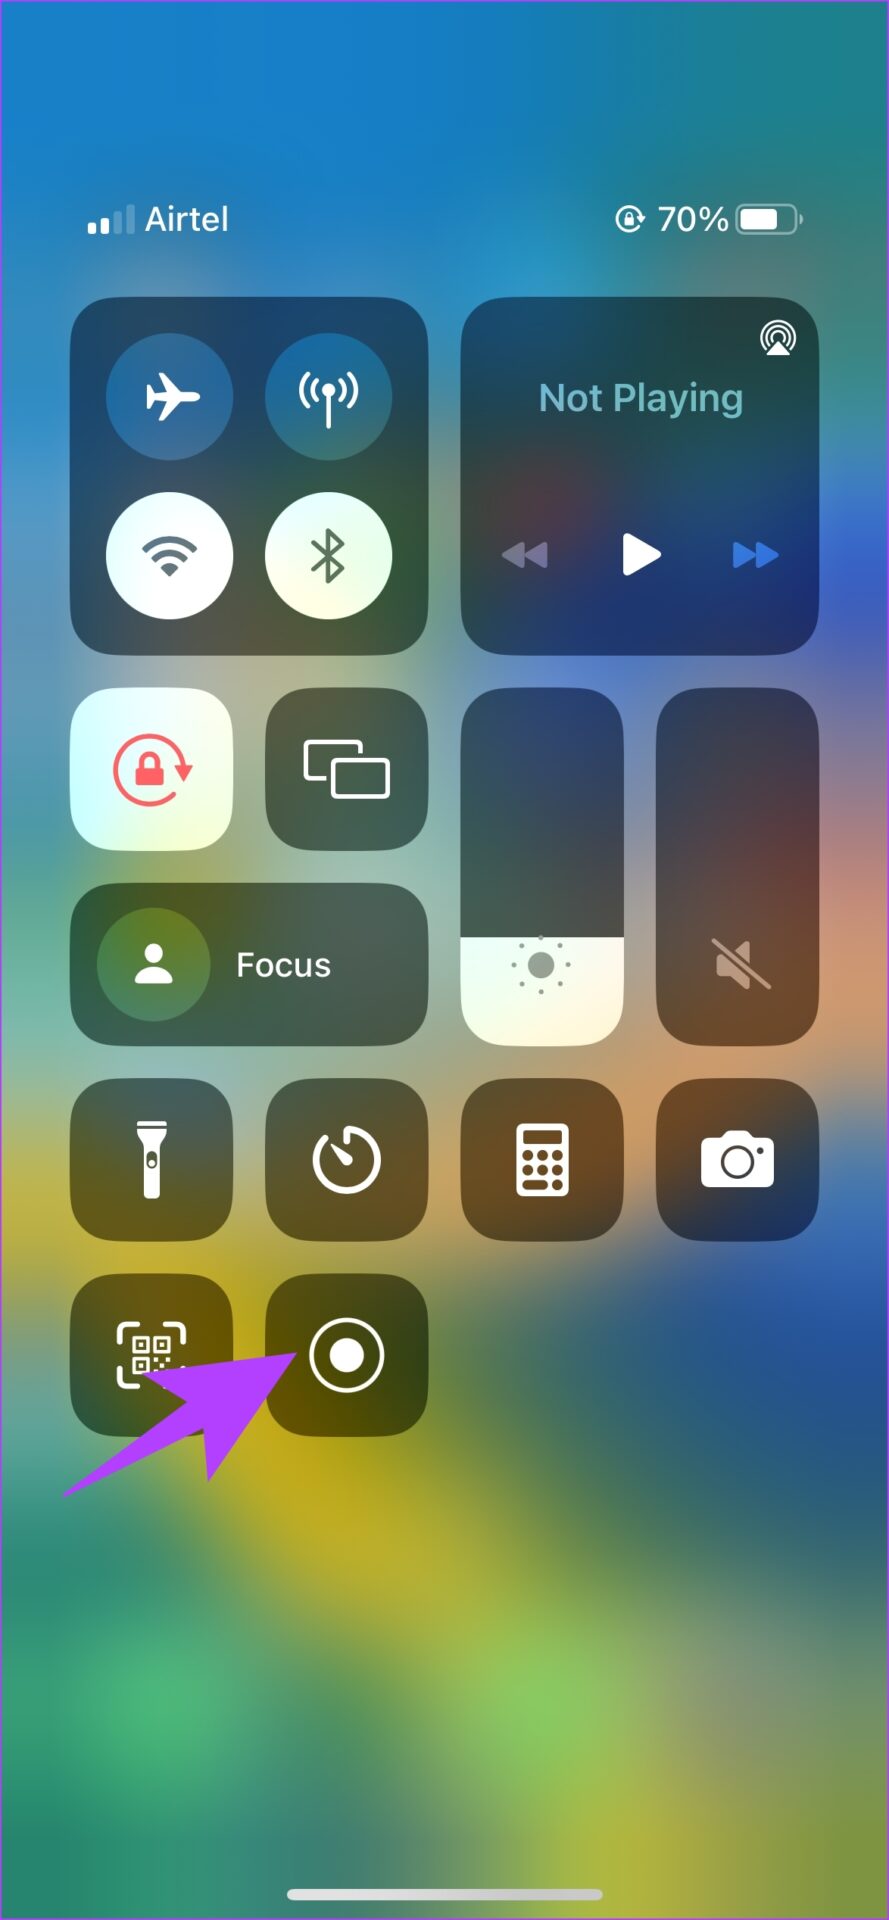
Step 1: Here’s how you can access the control center on your iPhone to start the recording.
iPhones with Face ID: Swipe down from the top-right corner of your screen to open Control Center. iPhones with Touch ID: Swipe up from the bottom edge of your screen to open Control Center.
Step 2: Now, tap on the screen record option. That will start a recording. Now, to stop the recording and save it so that you can use it further, move on to the next section.
Stop Screen Recording on iPhone
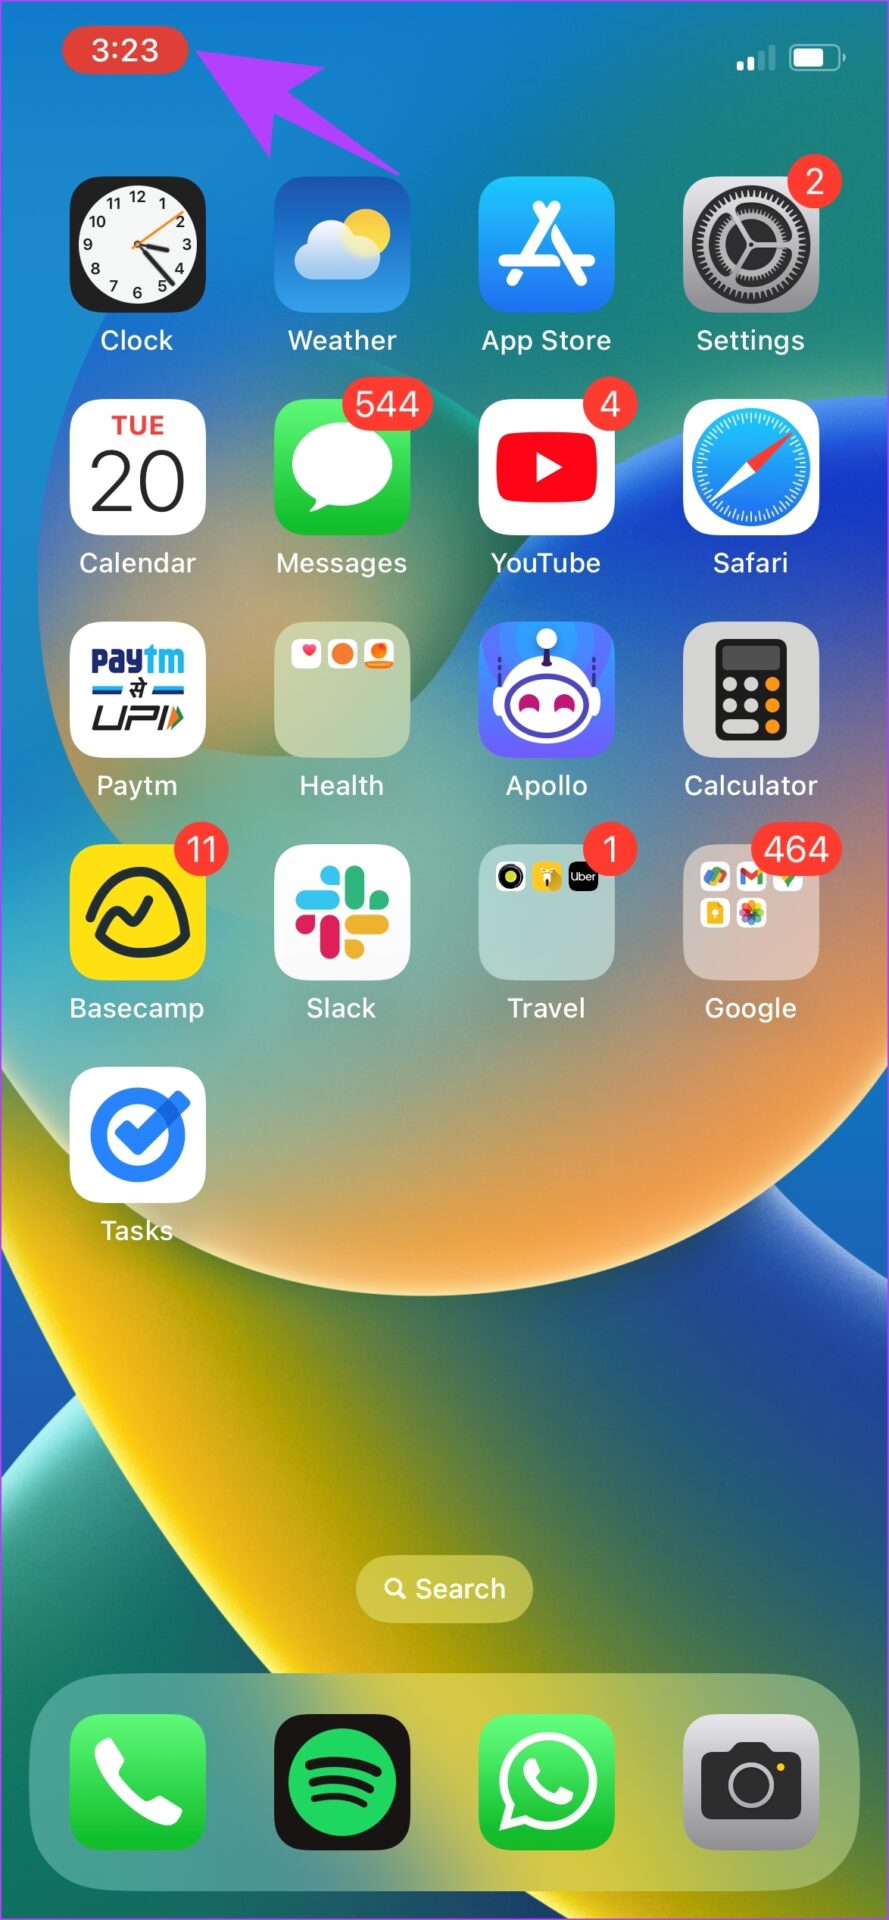
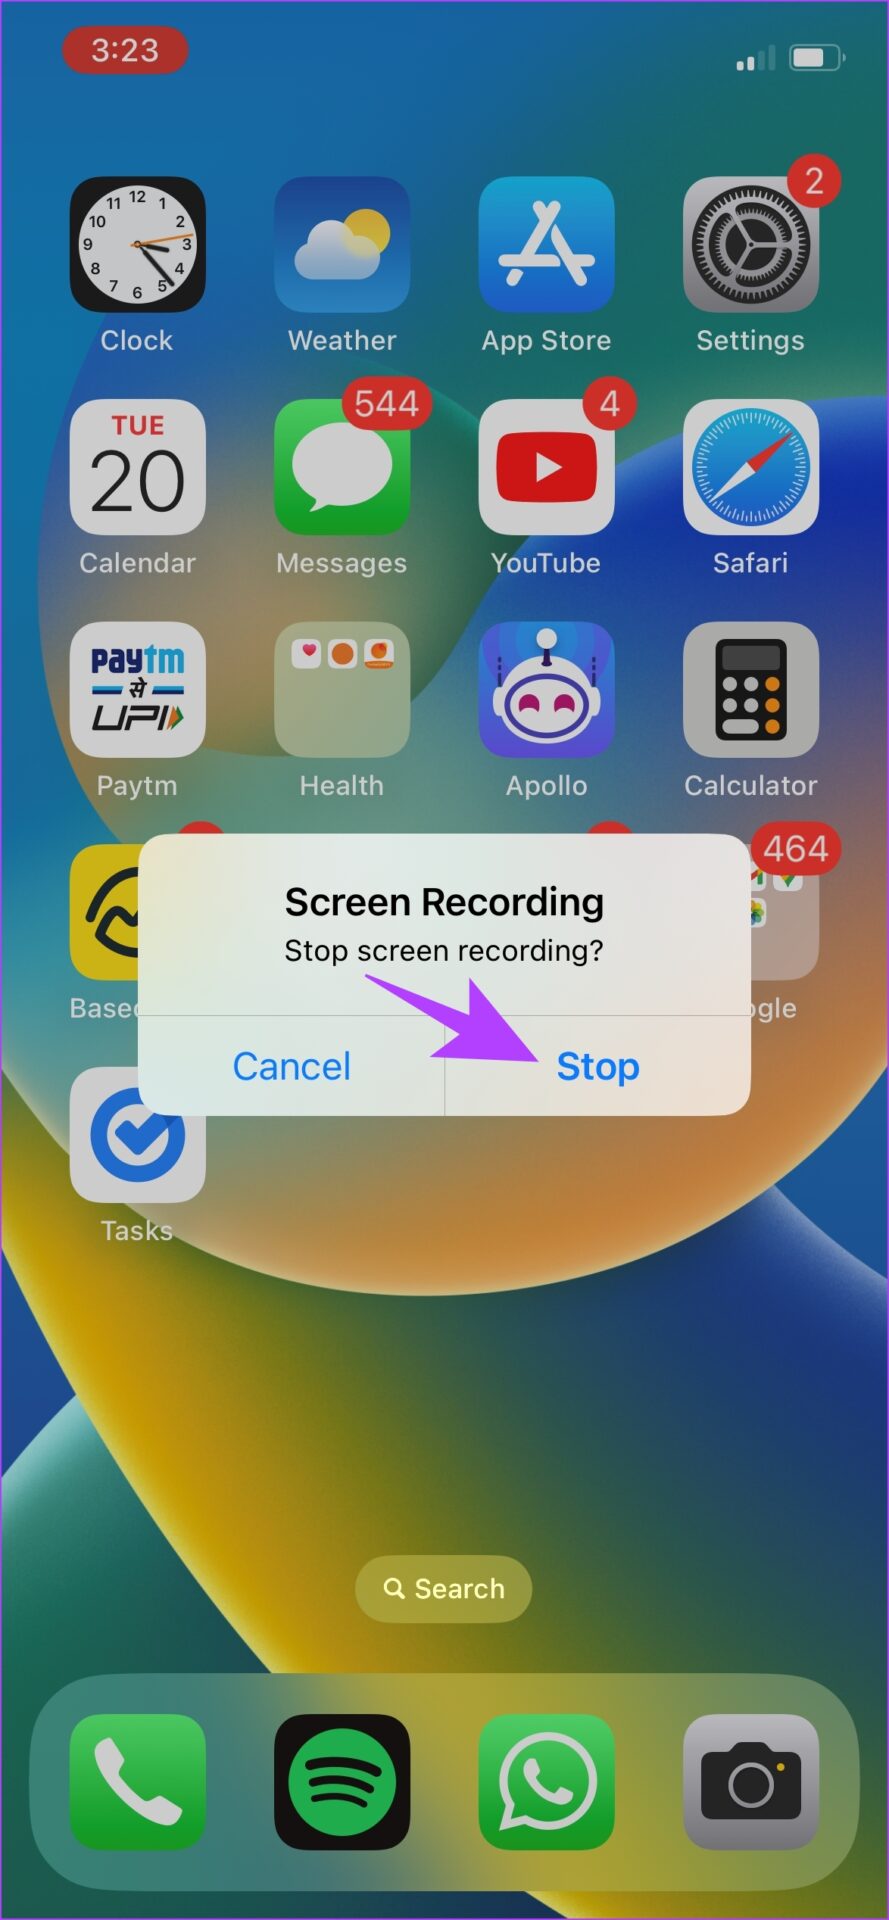
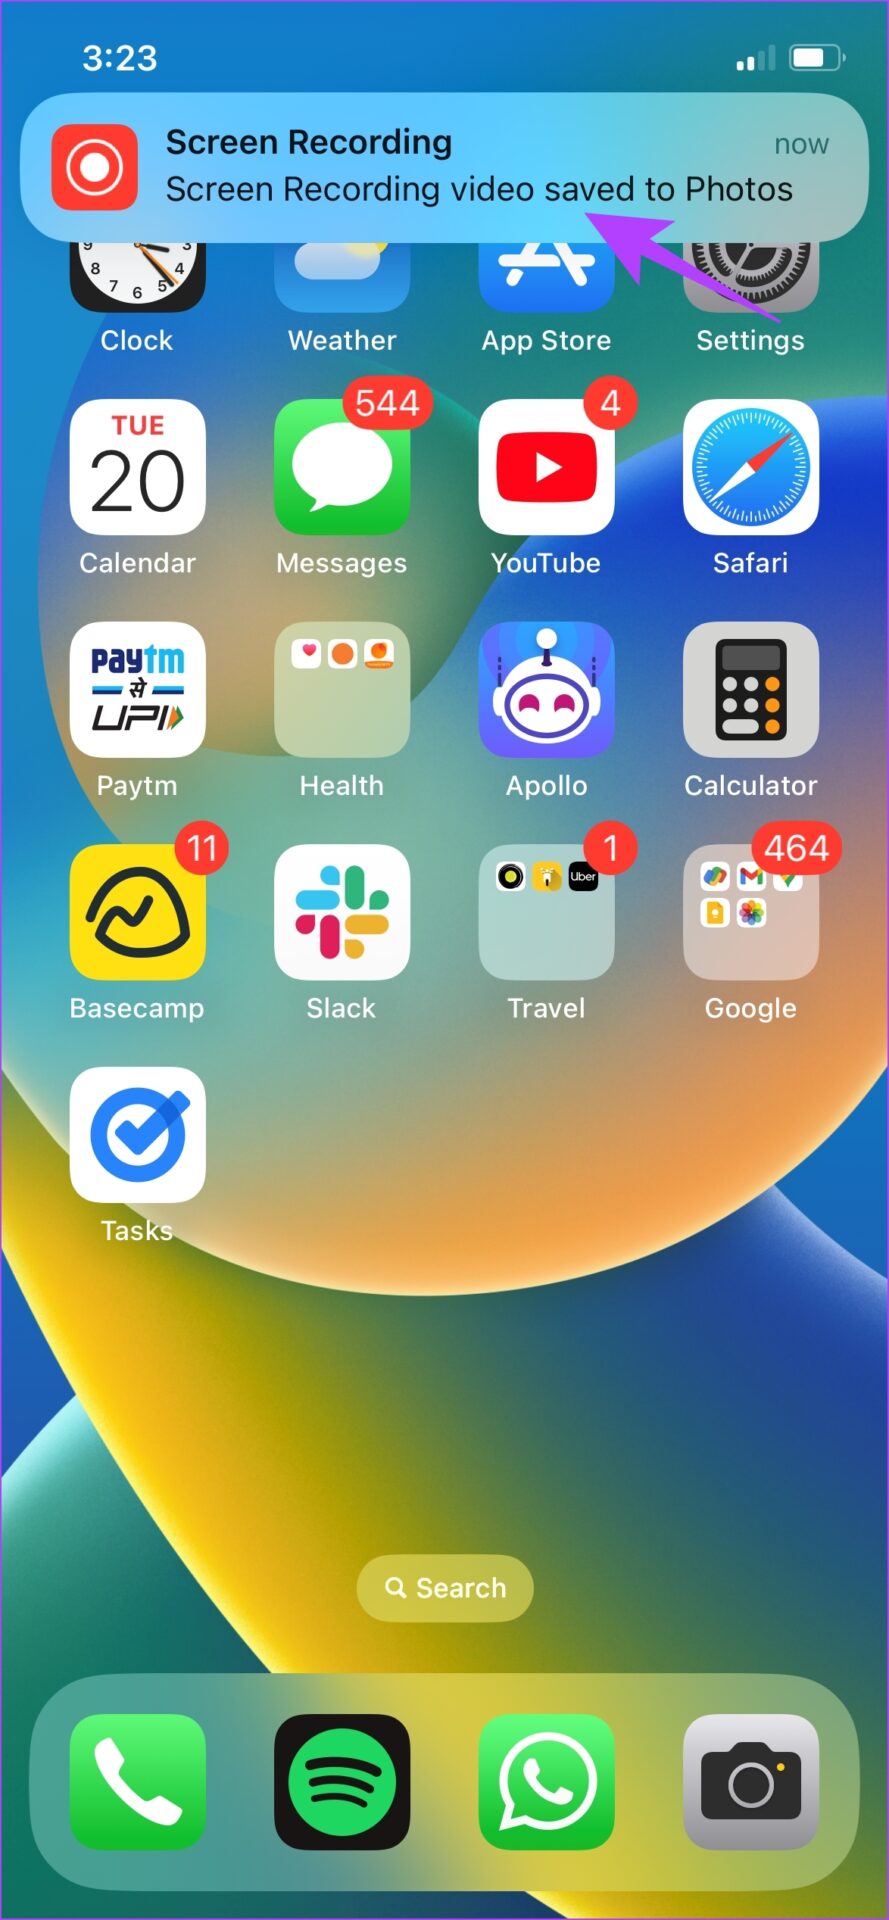
Step 1: Now, tap on the clock on your status bar, highlighted in red. Step 2: Tap on Stop to exit screen recording. Step 2: Once you stop the recording, it will be automatically saved to Photos. You will also get a heads up for the same. Once the screen recording is saved to your gallery, you can enable and disable the sound of the clip. Let’s explore how to do it using the step-by-step procedure below.
How to Enable Sound in Recorded Screen on iPhone
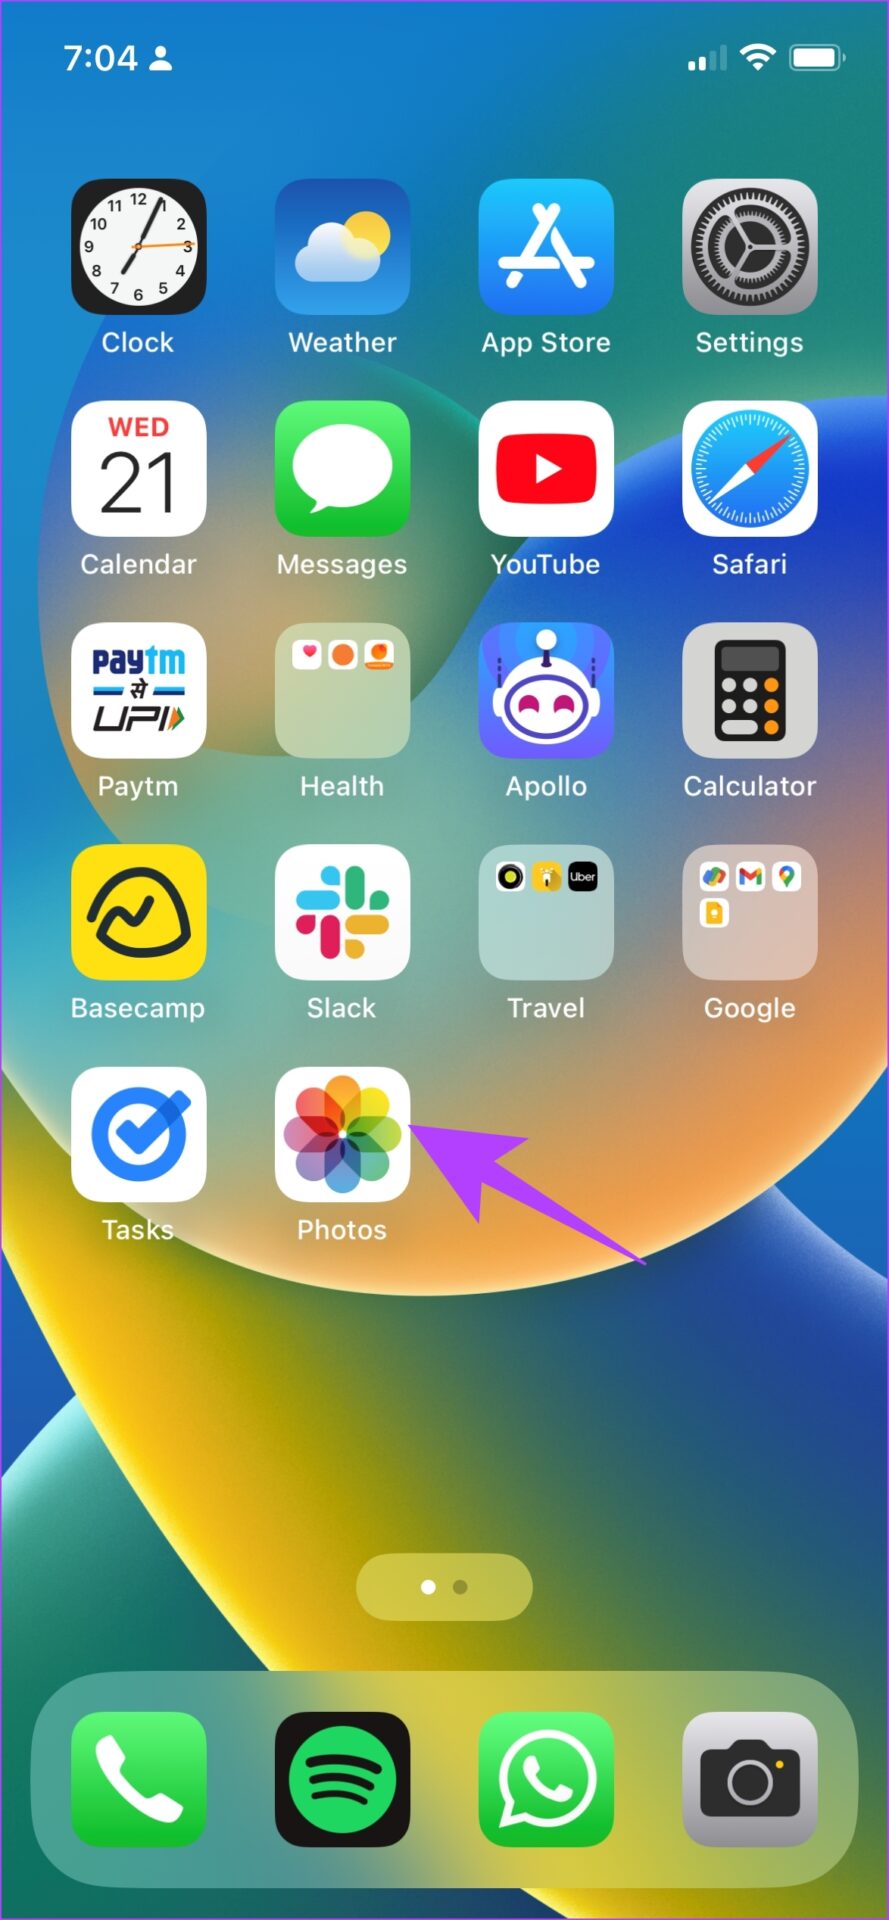
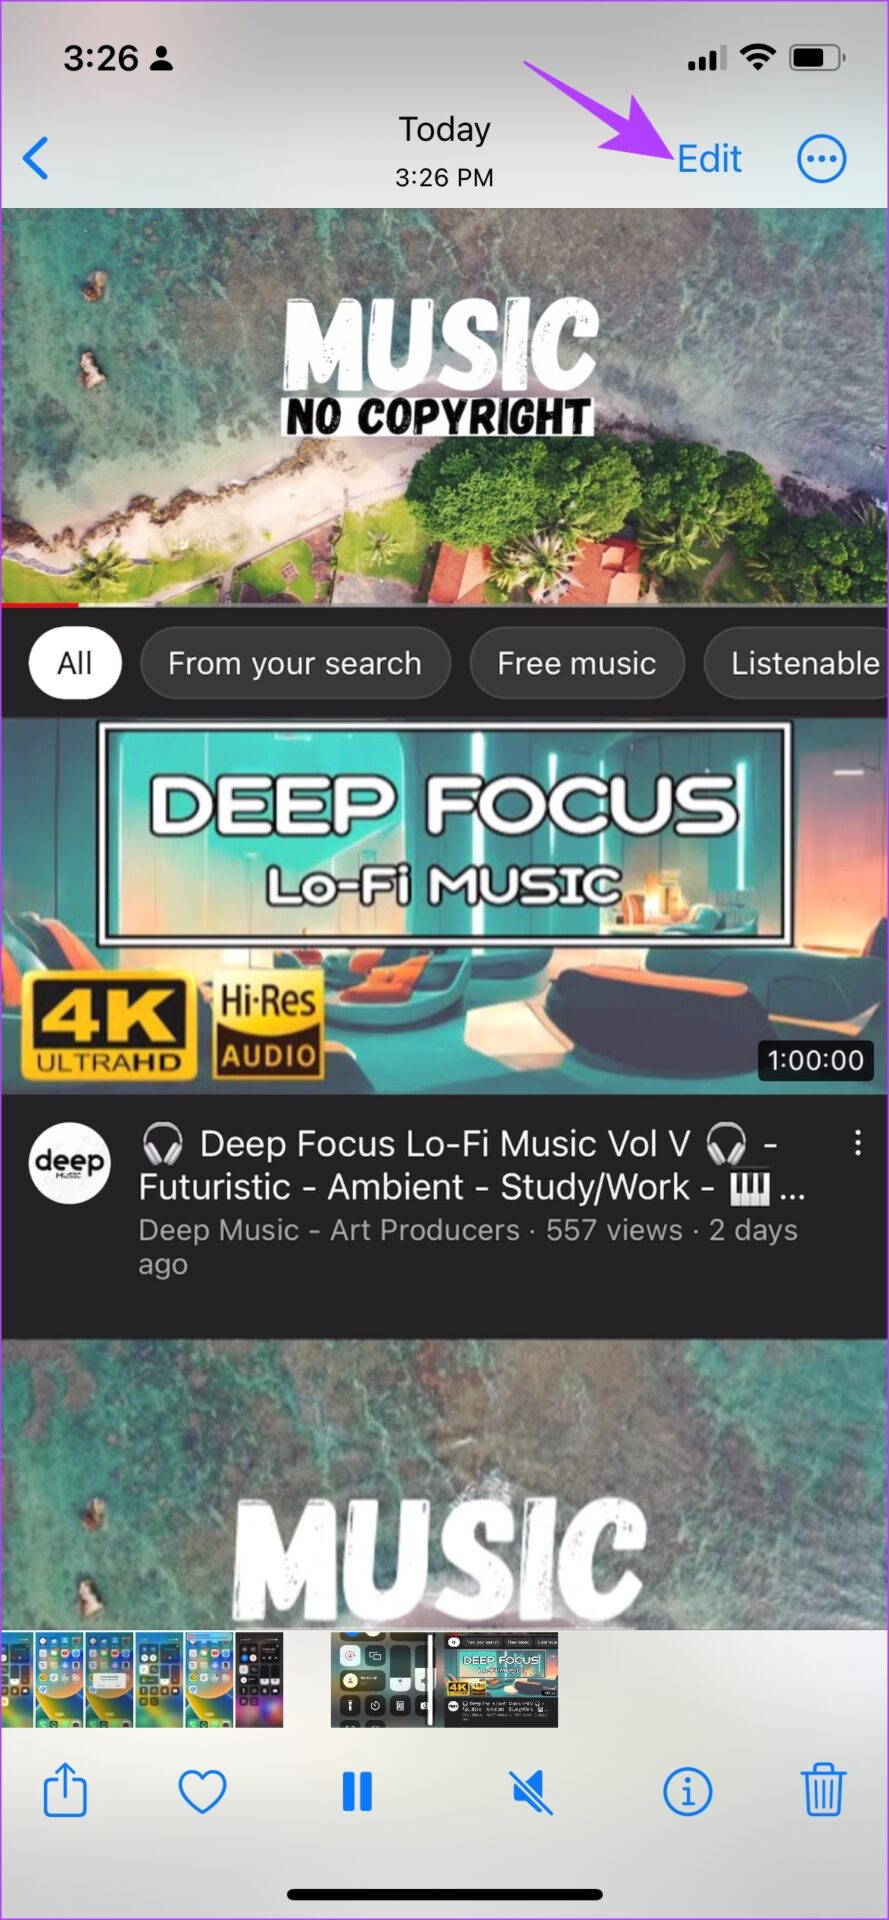
Whenever you record the screen on iPhone or iPad, it automatically captures the sound behind it too. However, when you play the recording on the photos app, you might not hear the sound. That is because you need to enable the sound in the edit section of the recording. Here’s how to do it. Step 1: Open the Photos app. Step 2: Open the recording which you want sound for, and tap on Edit at the top right. Step 3: In the Edit window, tap on the Volume icon to enable sound. Tap on Done.
How to Record Screen on iPhone With External Sound
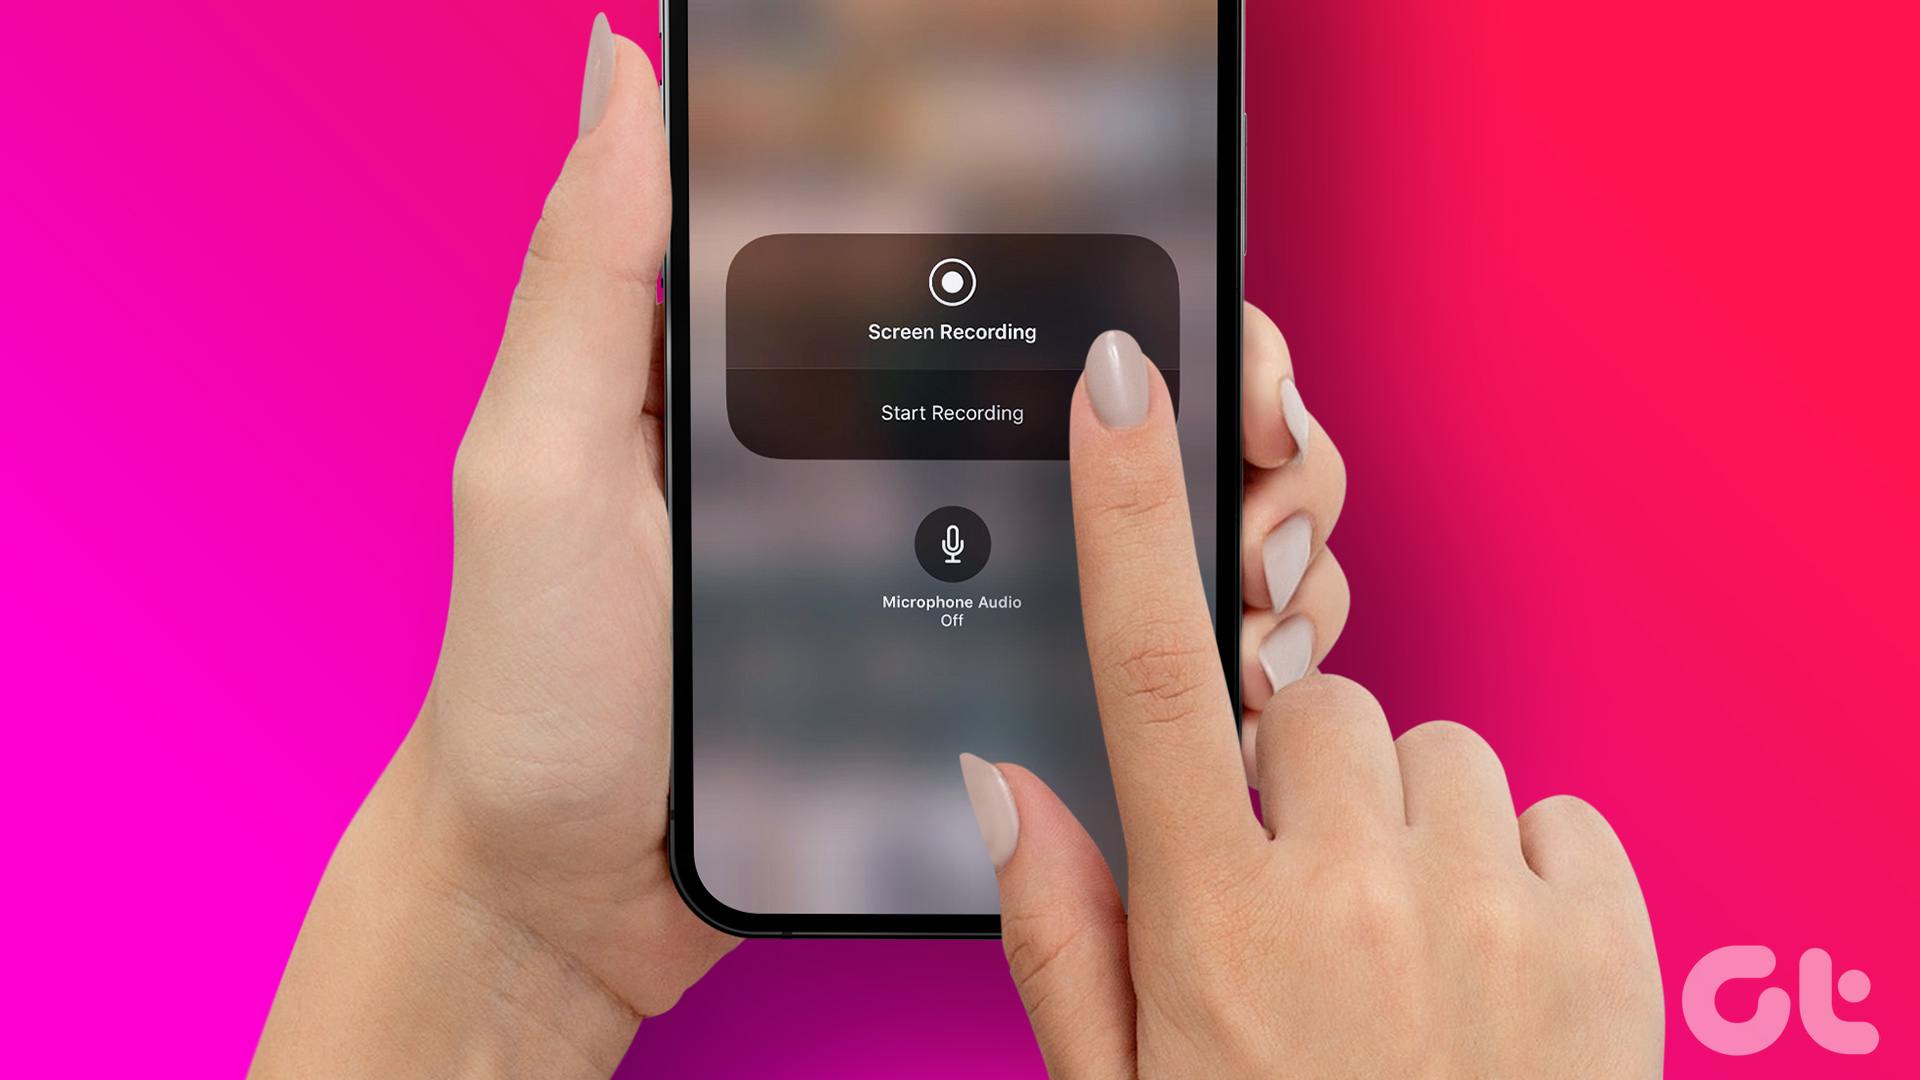
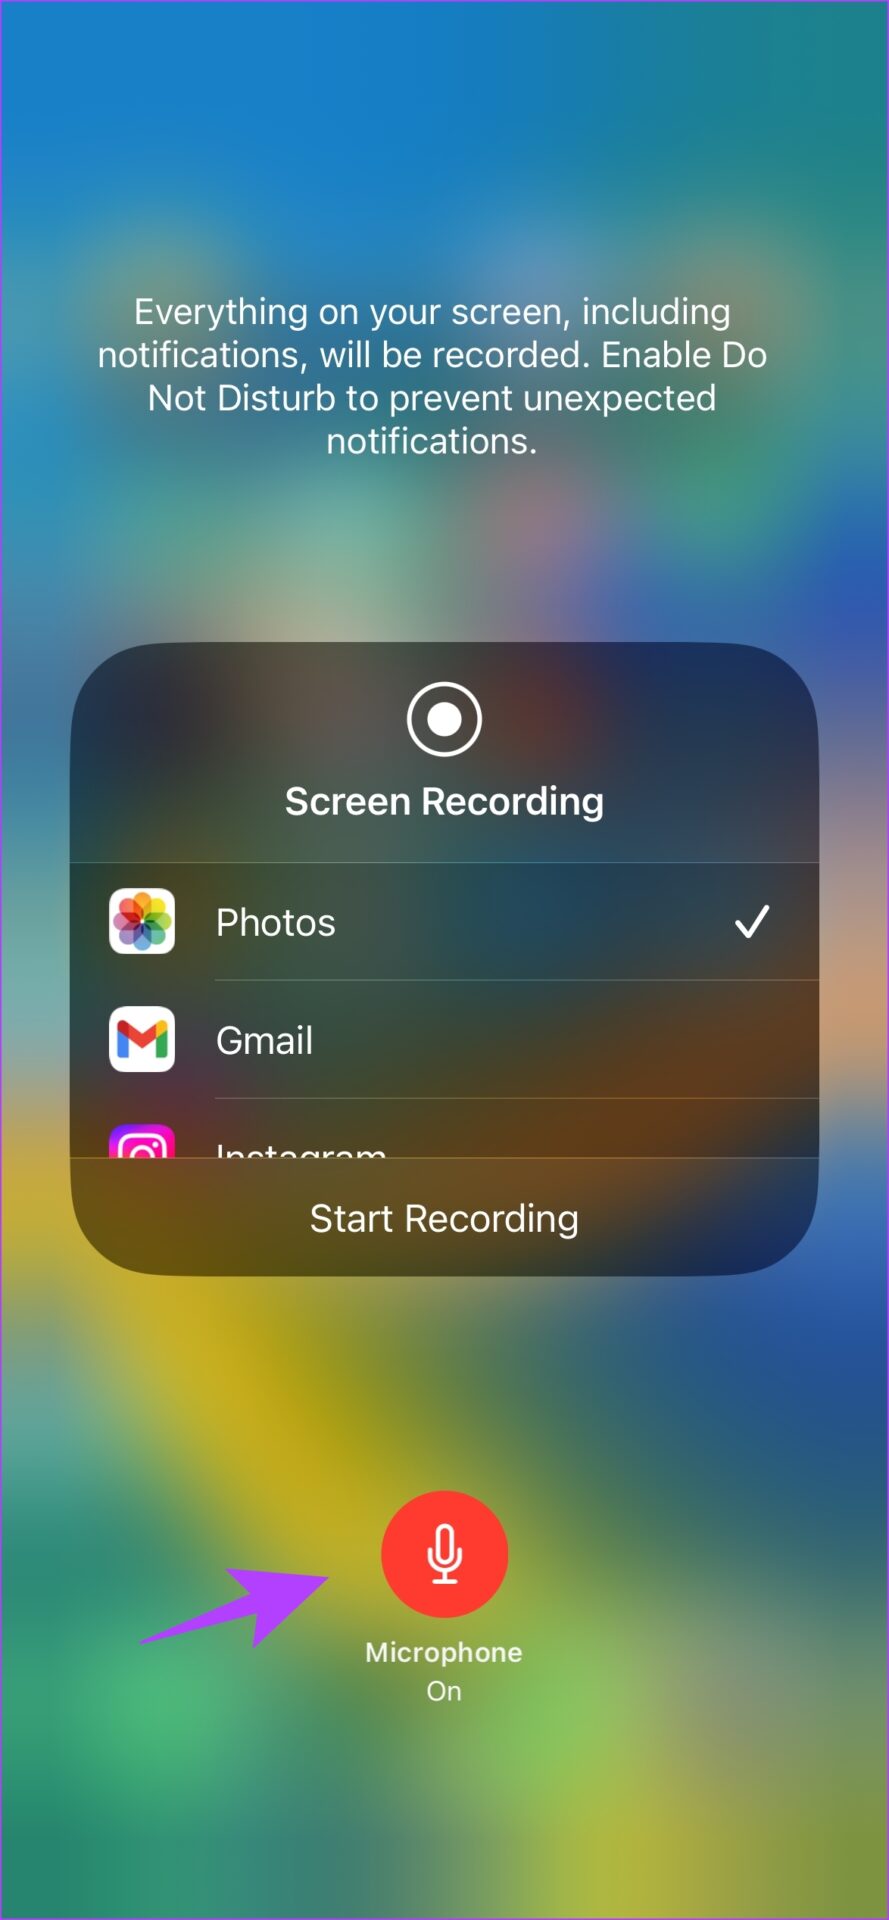
By default, the screen recording feature captures the audio that is playing on your screen, but not the external audio. If you want to record external audio, here’s what you need to do. Step 1: Long-press on the Screen Recording icon in Control Center. Step 2: Tap on the microphone icon. Once it turns red, it will be able to record external audio. To listen to the recorded audio on your clip, you can open Photos and repeat the same steps mentioned earlier. This is all you need to do to screen record on iPhone or iPad with sound. Now that you have had a look at the Edit menu, you are probably wondering what the other options are meant to do. Let us explore how we can edit our recording further.
How to Edit Screen Recording on iPhone
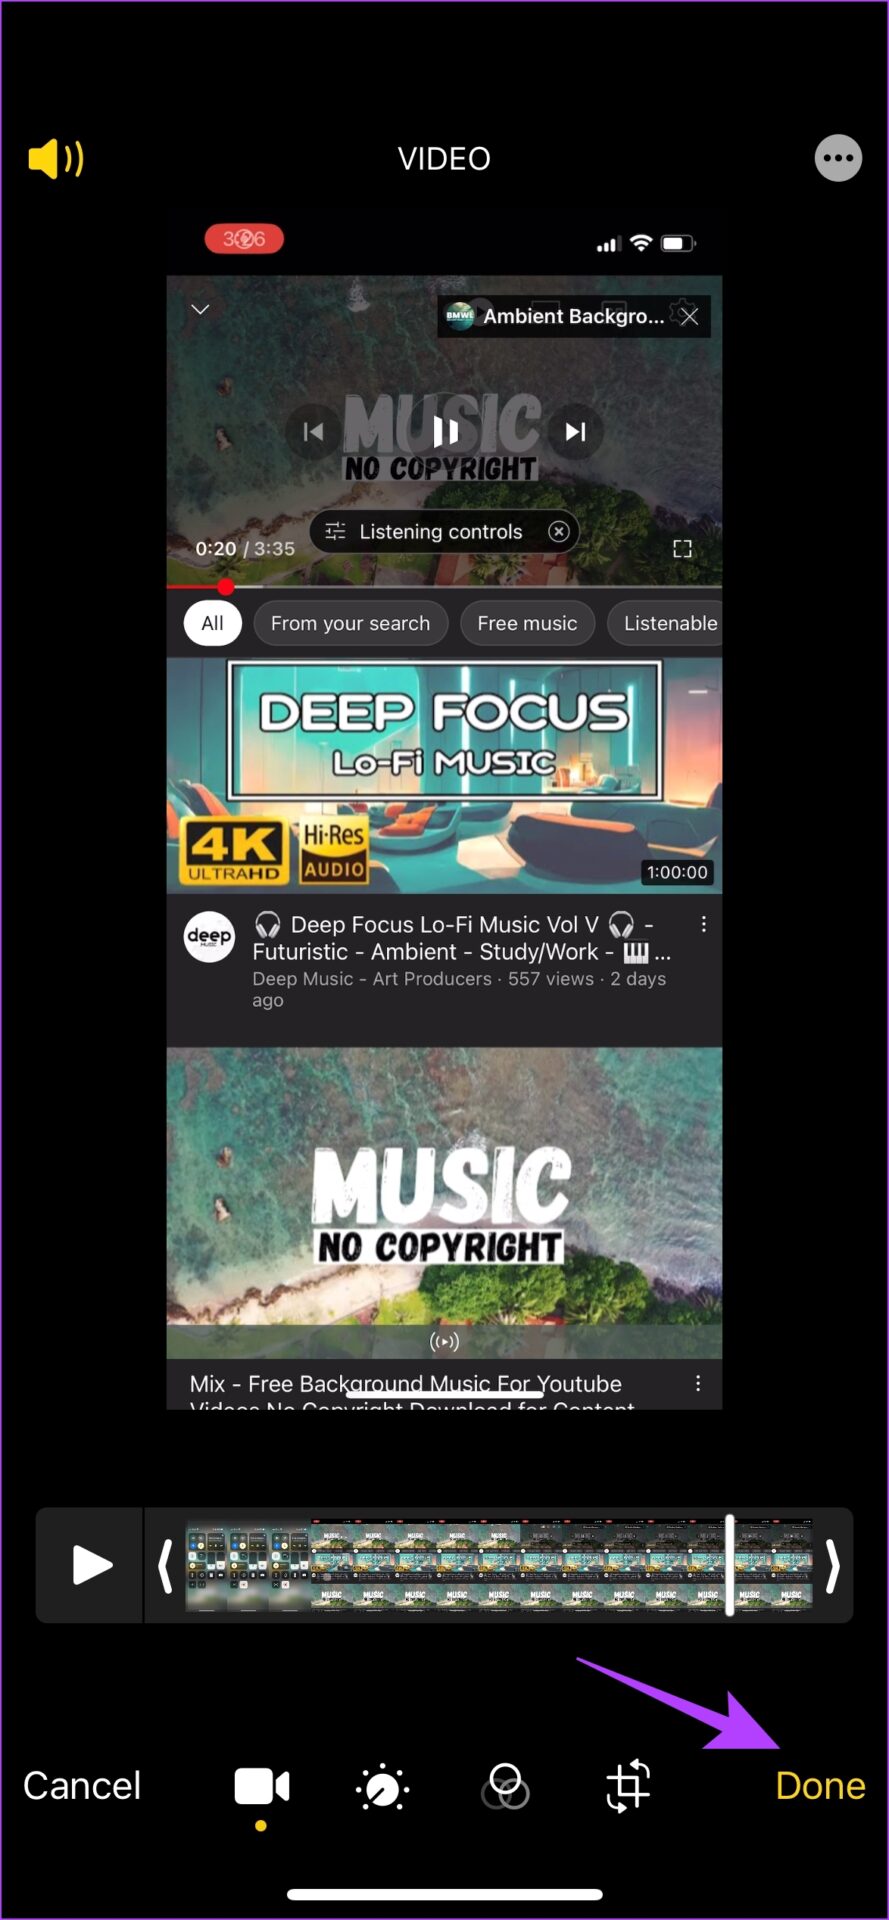
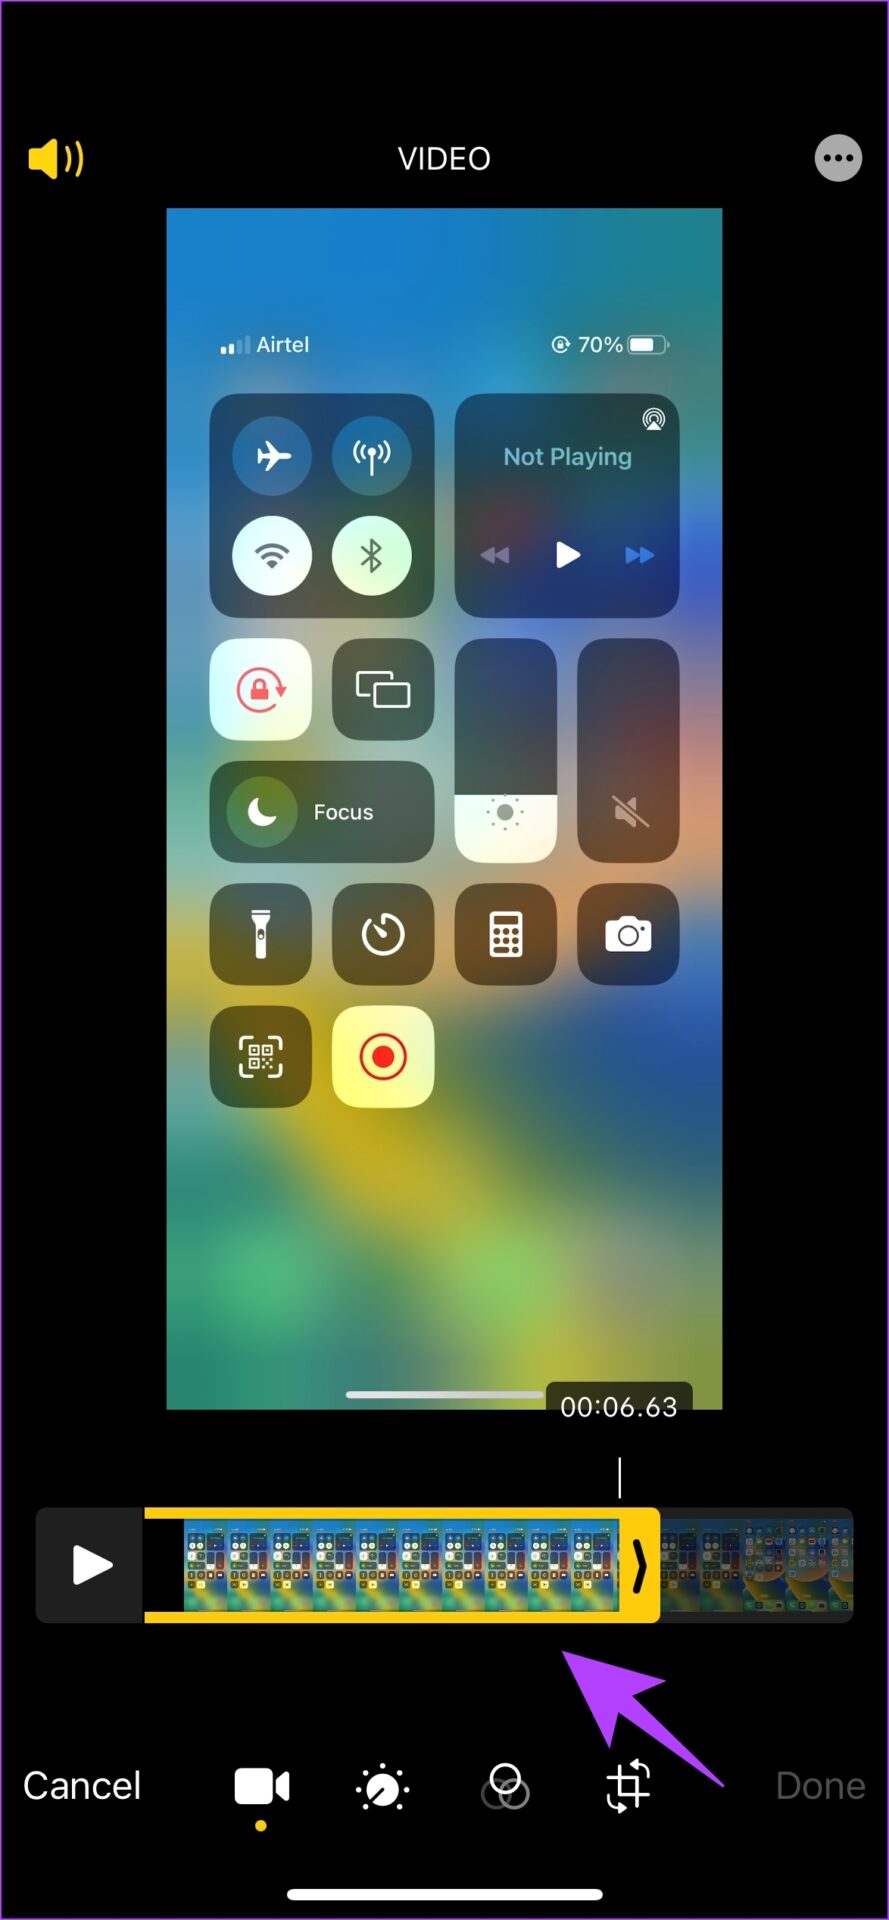
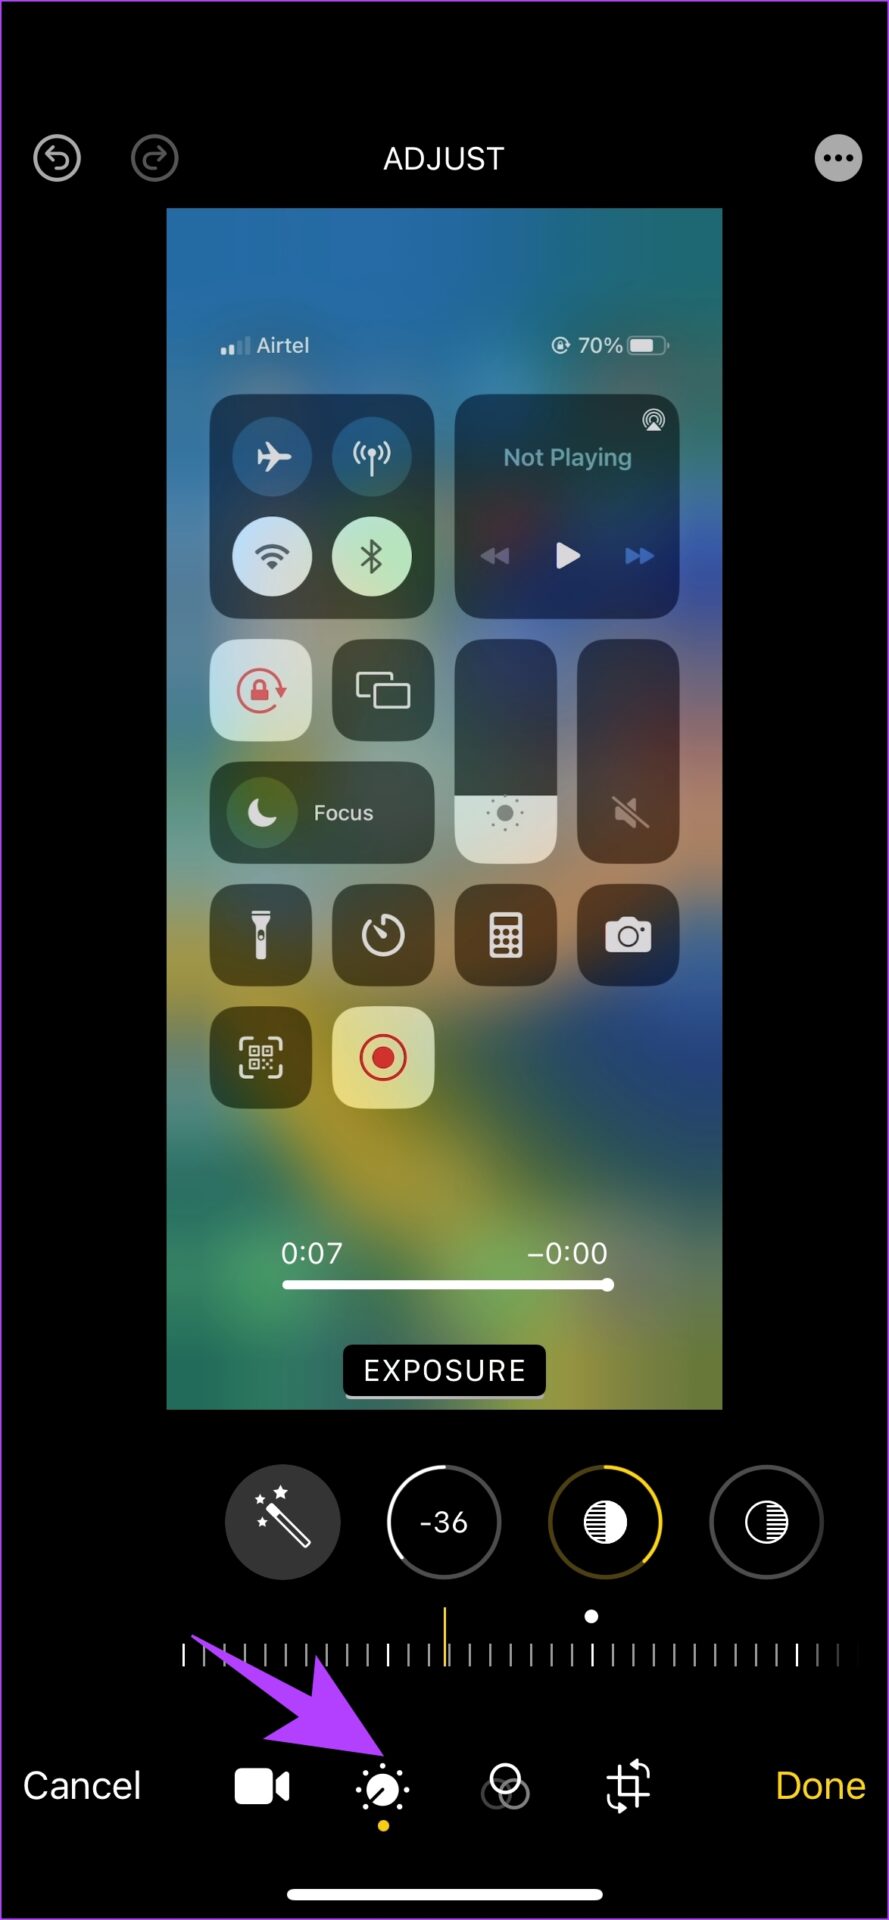
First, let us look at what each of the options under the edit section can do. Simply go to the Photos app, tap on your screen recording, and hit the edit option at the top right to display all the below options. Trim Recording: You can use the Trim Recording option in the edit panel to cut short your recording if you feel a part of it is unnecessary. Filters: You can also add filters to your screen recording, and give it a different color scheme. You get numerous filters in the Photos app. Adjust: If you are not satisfied with some details of the recording, you can use a few options in the Adjust panel under the Edit section. This will allow you to manage brightness, contrast, saturation, etc. Crop: If you want your screen recording to concentrate on a particular area instead of the entire screen, you can crop your recording. This way, you can easily resize the video clip the way you want.
How to Share Screen Recording on iPhone and iPad
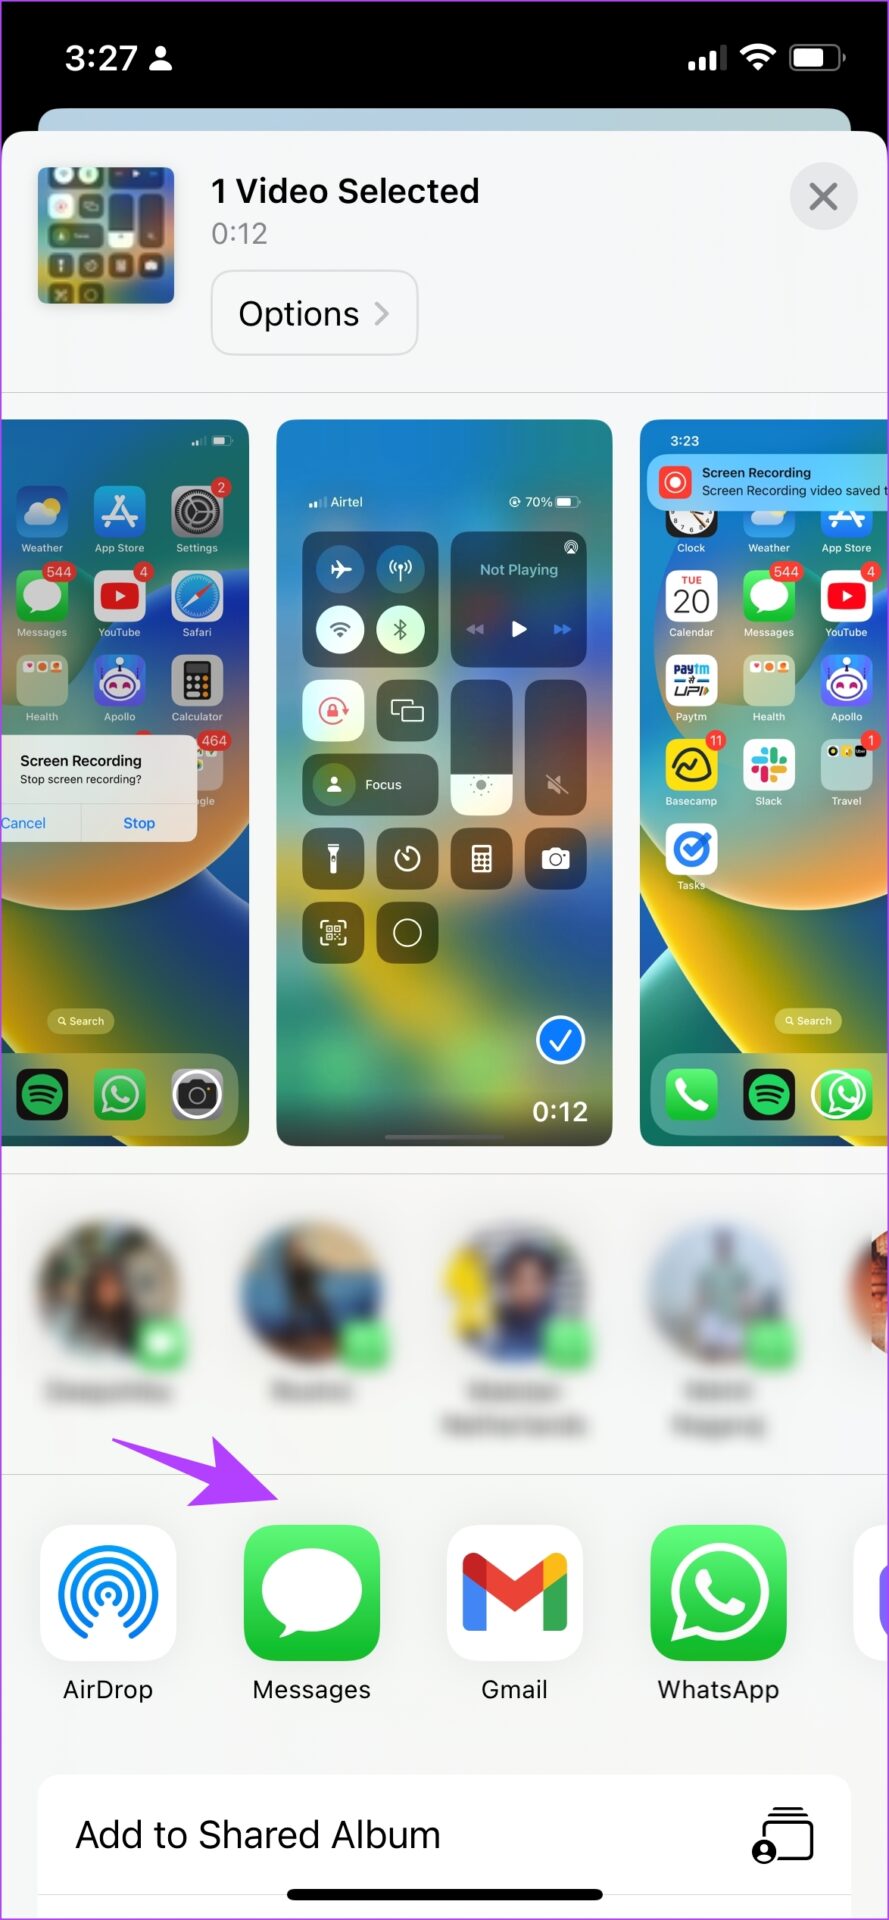
Once you edit the recording and have tailored it to your requirements, here’s what you need to do. Step 1: Open the Photos app, and open the screen recording you wish to share. Step 2: Tap on the Share icon. You will find the list of frequently used apps and people. Share your recording away. That is all you can do on the default screen recording tool on iPhone or iPad. However, if this does not suffice or you simply wish to explore other options to control finer details, we have other options for you.
Alternative Ways to Record Screen on iPhone or iPad
You can always resort to recording the screen via Mac or through third-party apps. They would need you to go the extra mile, but they are definitely worth it.
1. Use Third-Party Apps Like Record It!
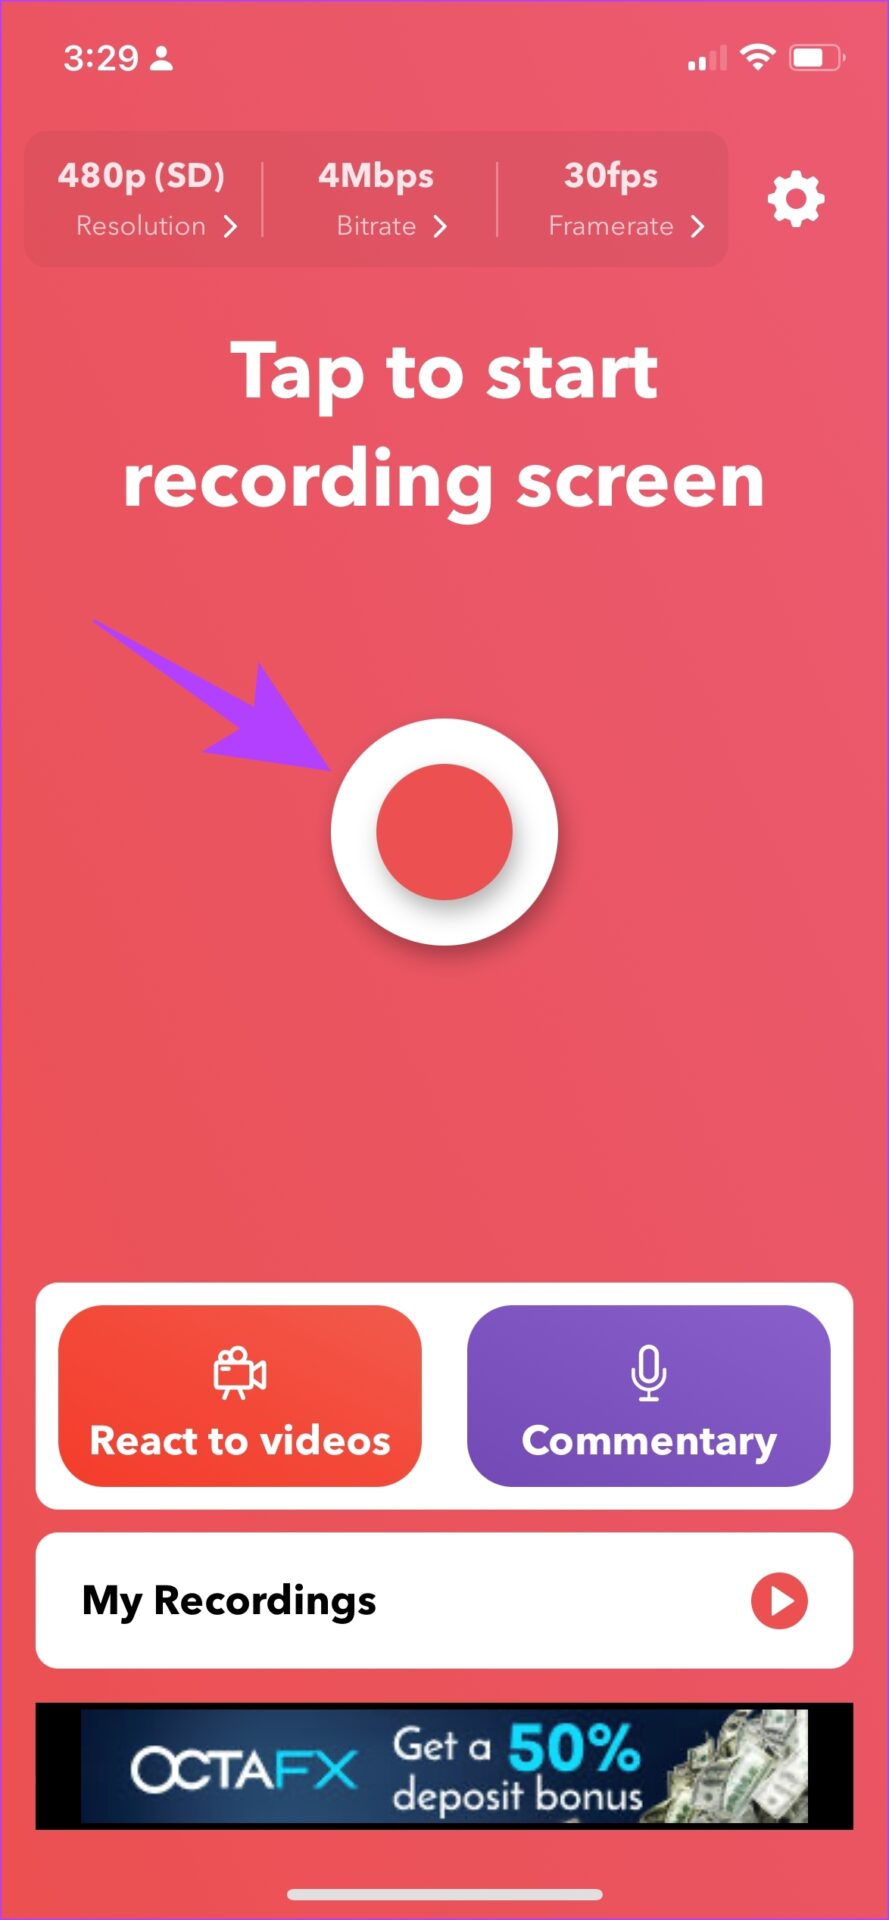
Record It! is one of our favorite apps to record screen on iPhone or iPad. It lets you choose the resolution, the bitrate, and the frame rate of the screen recording. If these are parameters that you wish to control and change on a screen recording, this app gets a high recommendation from us. Besides, it is free to install and easy to use.
How to use Record It! on iPhone
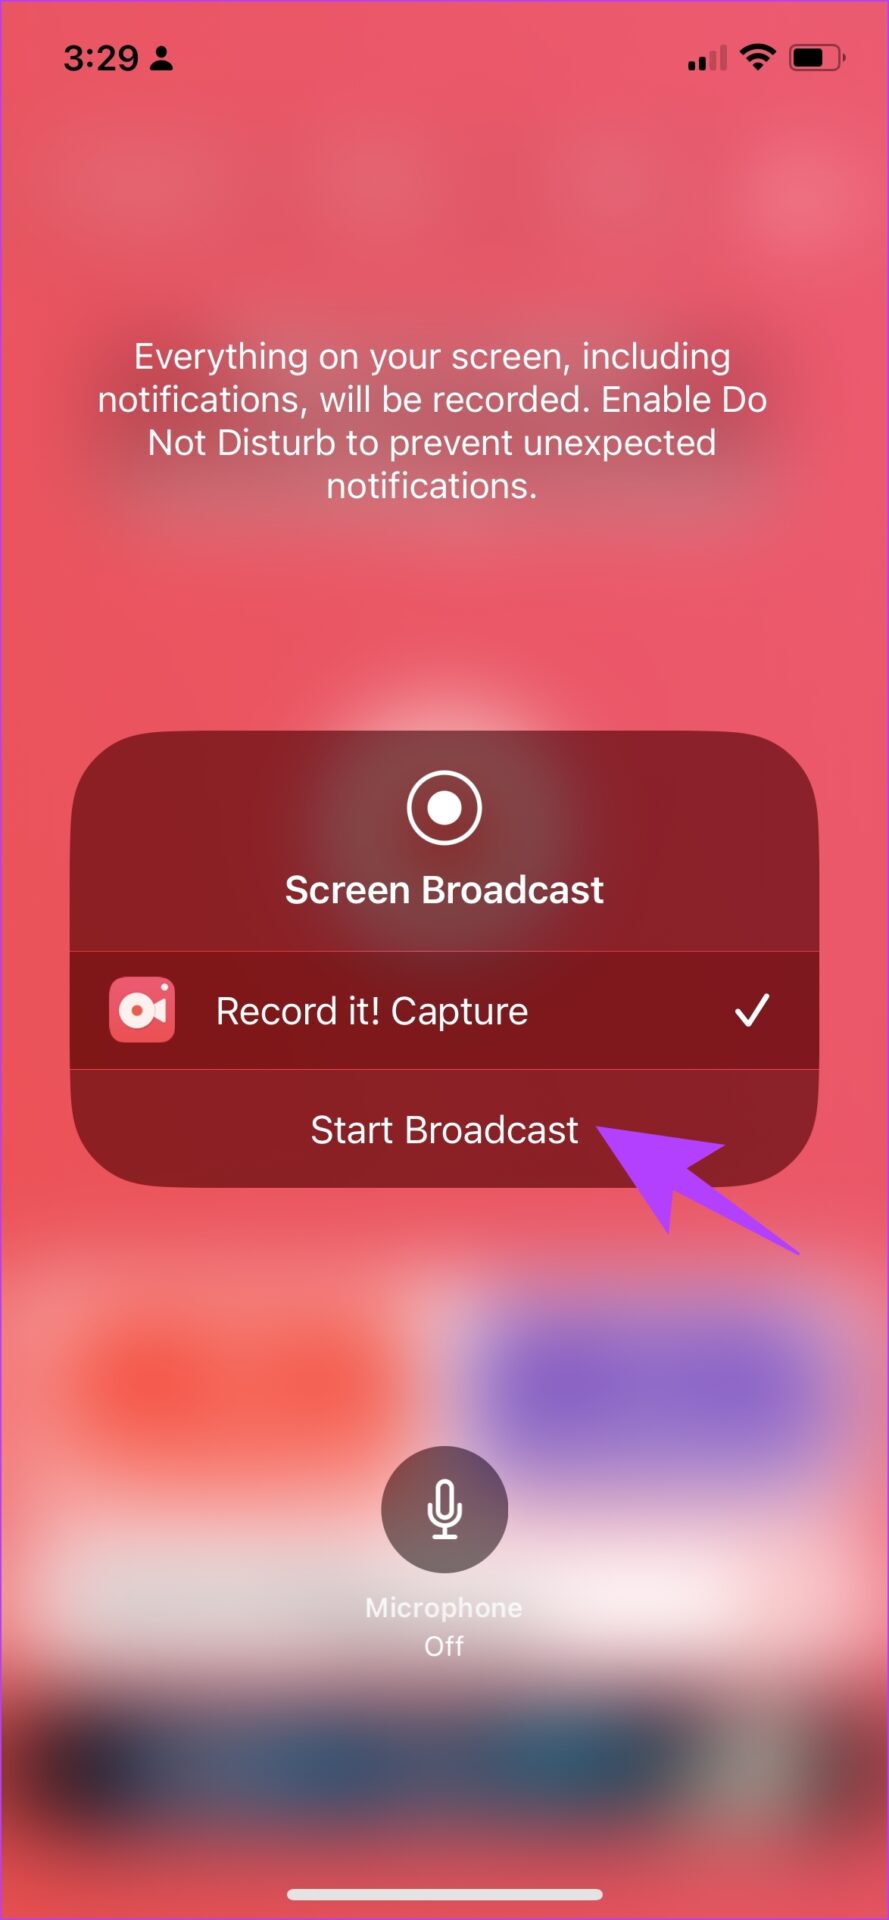
Step 1: Install the app from the App Store. Download Record It! Step 2: Open the app and tap on the red button to start the recording. Step 3: Now, tap on Start Broadcast. That’s all! The rest of the procedure to share and edit remains the same as mentioned earlier. There is also a method to directly record the screen using your Mac and PC. Let us see how we can do it.
2. Record iPhone or iPad Screen on Your Mac
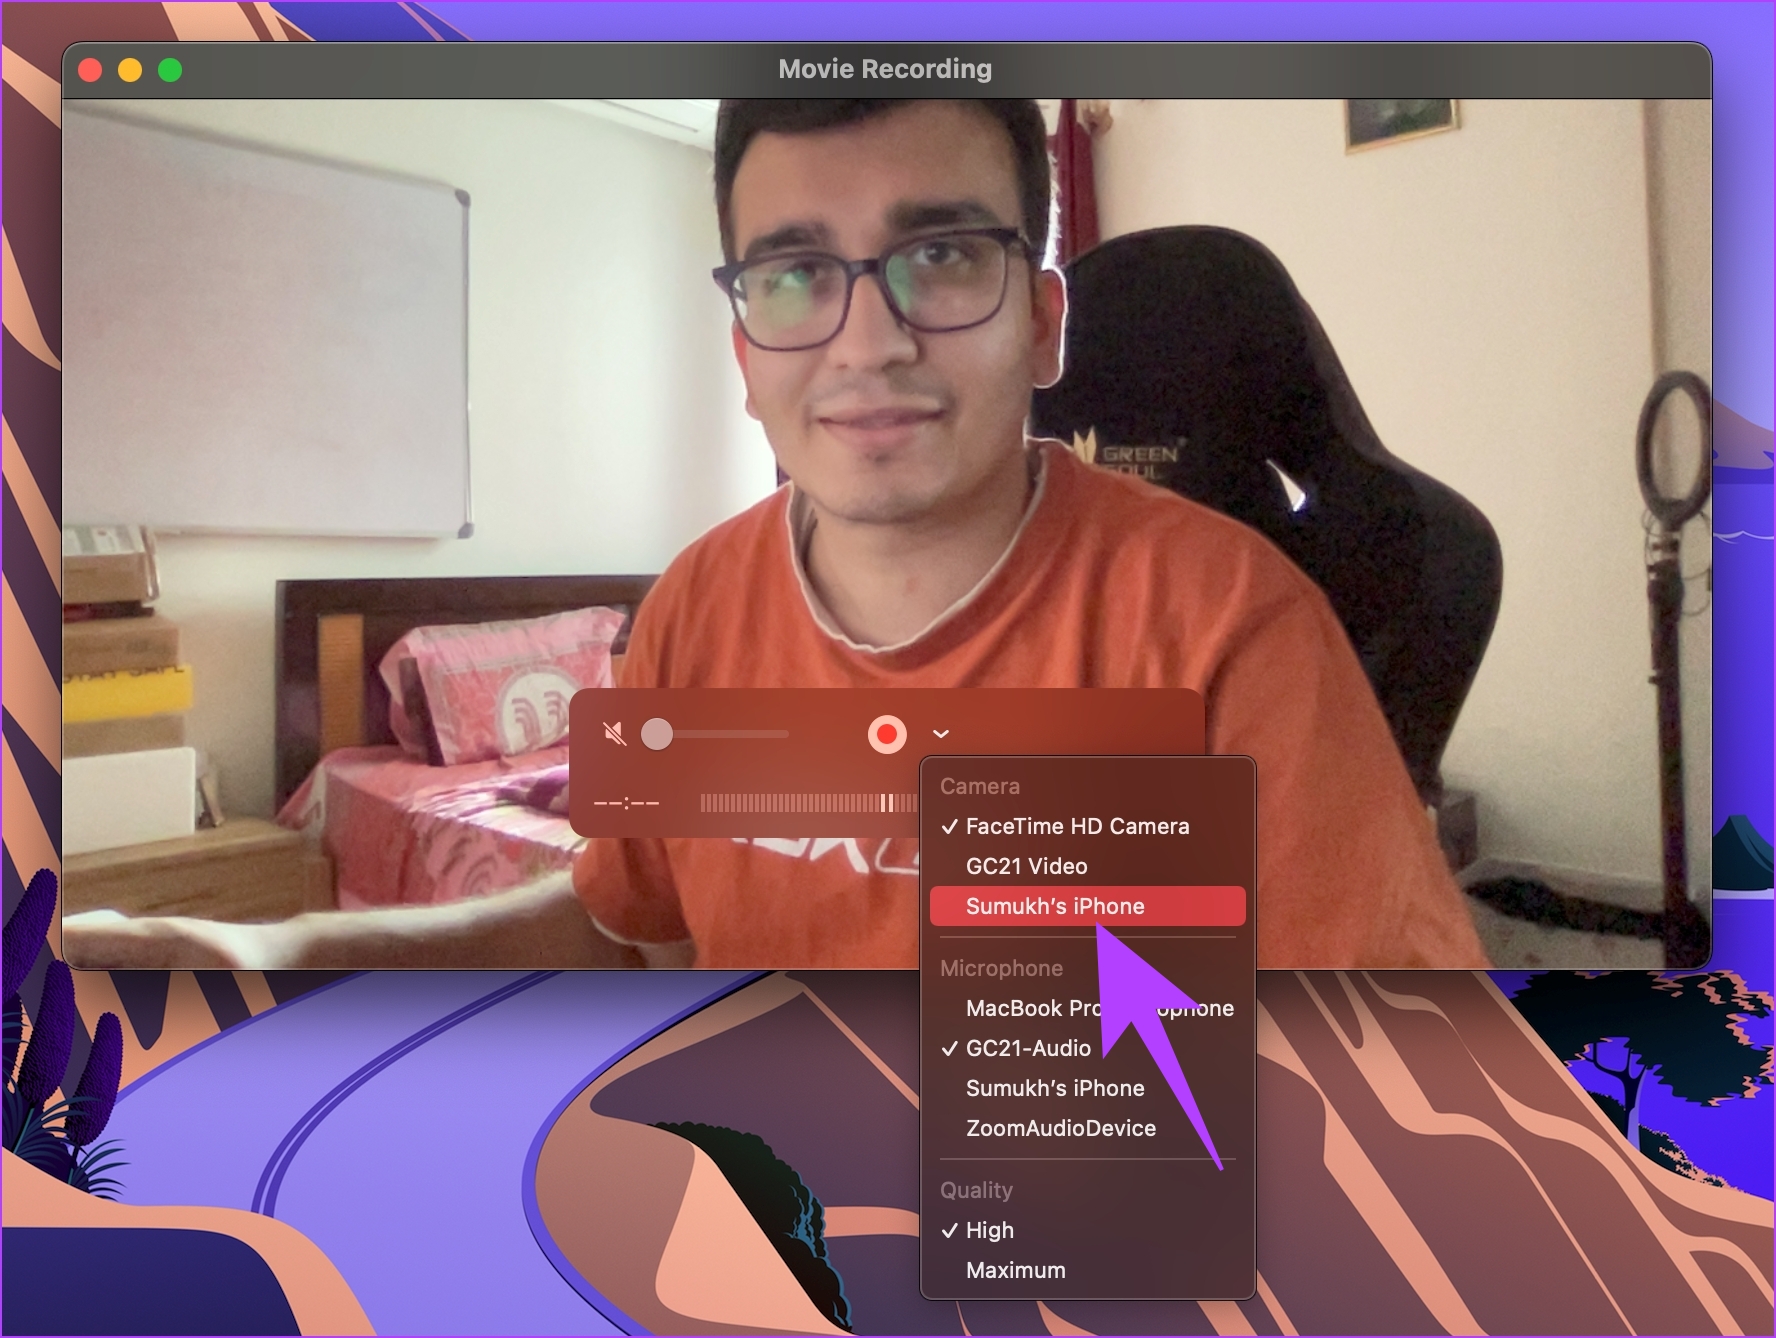
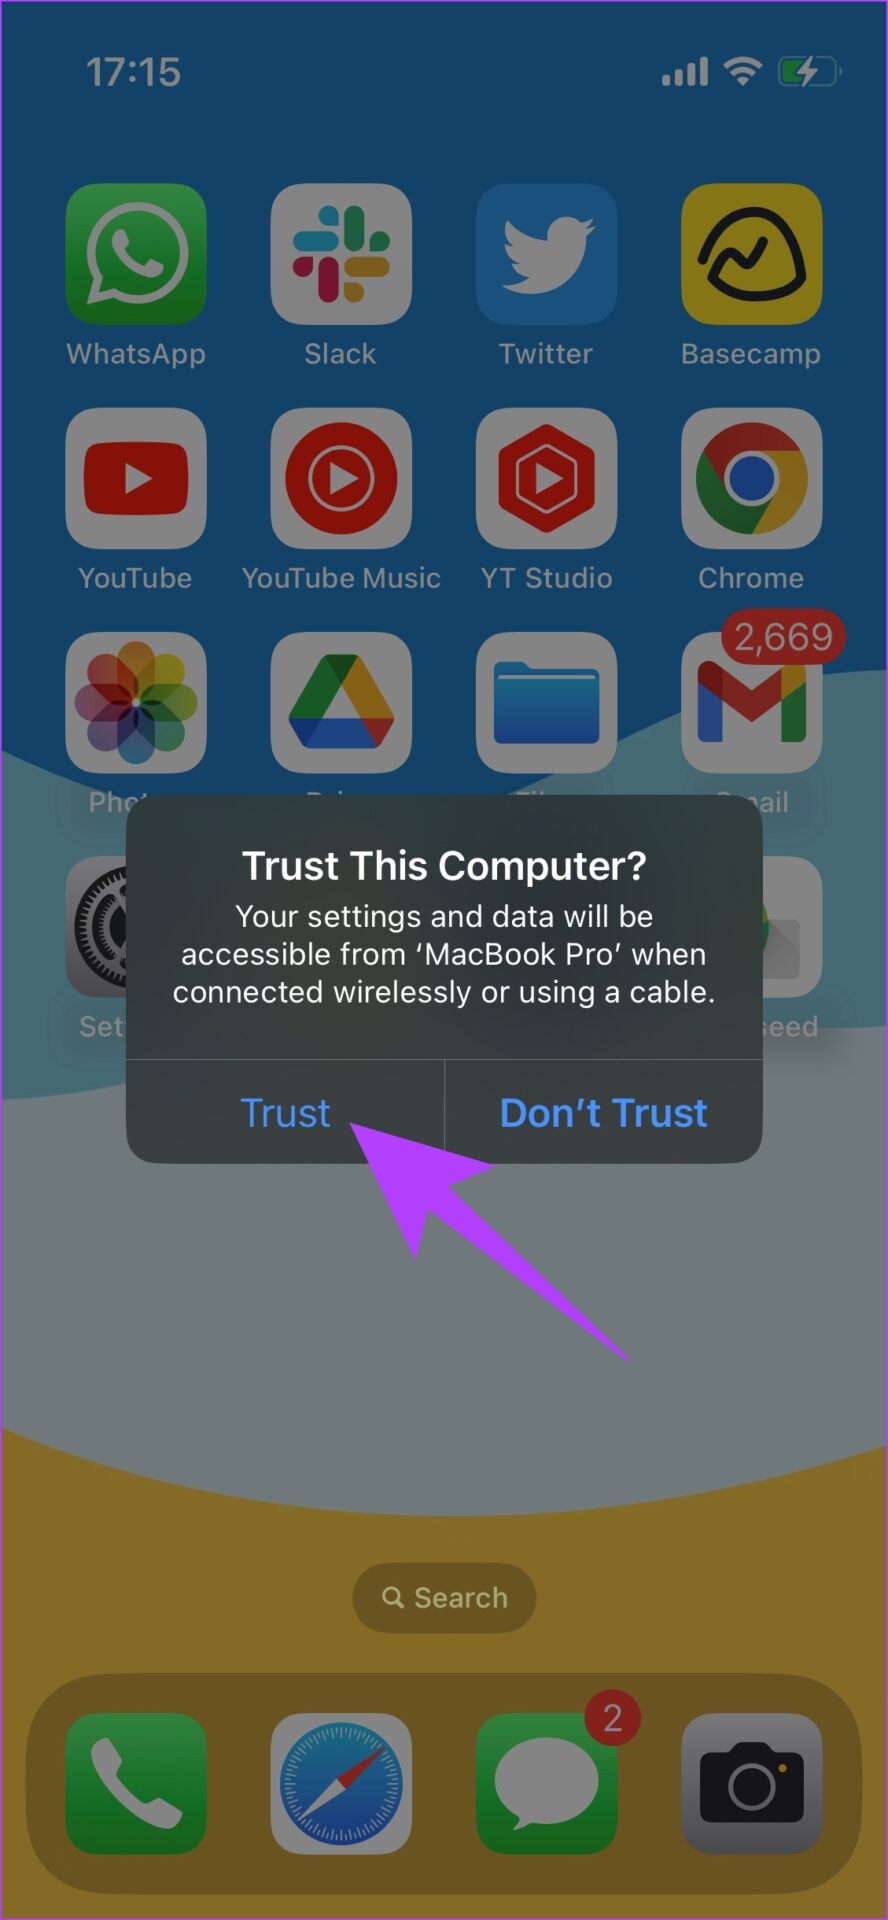
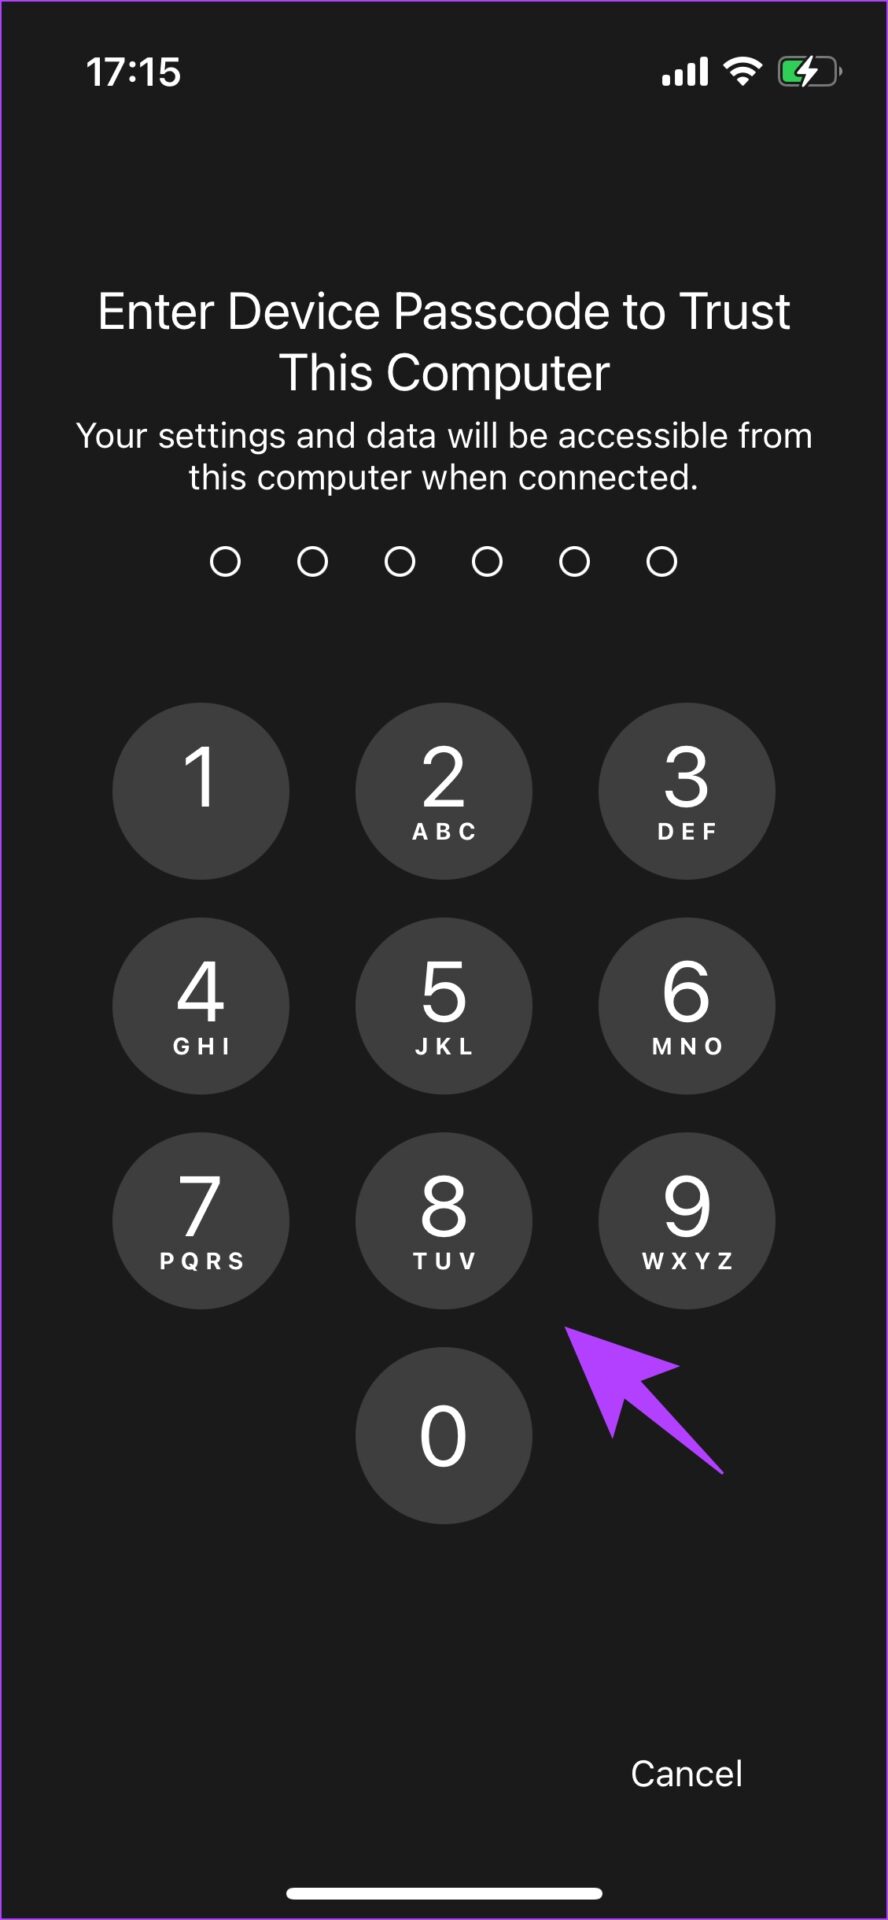
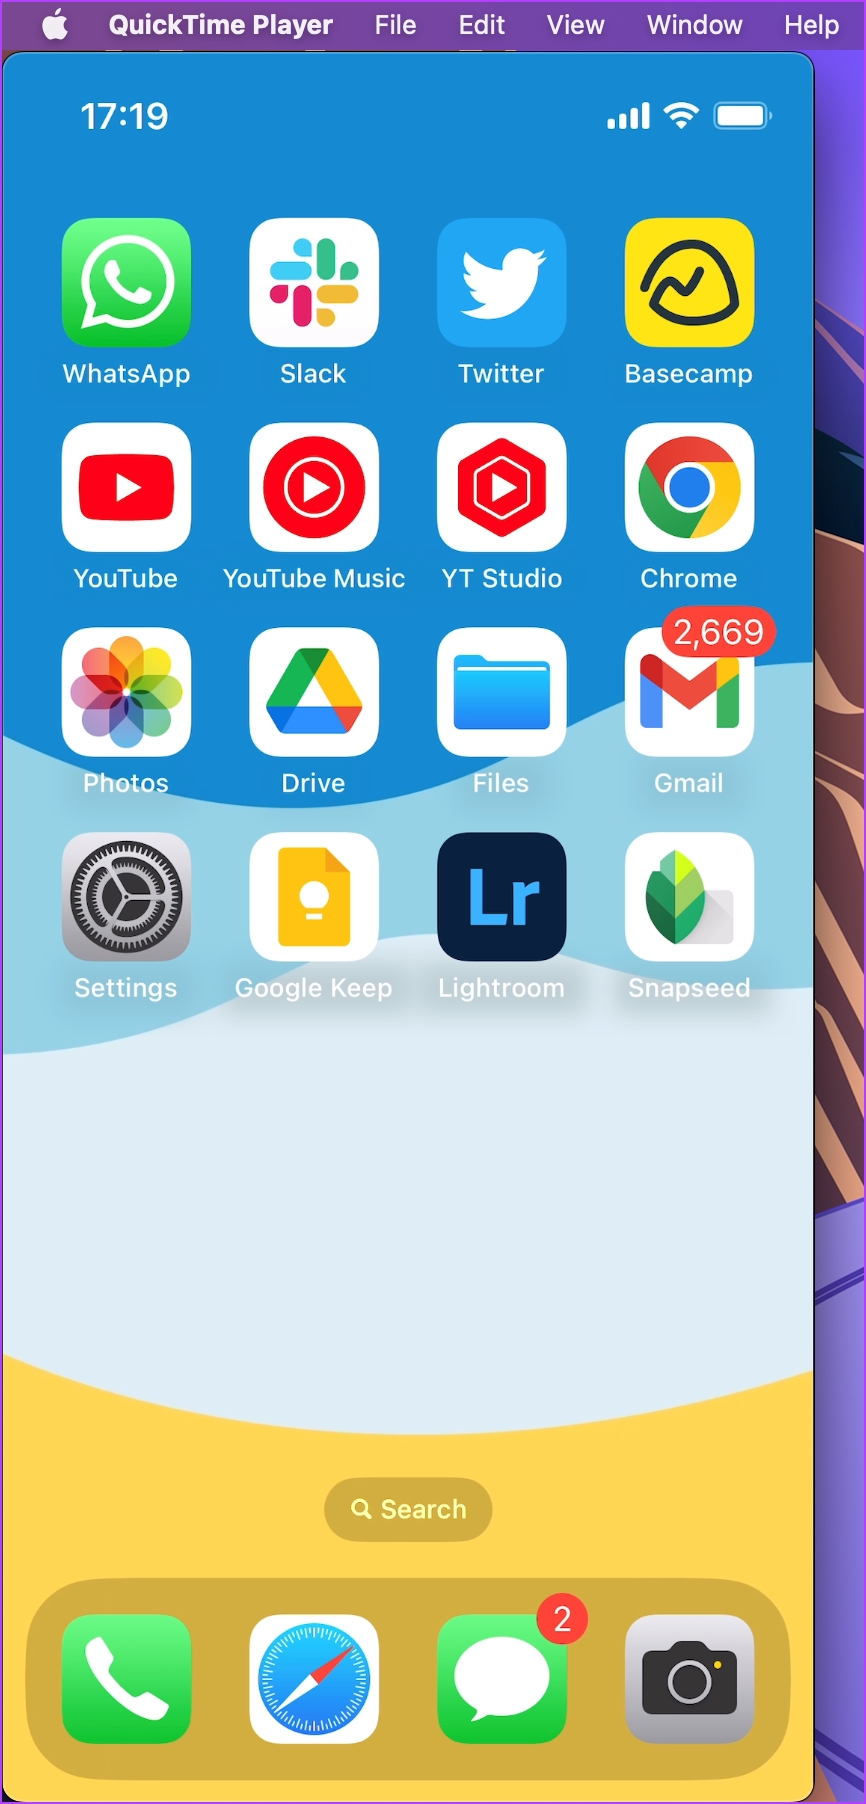
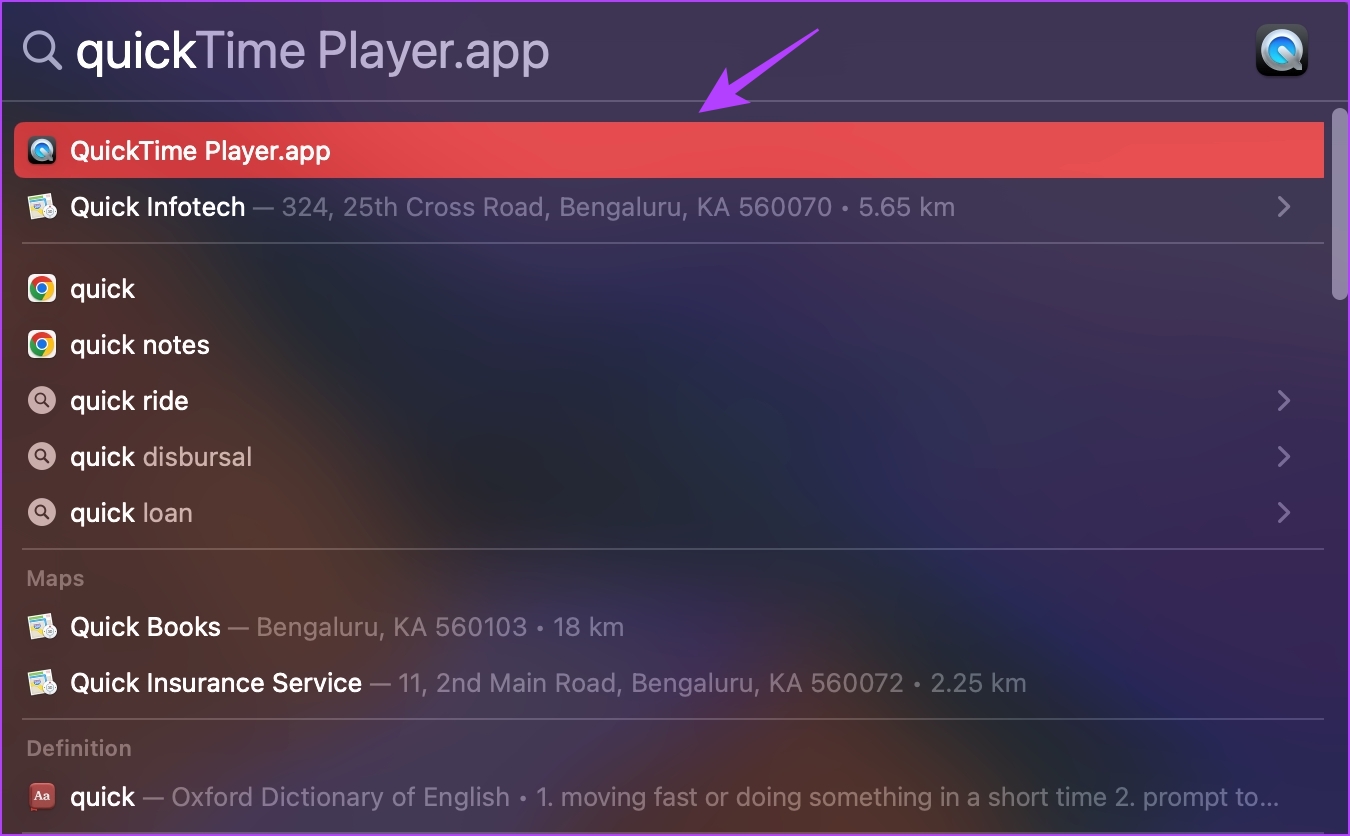
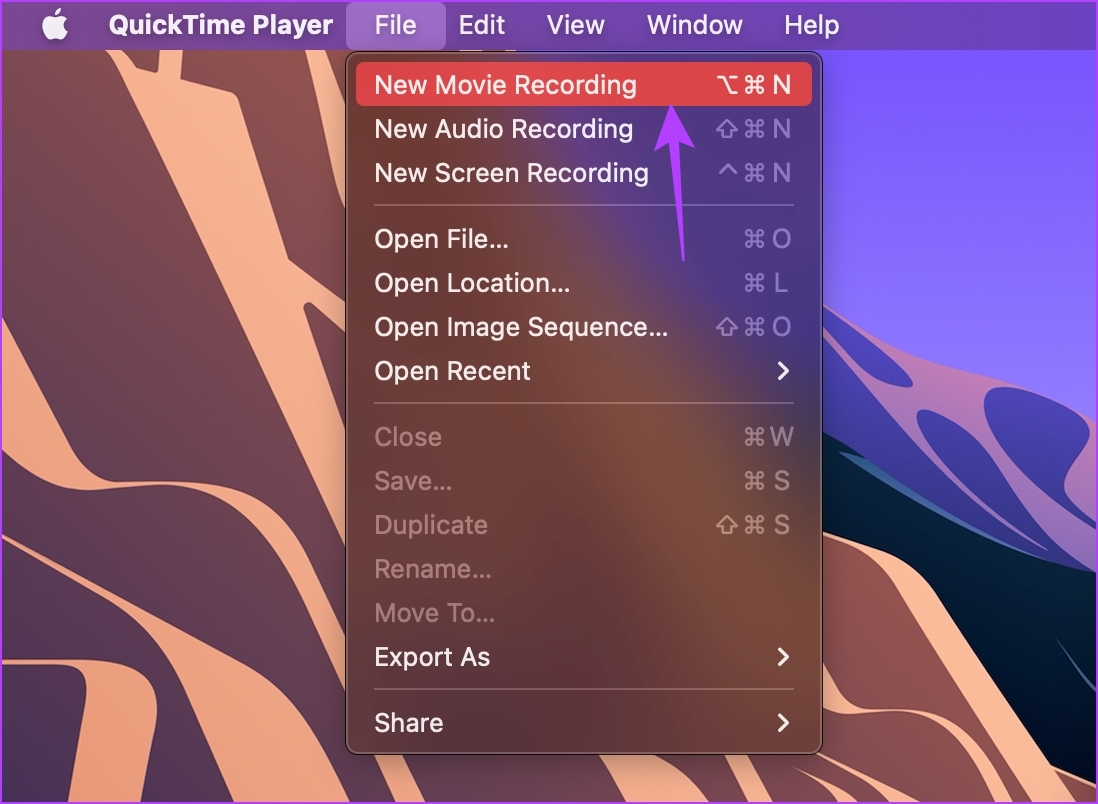
Here’s how you can record the screen of your iPhone and iPad on Mac. This is quite helpful as you can skip the additional steps to transfer the recording to your Mac. Step 1: Open the QuickTime Player app. Step 2: Click on File -> New Movie Recording. Step 3: Click on the downward-facing arrow next to the record icon. Step 4: Now, select your iPhone. Ensure your iPhone is connected to the same Wi-Fi network as your Mac. Step 5: On your iPhone, you will get a prompt asking if you trust the computer. Click on Trust and enter your passcode. This will start the screen recording of your iPhone on your mac. Click on File -> Save on the QuickTime media player toolbar to save the recording to your preferred destination. QuickTime player on Mac is a free tool, and so is the process to record your iPhone’s screen from Mac. However, on Windows, all reliable tools need a subscription. If you’re willing to record your iPhone screen using Windows, you can check out these two apps: Camtasia ($50 a year) and Reflector ($17.99 for a single license).
Record Screen on iPhone or iPad With Ease
This is all you need to know about recording your screen on iPhone and iPad. Apple usually does not advertise such features, so these remain hidden until explored. We hope you found this guide helpful, and we also hope you discovered methods and options you did not know before! The above article may contain affiliate links which help support Guiding Tech. However, it does not affect our editorial integrity. The content remains unbiased and authentic.
![]()
![]()


![]()

![]()