In this post, we’ll show you how to set up this private folder so you can keep your private images and videos away from curious and prying eyes.
What Is Locked Folder
Locked Folder is a feature in Google Photos available for smartphones that run Android 6.0 Marshmallow and higher. You can move private media to a specific folder accessible only by typing in the phone’s screen lock. While Google Photos is available for Android and iOS users, the feature has only been available on Android for a while now. However, the option is slated to hit iOS sometime in 2022.
How to Enable Locked Folder in Google Photos
Before moving your sensitive photos and videos to a private folder, you’ll have to activate the feature from the Google Photos app. Here’s how to do it. Step 1: Open the Google Photos app on your phone. Tap on the Library tab at the bottom.
Step 2: Select Utilities.
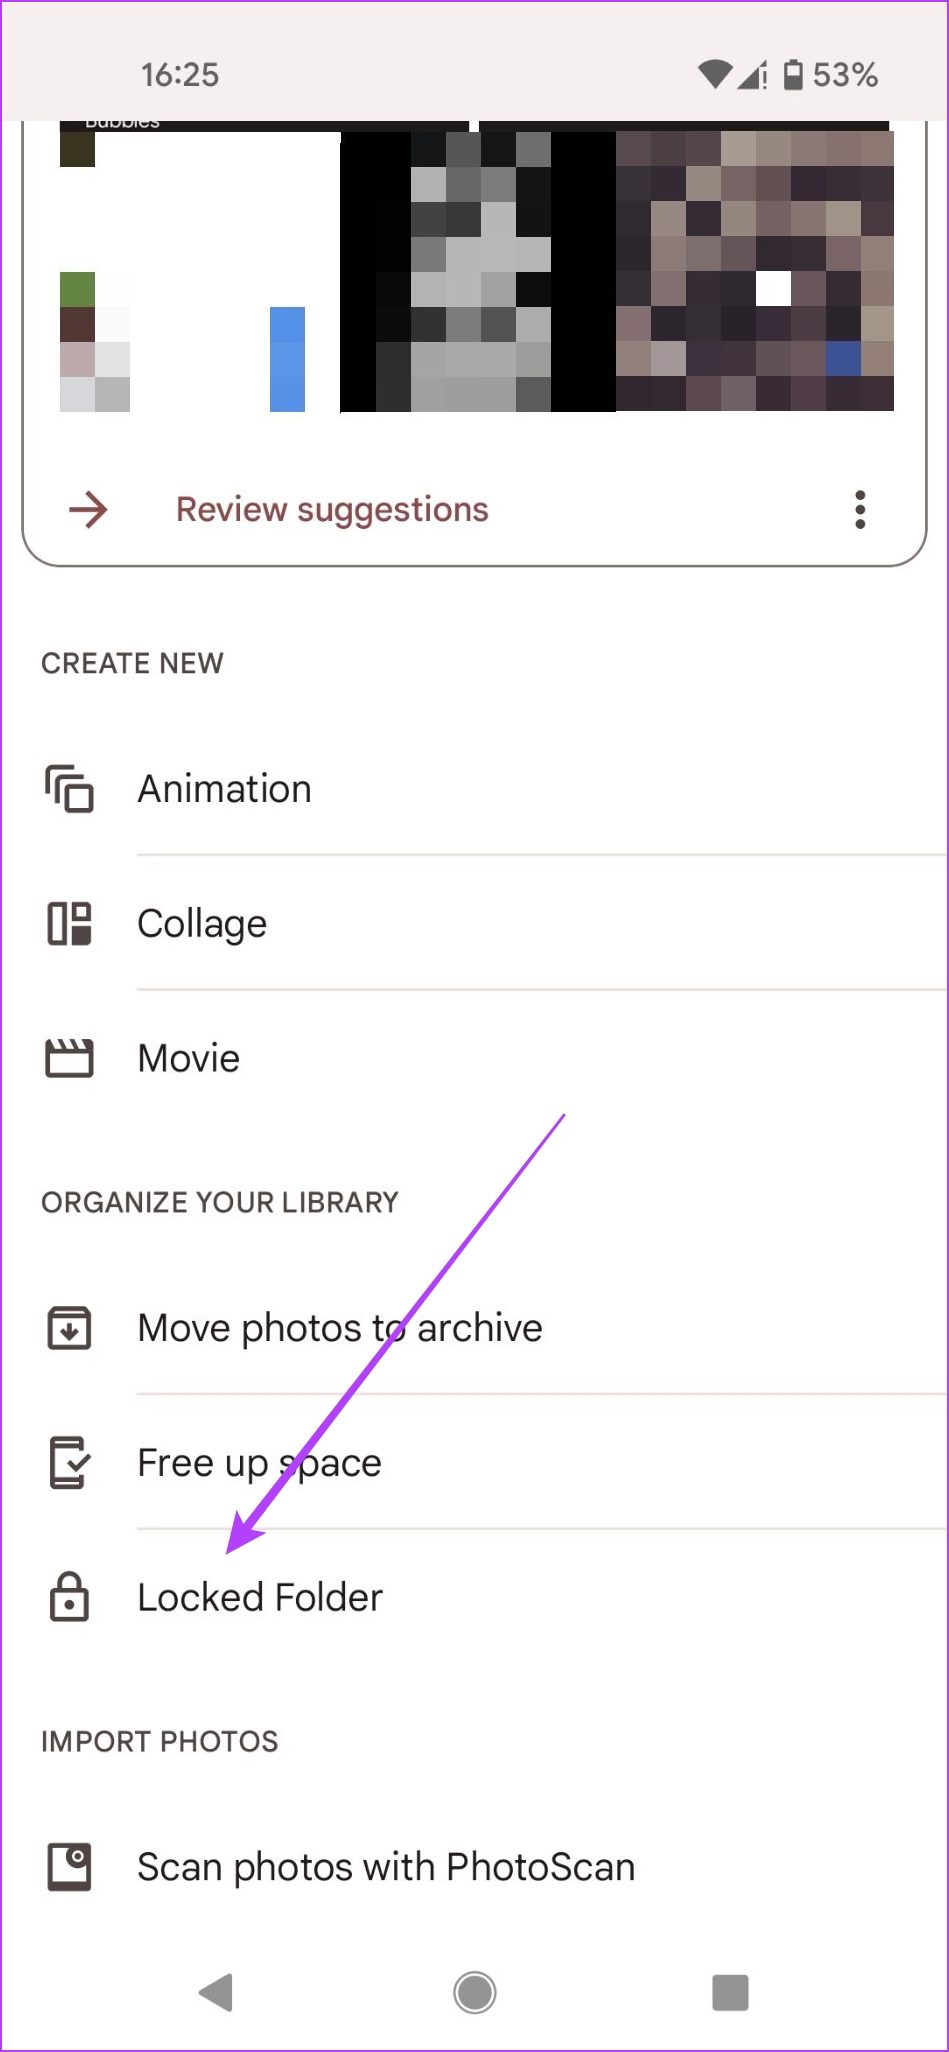
Step 3: Scroll down at the bottom. You should find the ‘Locked Folder’ option in the ‘Organize your Library’ section. Tap on it.
Step 5: Press on the ‘Set up Locked Folder’ button on the next screen to get started. The app will ask you to confirm your device’s screen lock. You’ll need it to access your Locked Folder. If you don’t have one set up for your device, you’ll need to set up one to use the feature. Once you’ve completed this step, you can start moving your files to the newly created folder by pressing the ‘Move items’ button. If you can’t seem to find the feature on your phone running Android 6.0 or later, check if your Google Photos app is up to date. Open the Google Play Store on your phone and search for the Google Photos app. You’ll notice an Update button next to the app’s name if an update is available.
How to Move Photos and Videos to Locked Folder
Before moving media to your new secure folder, you should know a few things. The cloud backups of these photos items will be deleted. These sensitive pics and videos won’t appear in the Photos grid, memories, search, or albums. Other apps on your device won’t have access to these images either. Step 1: Open the Google Photos app, select all the photos and videos you want to move to the Locked Folder. After selecting the media files, tap on the three-dots menu in the upper right corner.
Step 2: Select the ‘Move to Locked Folder’ option.
Step 3: The app will display some information regarding to what will happen to photos saved to this folder. To move to the next step press Continue.
Step 4: Finally, tap Move.
A Locked Folder stores the sensitive data locally on your phone. Google Photos won’t back up these images to the cloud and won’t let other apps access them. So it won’t be possible to back these private snaps to cloud storage. If you decide to delete the Google Photo app or clear Photos’ app data, you’ll lose the images you’ve saved in the Locked Folder. To prevent that, move the media from the Locked Folder before deleting the app.
How to Save Straight From the Pixel Camera to Locked Folder
Owners of the Pixel 3 (and above) can save their photos and videos directly to Locked Folder from the camera. Of course, it requires choosing a specific location. Step 1: Open the camera app on your Pixel phone. Step 2: Tap on the Folder icon in the upper-right corner.
Step 3: From there, select save to ‘Locked Folder.’ Remember that you need to change this setting every time you snap a new pic, if you want the results to head directly to Locked Folder. You do get the option to ‘Move’ the snaps you take. However, in case you change your mind, when viewing the image.
How to Remove Photos From Locked Folder and Restore Them
Step 1: Retrace the steps #1 to #4 from the first section to open up your Locked Folder. Step 2: Long-press on the pictures you wish to restore and press on the ‘Move’ button at the bottom. Step 3: Tap on Move again to confirm your choice. That’s it, the images should show up once again in your Google Photos gallery.
Hide Your Private Content
If you’re looking to hide some of your photos and videos away from others, Google Photos’ Locked Folder offers a viable solution. The app comes pre-installed on the newer Android phones, so it’s quite convenient. However, the feature is not yet widely available across Android devices. So if you can’t see it just yet, you can use a third-party private photo app instead. Alternatively, you can opt to download a gallery app that has a hide photos option. The above article may contain affiliate links which help support Guiding Tech. However, it does not affect our editorial integrity. The content remains unbiased and authentic.


