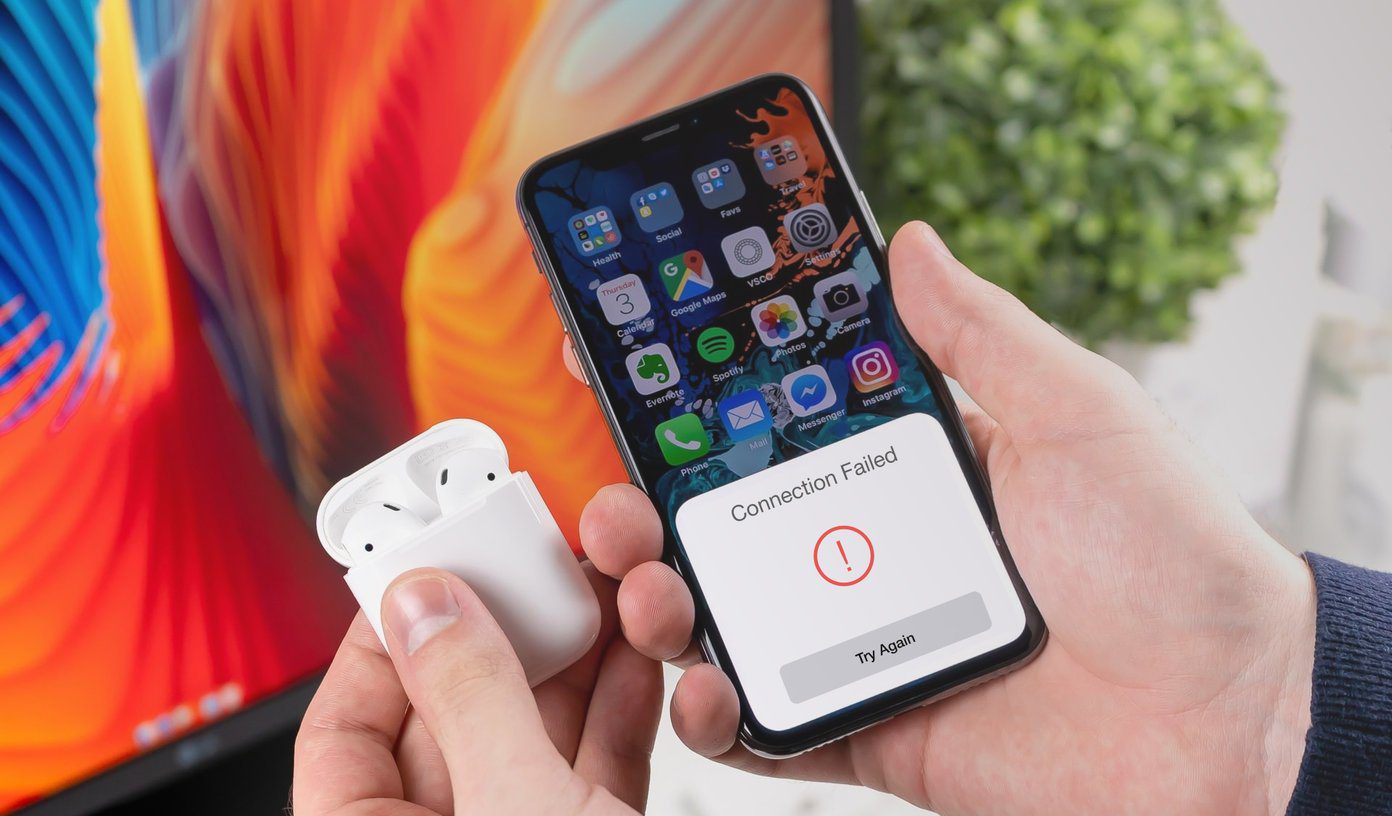
It is also common to have this error message pop up in the middle of an ongoing conversation. In this article, we’ll show you twelve ways in which you can fix the Call Failer error on your iPhone. But before we get to that, let us try to understand why the issue occurs in the first place.
Why is My iPhone Keep Saying Call Failed
This issue is usually due to poor signal strength in your location. Other system configurations, bugs, and call settings could also be responsible for the Call Failed error. Further, your voice plan is not active anymore and thus you are not able to make any calls. Luckily, you can easily get this fixed on your own. We’re certain that at least one of the solutions listed below would get you back to making uninterrupted calls on your iPhone.
Call Failed on iPhone: How to Fix The Problem
1. Toggle Airplane Mode
Simply toggling on Airplane mode on your iPhone (or iPad) and flicking it back off after some seconds can fix the issue. It disconnects your iPhone from the network and tries to establish a connection again. Therefore, you can possibly get rid of any issues that were affecting your network previously. Step 1: Open your iPhone’s Control Center. Step 2: Tap the Airplane Mode icon. Step 3: Wait a couple of seconds and tap the icon again to turn off Airplane Mode. Alternatively, launch the iOS settings menu, toggle on Airplane Mode, and toggle it back off. If you’re still getting the Call Failed error message on your iPhone, move to the next troubleshooting solution below.
2. Check Network Connectivity
Make sure that there’s enough signal strength on your iPhone. You can simply view the network bars on your status bar. If there’s just one bar or you don’t see any signal strength at all – there’s likely a network outage which you can wait until it is fixed. If you aren’t able to make phone calls despite your iPhone displaying a good signal strength – you can move on to the next methods to fix the issue.
3. Check Carrier Updates
Carrier Updates are pushed in to your iPhone by your service provider in order to improve your network, add new features or even fix any issues. Therefore, check if there are any carrier updates available on your iPhone which may possibly fix the Call Failed error. Step 1: Open the Settings app. Step 2: Tap on General. Step 2: Tap on About, and you will receive on-screen instructions to complete the carrier update if available.
4. Change Your Location
As mentioned earlier, this problem mainly occurs due to the lack of usable network signals in your surroundings. You might be trying to place a call in an area with less network coverage, or the problem is localized due to the presence of network jammers – which prevent any incoming or outgoing cellular services on your iPhone. Hence, make an attempt to check if the area and your surroundings are infamous for the lack of available network and wait until you get out of there.
5. Unhide Caller ID
Having your iPhone’s caller ID hidden is another reason why outgoing calls sometimes fail. If you encounter the Call Failed error often, check that your caller ID is visible. A quick way to unhide your caller ID on iOS devices is to dial the *#31# code in the Phone app. That will make your caller ID visible and fix the Called Failed error. You can also modify your iPhone’s caller ID visibility status in the iOS settings menu. Follow the steps below to get it done. Step 1: Launch the Settings app and select Phone. Step 2: Tap ‘Show My Caller ID.’ Step 3: Check that the ‘Show My Caller ID’ option is toggled on.
6. iPhone Call Failed to One Number Only : Unblock the Contact
You might encounter the Call Failed error if you call a number you’ve blocked on your iPhone. If you only get the error message when calling a particular number, there’s a chance that you can’t get through to the person because they’ve been blocked. The best move, in this case, would be to check your iPhone’s Blocked Contacts list. Step 1: Go to Settings and select Phone. Step 2: Scroll to the bottom of the Phone menu and select Blocked Contacts. Select Edit. Step 3: Tap the red minus icon afterward to remove a contact from the list of blocked contacts. Step 4: Next, select Unblock.
7. Disable Call Forwarding
This is another solution that many affected users have pronounced an effective fix to the Call Failed error. Besides, call forwarding is also responsible for other call-related malfunctions on your iPhone. Step 1: Open the Settings app. Step 2: Tap on Phone. Step 3: Tap on Call Forwarding. Step 4: Turn off the toggle for Call Forwarding.
8. Select Network Manually
Your iPhone automatically selects the right carrier network based on your SIM card information and configuration. However, you can try manually selecting the network if you encounter the Call Failed error on your iPhone in case you suspect any network problems. But make sure to select the right carrier from the list of options. Step 1: Open the Settings app. Step 2: Tap on Cellular. Step 3: Tap on Network Selection. Step 4: Turn off the toggle for Automatic. Step 5: Select your carrier network from the list of options.
7. Restart Your iPhone
If the error persists after trying all the above, restarting your iPhone might work as a solution. Shutting down your iPhone closes all running services, apps, and all components – including any bug that is causing the Call Failed error. Once you turn on your iPhone to start a fresh session, it is unlikely that the bug will persist. Step 1: First, shut down your device.
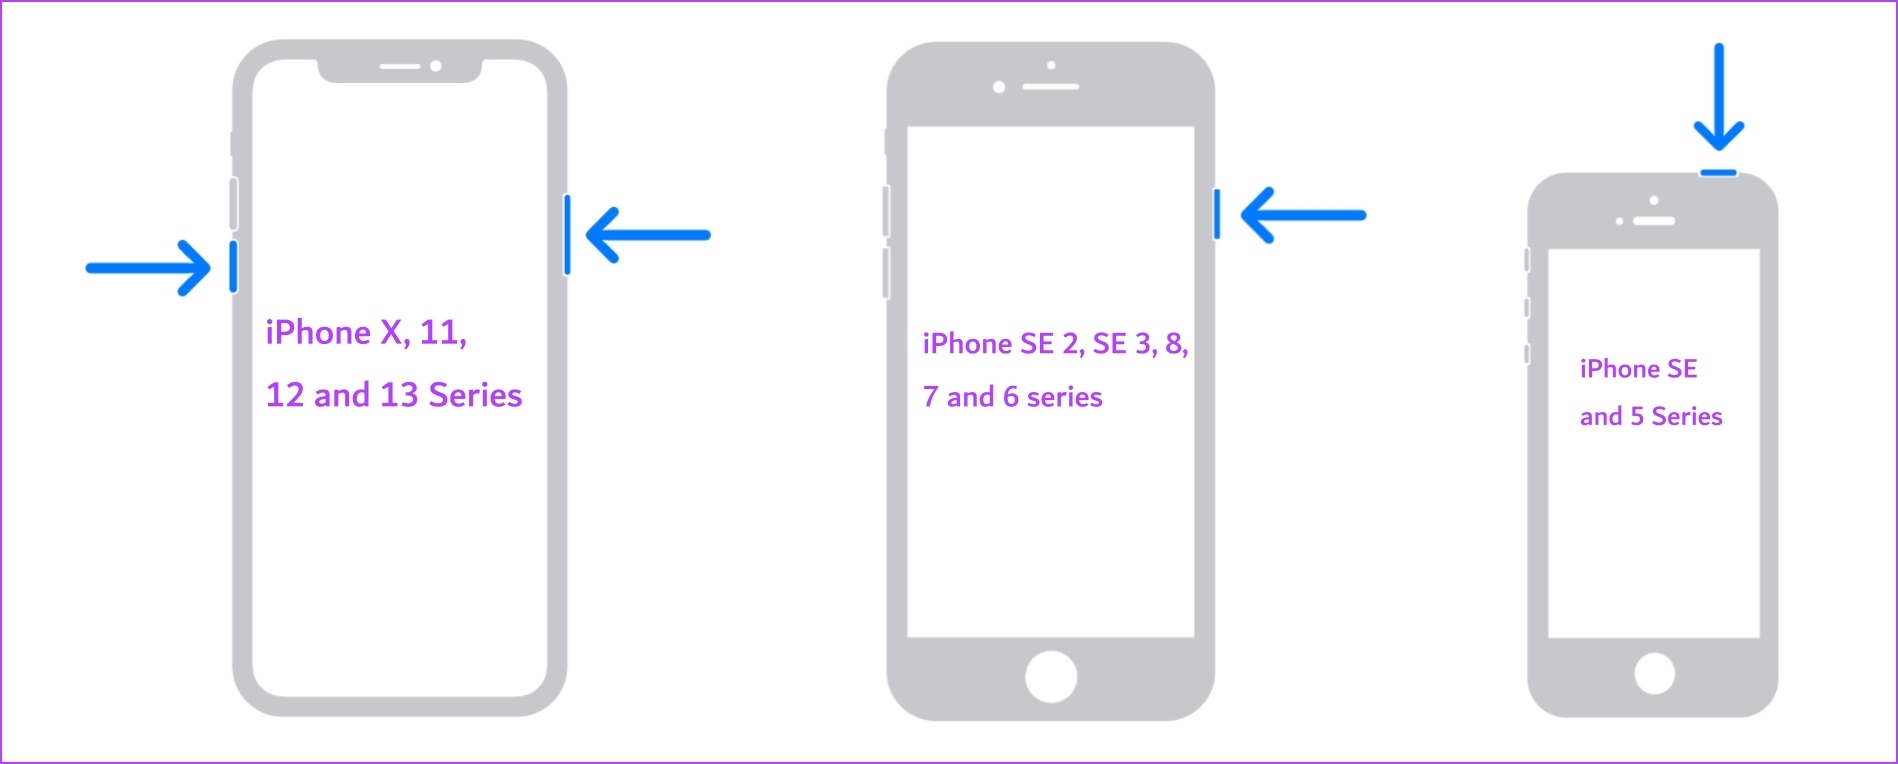
On iPhone X and above Press and hold the volume down and the side button. On iPhone SE 2nd or 3rd gen, 7, and 8 series: Press and hold the side button. On iPhone SE 1st gen, 5s, 5c, or 5: Hold the power button at the top.
Step 2: Now, drag the power slider to turn off the device. Step 3: Next, turn on your device by pressing and holding the power button on your iPhone.
8. Reinsert SIM Card
If restarting your phone yields no positive result, another thing you can do to resolve this issue is to eject and reinsert your SIM card into your phone. We recommend cleaning the SIM card’s contact panel with a dry cloth before reinserting into your iPhone.
9. Reset Network Settings
Resetting the network settings on your iPhone resets all the network configurations to their default states. Therefore, if any misconfiguration is causing the Call Failed error on your iPhone, a network settings reset will definitely help. Note : All saved Wi-Fi networks will be reset and you have to enter the password again to join the Wi-Fi network. Further, all paired Bluetooth devices will also be reset and you need to manually connect to them once again after reset. Step 1: Open the Settings app and tap on General. Step 2: Select ‘Transfer or Reset iPhone’. Step 3: Tap on Reset. Step 4: Tap on ‘Reset Network Settings’ and follow the onscreen instructions to complete the process.
10. Update iOS
If a large group of users are facing the Call Failed error presently, then Apple will certainly take note of it and release an update. The update will fix the issue, therefore make sure you check and run the latest version of iOS on your iPhone. Step 1: Open the Settings app and select General. Step 2: Tap on Software Update. Tap on ‘Download and Install’ to update your iPhone.
12. Contact Customer Service
Contact your network service provider to check if there are any issues, or if your SIM card needs any upgrade. If you are unable to fix the Call Failled error on your iPhone, the customer support will certainly help you. Besides, if you are told that there is no problem regarding your SIM card, or the network – you can always contact Apple’s customer service and they will be able to help you resolve the problem.
Make Calls on iPhone Without Any Problems
We hope this article helped you fix the Call Failed error on your iPhone. We understand that not being able to make a phone call is quite frustrating – which is the simplest of things you expect your expensive smartphone to do. Therefore read this guide carefully, and these methods will certainly be able to rescue you from the problem. The above article may contain affiliate links which help support Guiding Tech. However, it does not affect our editorial integrity. The content remains unbiased and authentic.


