The reasons for this issue could be network unavailability, missing or corrupt .NET Framework files, or even a meddlesome antivirus program. We will list all the possible methods to fix DirectX not installing on Windows issue and complete the installation. Let’s begin.
1. Rule Out Internet Issues
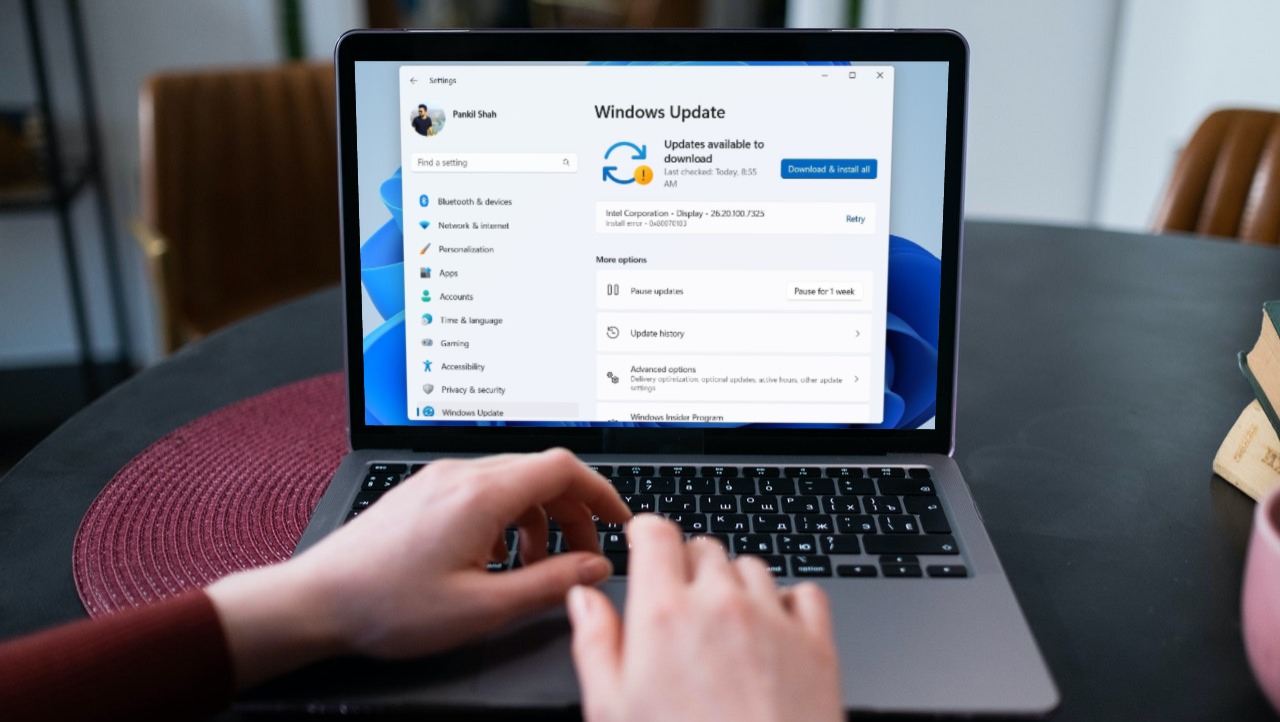
DirectX web installer requires internet connectivity to download files from the server. If your system doesn’t have a working internet connection, you will encounter the ‘DirectX Setup Couldn’t Download the File’ error. So, go to the Action Center, disconnect, and reconnect to your Wi-Fi network. You can also open a webpage in a browser or run a web-only app to check if it can access the internet. Also, reboot your router to clear its cache and reconnect to the ISP. If you find no issues with the internet connection but cannot install DirectX, proceed to the next step.
2. Close and Restart the DirectX Installer
DirectX installer application can encounter a glitch and stop working properly. The best way to fix this is to terminate the app from the Task Manager and then restart it. Here’s how: Step 1: Press Ctrl + Shift + Esc keyboard shortcut to open Task Manager on your computer. Step 2: Go to the search bar, type DirectX, and press Enter. Step 3: Right-click on one DirectX process and select the End task option. Step 4: Repeat the same for all DirectX processes and then close Task Manager. Step 5: Start the DirectX installer with administrator privileges and check if it downloads the files now.
3. Run the Program Compatibility Troubleshooter
Older versions of the DirectX setup application can encounter compatibility issues with new versions of Windows 11. So, you can use the builtin Program Compatibility Troubleshooter to identify and fix problems with the installer file. Repeat the following steps: Step 1: Go to the download location of the DirectX setup file and click on it. Press the Alt + Enter keyboard shortcut to open the Properties window. Step 2: Switch to the Compatibility tab. Click on the Run compatibility troubleshooter button. Step 3: In the Program Compatibility Troubleshooter window, click on the Try recommended settings option. Step 4: Click on the Test the program button. Step 5: User Account Control will launch. Click on the Yes button. Step 6: Proceed with the installation and check if you are able to install DirectX on your system. Step 7: Close the Program Compatibility Troubleshooter window.
4. Install the .NET Framework 3.5
DirectX installer needs .NET Framework 3.5 to work properly. But if the feature isn’t installed on your Windows computer, then you will face an error while installing DirectX runtime. You can install the .NET Framework 3.5 via Control Panel. Here’s how to do it: Step 1: Press the Windows key to open the Start menu, type appwiz.cpl in the search bar, and press Enter. Step 2: The Programs and Features window will open. Go to the top left area and click on the ‘Turn Windows features on or off’ option. Step 3: Select the checkbox next to the ‘.NET Framework 3.5 (includes .NET 2.0 and 3.0)’ option. Click on the OK button. Step 4: Click on the ‘Let Windows Update download the files for you’ option. Wait for the download to finish, install it and close the download window. Step 5: Restart your computer to apply the changes.
5. Repair the .NET Framework
If you already had .NET Framework installed on your Windows 11 system but still are unable to install DirectX, repair the .NET Framework installation. Microsoft offers an official tool to perform this repair. Repeat the following steps: Step 1: Download the Microsoft .NET Framework Repair Tool. Download Step 2: Go to the download location and run the tool. When the User Account Control prompt appears, click on Yes to continue. Step 3: Click on the ‘I have read and accept the license terms’ checkbox. Then click on the Next button. Step 4: The tool will suggest some changes. Click on the Next button. Step 5: Wait for the tool to apply the changes and click on Next. Step 5: Lastly, click on the Finish button to close the tool. Step 6: Reattempt the DirectX installation.
6. Temporarily Disable the Antivirus Program
Windows Defender or a third-party program can act overprotective at times and impede the installation process. So, you must disable the antivirus program like Windows Defender for a short while and try to install DirectX. Here’s how to do it: Step 1: Press the Windows key to open the Start menu, type Windows Security in the search bar, and press Enter. Step 2: Click on the ‘Virus & threat protection’ icon. Step 3: Scroll down to the ‘Virus & threat protection settings’ section. Click on the Manage Settings option. Step 4: Disable the toggle present below the Real-time protection option. Step 5: When the User Account Control prompt appears, click on the Yes button. Windows Defender is temporarily inactive on your system. Step 6: If you use a third-party antivirus on your system, you can go to the system tray icons and disable it for a short while or until the next reboot. Step 7: Run the DirectX installer on your system.
7. Try the Offline Installer
If you are trying to use the web installer of DirectX and see the DirectX error “Setup could not download the file. Please retry later or check network connection”, then use the offline installer instead. Here’s how to do it: Step 1: Download the DirectX End-User Runtimes (June 2010) tool. Download DirectX Offline Installer Step 2: Right-click on the downloaded file and select the Run as administrator option. Step 3: User Account Control will pop up. Click on the Yes button. Step 4: Follow the on-screen instructions to install DirectX. You won’t need to download additional files because this installer contains all the required DLL files.
No More DirectX Woes
DirectX is a crucial for games and all apps that need to access the video card and audio hardware. If it is missing from your system, you will encounter DirectX errors. We hope that the methods mentioned above were effective in fixing the DirectX not installing on Windows issue. The above article may contain affiliate links which help support Guiding Tech. However, it does not affect our editorial integrity. The content remains unbiased and authentic.


